After much internal debate, I couldn’t take it anymore and started ripping up the carpet on our stairs! 😉
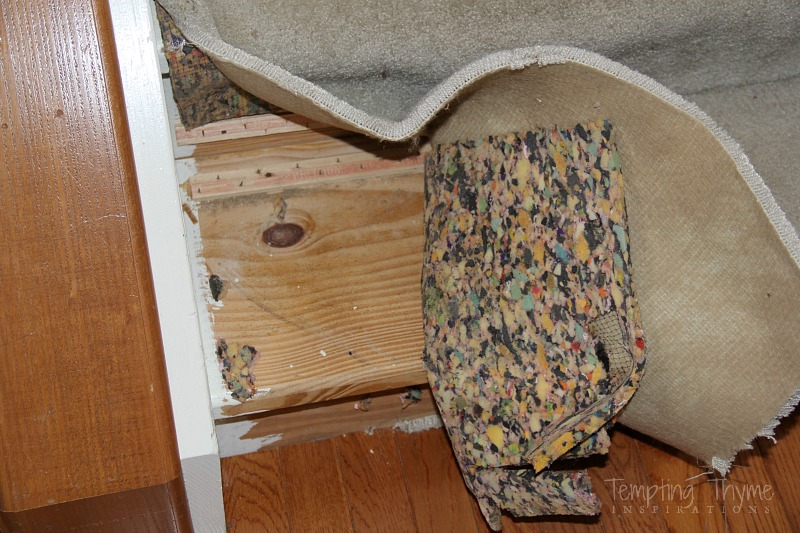
If anyone tries to tell you that this is an easy DIY project they are LYING! This has been one of the longest weeks of my life, and the final reveal is no where close to being finished. Pheeeww! I was hoping to have it all done in 1 week, removal…..prep…..staining, but working on it only in the evenings, and then having to wait a gazillion years for the stain to dry …..makes a more realistic due date at the end of March.
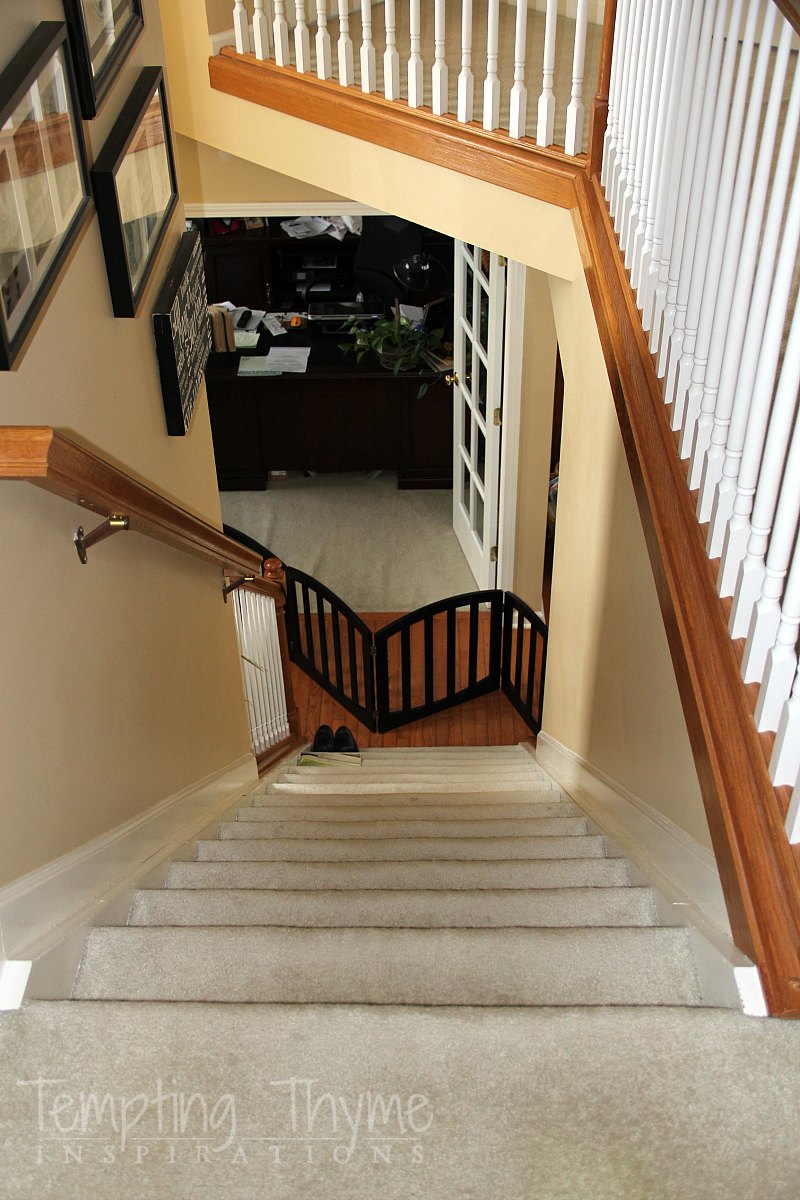
Here is a shot of what our stairs looked like before demolition started last Monday. Some of you are probably asking yourself, “What’s wrong with them”? I know….nothing wrong with them…..carpet is showing its 14 year age but still not god awful. What they weren’t is this:

I have dreamed about dark stair treads and white risers for longer than my first born’s age. Considering he is 19 years old (wow, still a little unreal that I have a 19 year old) it was high time to make it a reality. I showed you this picture earlier in my post Inspiration for the: Foyer.
Not only is it my favorite, but based on your responses it is also your favorite! Great minds think alike!!
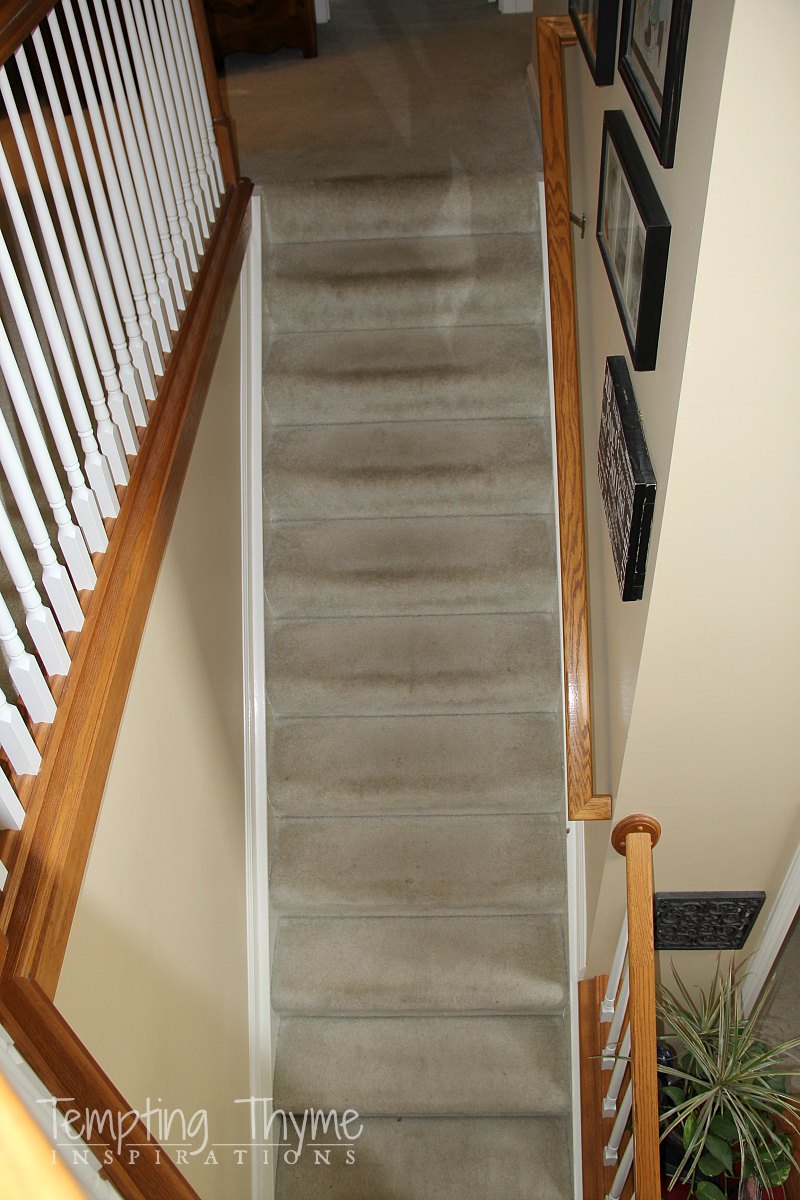
Big difference considering I have a lot of ‘orangey’ white oak to contend with.
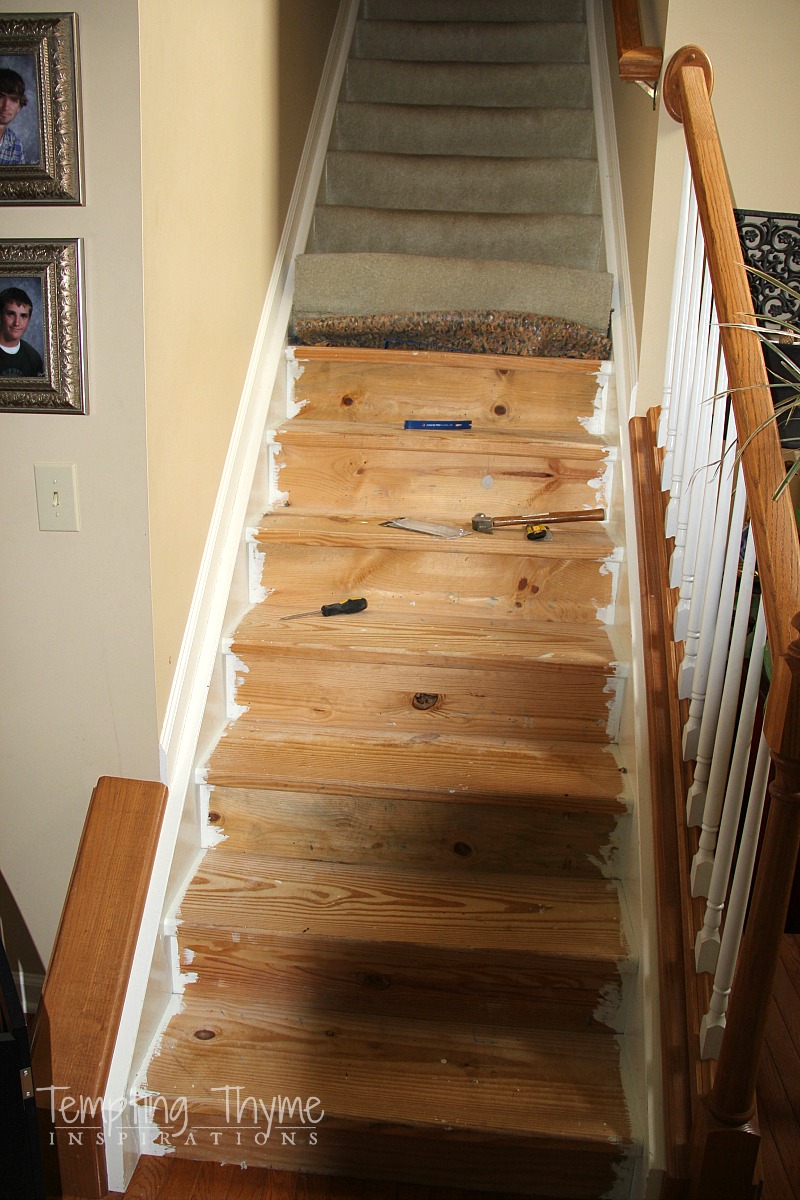
Removing the carpet went a lot faster than I had anticipated, and was able to get it done in 2 evenings. Because I have a child with asthma, as well as, a dog who thinks he needs to taste anything he can find on the floor, I broke it up and completed a stair at a time….rolling the carpet up as I went.
After I removed the padding, I used a crowbar, hammer and a flat edged screwdriver to remove the tack strip and staples. Every 3 stairs, I used a box cutter to cut the carpet from side to side. This was a simple system that worked great, and will also be how I handle it when dealing with the basement stairs too. Don’t tell PT! 😉
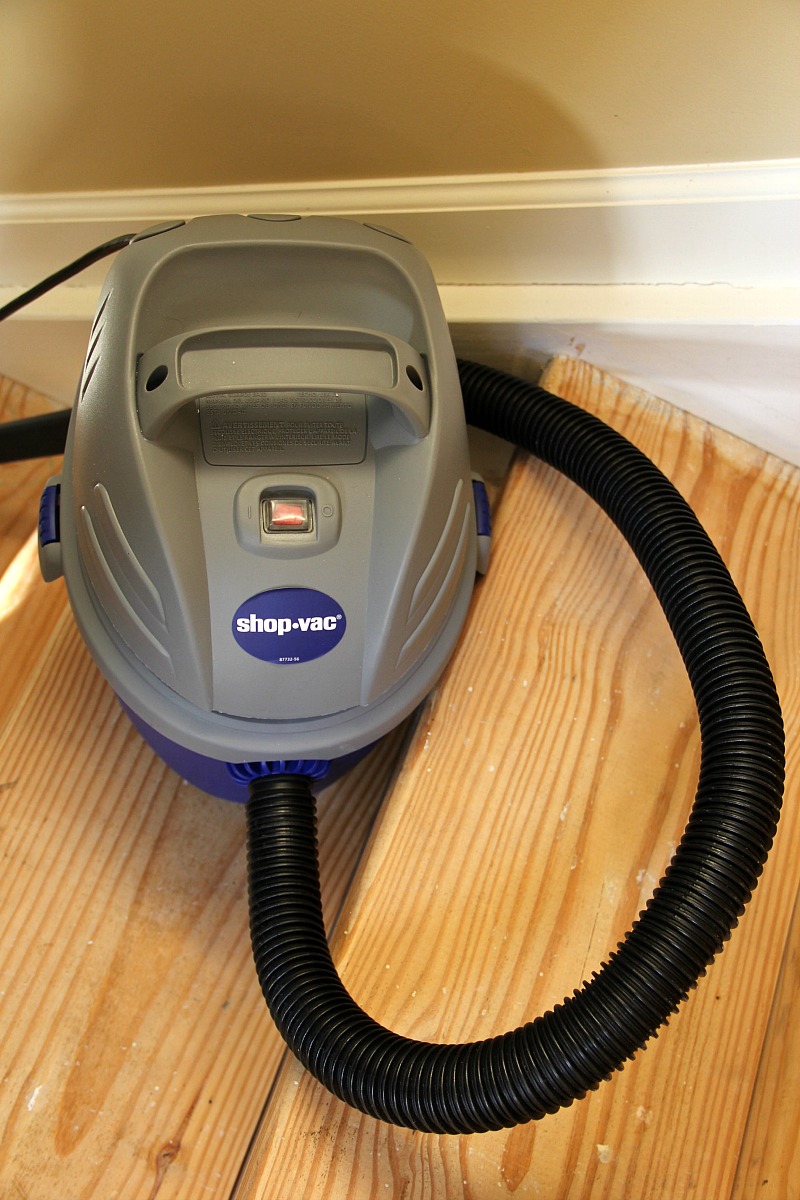
After I finished each step I vacuumed it thoroughly. Seriously, if you knew what kind of crap I was sweeping up you would immediately get rid of your carpet. Just one more reason why I want 100% hardwood in my house eventually! It was GROSS!
See that beautiful mini shop vac? That was my xmas present from PT, and this was the first time I actually got to use it!! YEAH! Am I the only female that asks for tools for birthdays and xmas?
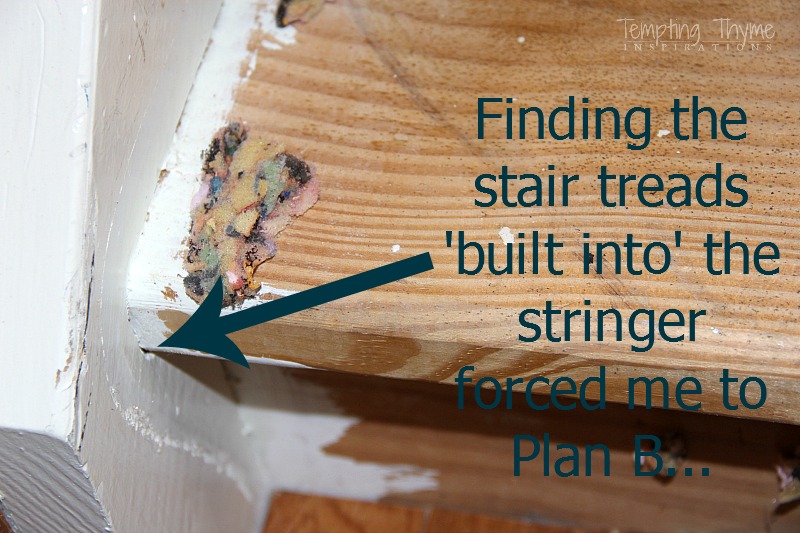
My original plan had been to start fresh and just remove all the stair treads. I found 48″ pine boards with a bull nose lip for about $10 at Lowe’s. I wanted to just buy these, stain them and then screw them into place. Dan (my contractor friend I hired to replace the shed doors) totally burst my bubble when he told me that the treads were anchored into the stringer….not screwed into the framing. BUMMER! Even if I got the treads out, there was no guarantee that the new pine boards would fit in, or cover, the opening in the stringer.
His information totally burst my bubble! Between this and the boys hesitation on having hardwood stairs (okay, in this case….softwood, as pine is soft) it derailed this project for a couple of weeks. Internal war ensued, and I finally said “what the hell”…..I am going to try it anyway. Nothing to lose, except my time…… and maybe a little money if it didn’t work out! 😉
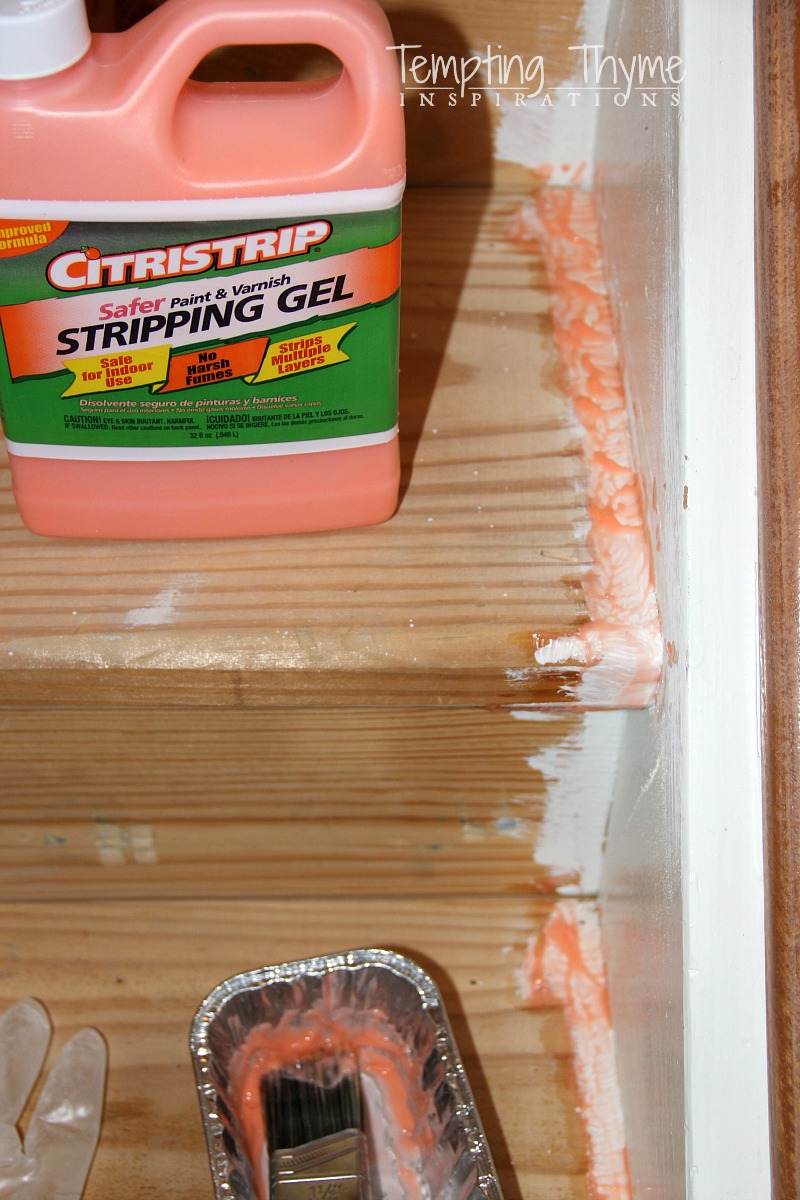
As there was a lot of paint over spray on the stairs, I used a product called Citristrip to help remove it. Follow the directions on the back. I didn’t listen when it said to use a bristle brush, and quickly found out that the chemicals will eat thru a foam brush! I quickly switched to a cheap bristle brush from the Dollar Tree. LOL!
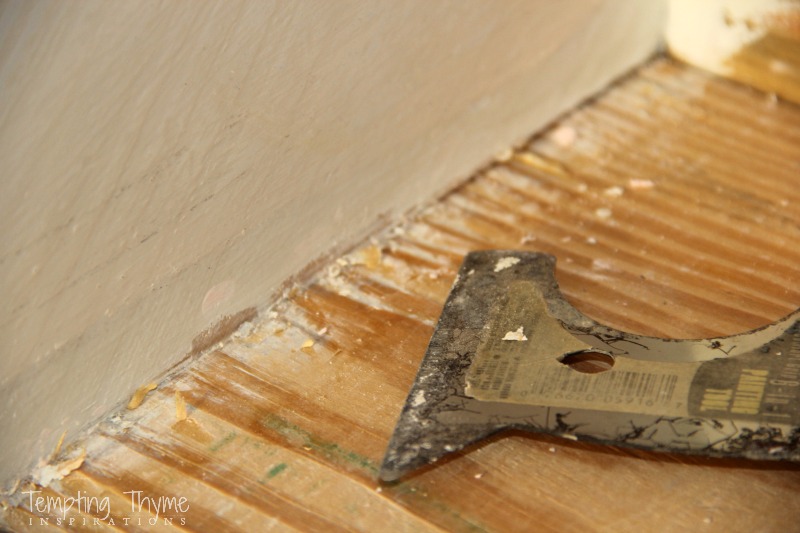
I used a metal scraper to try to get all the paint off. Even working the sharp edge in and out, I couldn’t get it all.
This is where PT found me one evening…. I think it was only 8pm…. and asked me if I was having fun and was it actually relaxing me. I cocked my head at him and said I guess so. No, it wasn’t relaxing me….nor was I having fun. But I was at peace and I think that is the next best thing, don’t you. I knew what the end result would be, and that allowed me to work through all the crappy stuff without complaining!
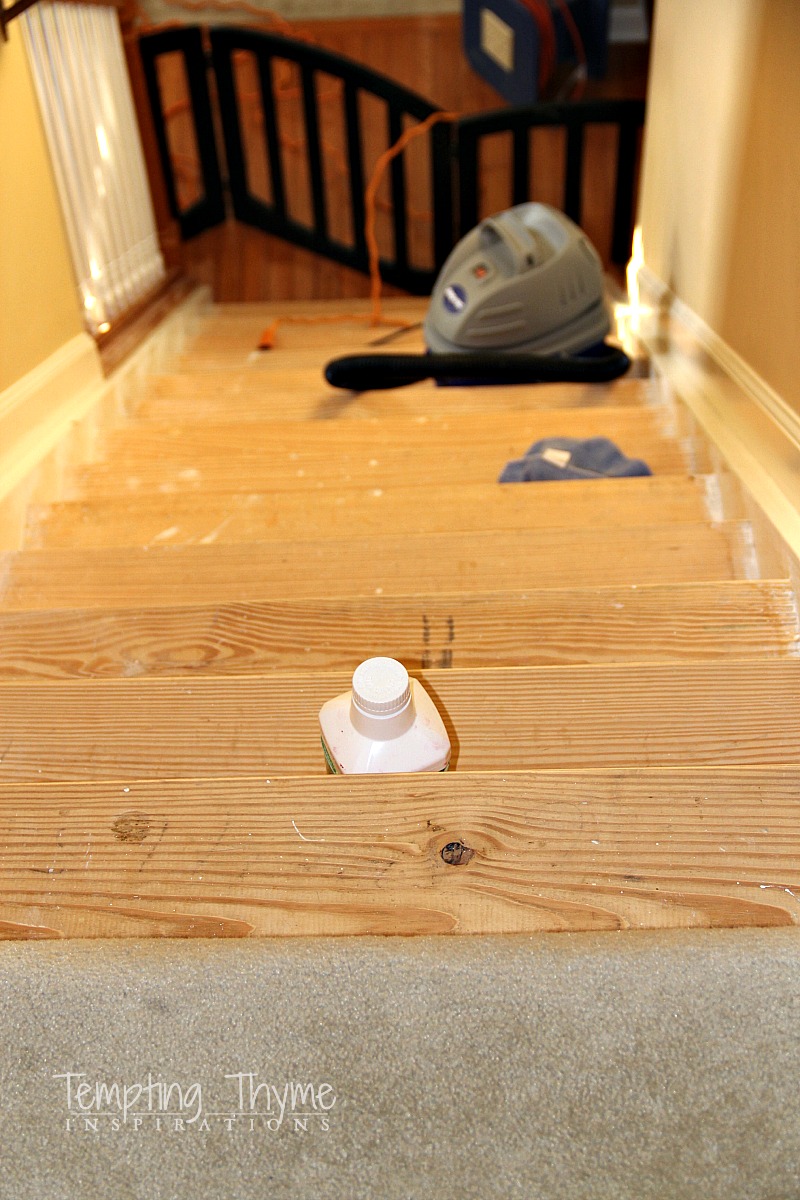
I think the most important step in prepping the stairs is SANDING! I sanded these bad boys 3 different times. Once after removing the carpet, once after doing the Citristrip and a final one for good measure before staining. I used various grades from 50 (very coarse) to a 180 (fine). It is amazing the amount of dust is creates! Every evening I had to take a shower to get it out of my hair and ears! I still think there is a film of sawdust layering some of our furniture, but I am slowly working on getting it wiped down.
I swapped out between using my Black and Decker Mouse and doing it by hand with sandpaper. What a workout for my arms! If sanding gets rid of just a little of my arm jiggle, it was well worth the effort!!!
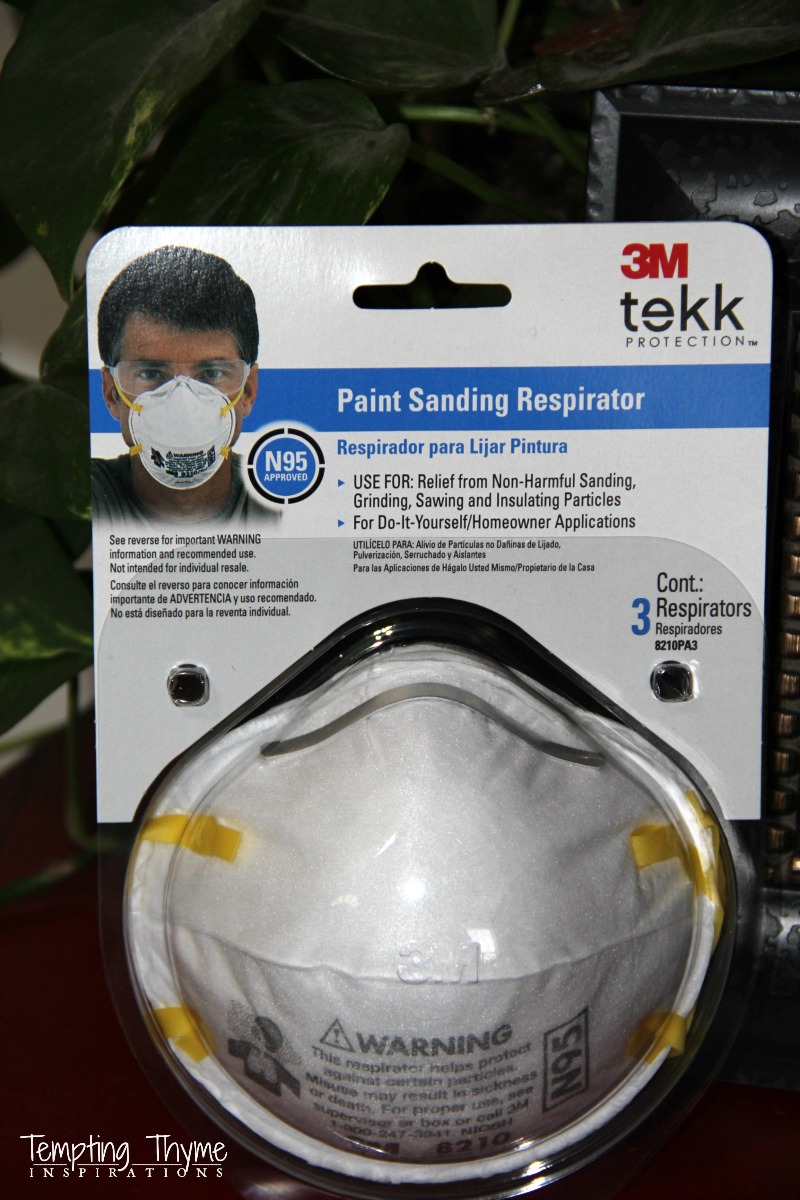
BTW—–I invested in some face masks for this project. I tried to use my cheapo ones I had on hand, but they were not cutting it. I didn’t pay much attention to the brands, but saw that they ranged in price from $1-$30. I think this 3M pack of 3 cost $5.50. They are wonderful! I highly recommend you taking care of your lungs while stripping paint/stain and sanding. These were comfortable, stayed on the head and didn’t fog up my glasses every time I breathed in and out like the cheap ones did.
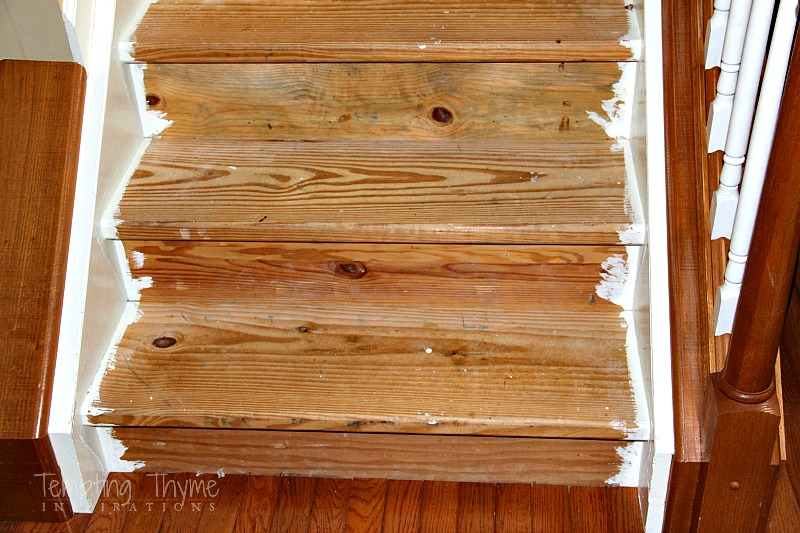
I give up on the little bit of paint that I couldn’t get off on the sides. If the 2-3 coats of stain doesn’t hide it, I will either put up a small piece of molding or just paint the treads black. Painting them black is my Plan C in this little stair project of mine! I also have this to contend with….
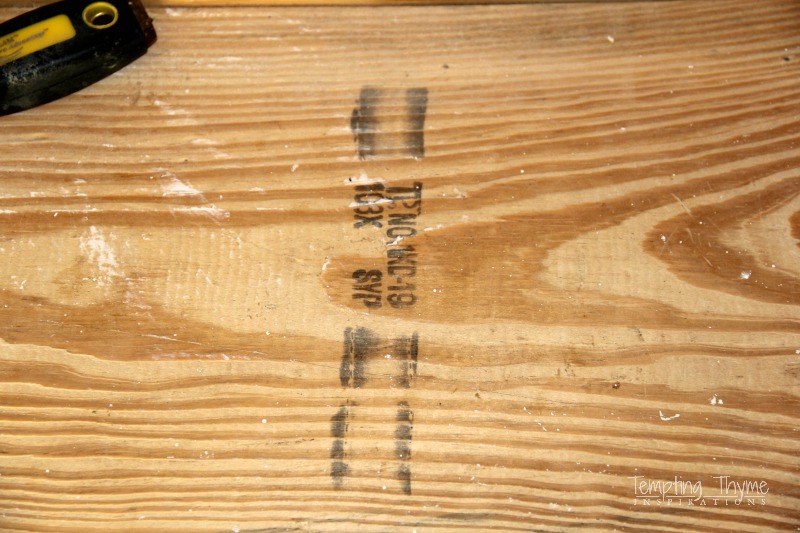
Don’t builder’s know to put the best looking side facing up? Seriously!! Time will tell if stain can hide this flaw!
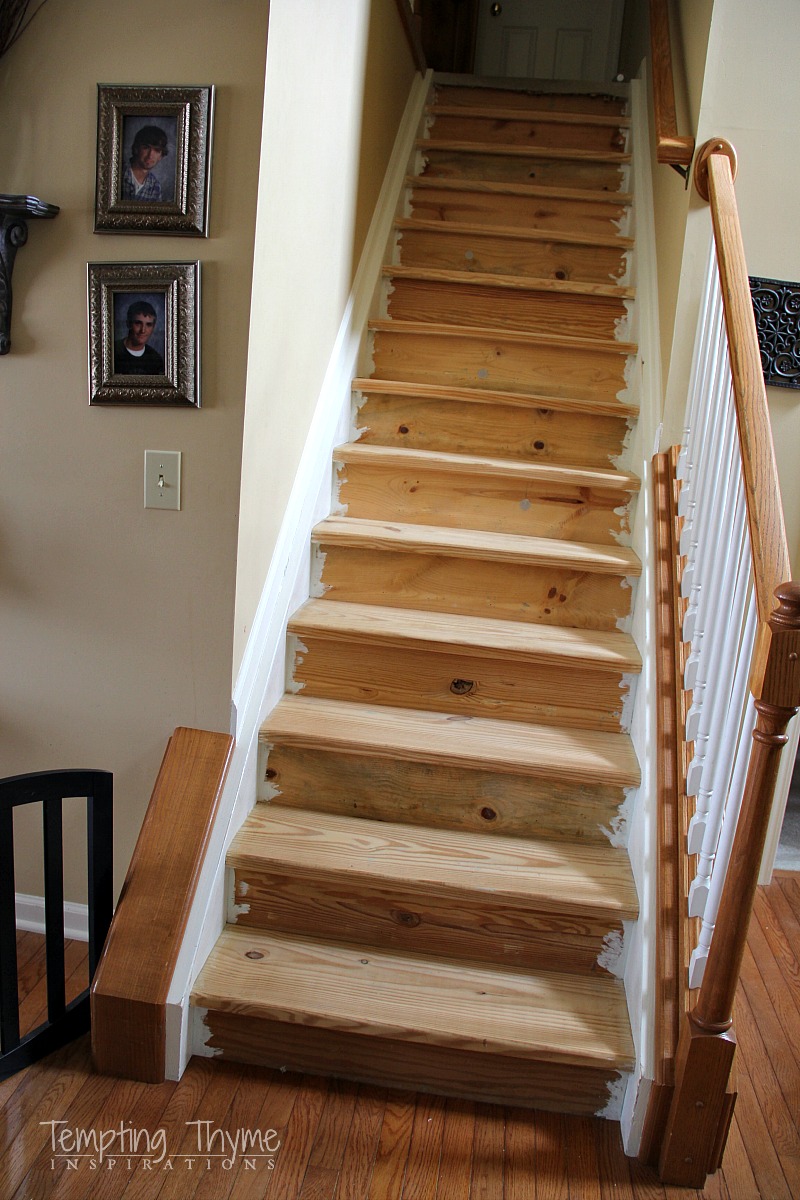
Here is a quick rundown of what I did:
1. Pulled up carpet and padding using gloves (I used a pair of gardening gloves) 😉 Cutting the carpet with a box cutter every 3rd step to make removal manageable. Cost: $0
2. Removed stare tacks and staples using a crowbar, hammer and flat head screwdriver (pliers would work too). Cost: $8 for a 2 pack of crow bars.
3. Sanded the treads and the stair stringer with my Mouse. Cost: $0 This was a xmas present back in 1996, and I have only had the chance to use it once before (on a road side bench I found with B last year).
4. Used Citristrip on the paint overspray. Scraped it off with a metal scraper. Cost: $12 for the stripper and the throw away paint brush to apply it.
5. Sanding, sanding and more sanding. Cost: $5ish for the face masks
TTL out-of-pocket cost so far: $25
I think they are ready to go! This time next week I hope to have all staining done on the stairs and railings and install the white kick plates. Wish me luck!


These are some great tips! And you’ve got it right; it makes a massive difference. Thank you so much for writing; this was helpful!
Thank you!
How long from beginning to end did it take you? Before staining and after staining
Becky, I am so sorry for the delay in responding!!! If you are still interested, we had a few hiccups from start to finish due to finding some mold in our bathroom….so it took a little longer than it should as I waited for the tile installers to do their magic before finishing…..definitely did not want their boots scuffing things up. I would say that if I was doing this today it would take me a week and a half, but that is only because I have a full time job to work around.
Pingback: Luxury Ideas Carpet Stairs Wooden Floor Landing | Ideas for House
Hi, your stairs look amazing!
My problem is that I really don’t know which nails are safe to remove. I’ve removed all the carpet tacks, but there seem to be soooooo many nails. I wouldn’t want my stairs collapsing 🙂
Thank you Heide! Take a close look at the sides of the treads. Are they anchored into the wall? If they are then you can take out any nails that you want, but if it were me (and I am saying this without seeing any pictures of your treads, so take it with a grain of salt) I would just countersink all of the nails and fill in the gap with a little stainable wood filler.
So if the nails aren’t anchored to the wall….. we can remove them?
If they butt up to the walls then you should see some screws (or nails) anchoring them down, just unscrew and either refinish them or replace them altogether with the wood of your choosing.
I’m almost done prepping mine (I’ve finished one staircase and on the second). Prepping the first staircase was a doddle compared to the nightmare of this one!
A previous owner had kindly bent and randomly hammered old carpet tacks into the treads instead of removing. Also, whilst painting walls and ceilings, large dollops of paint had been left and allowed to dry before carpeting. The result is that under the paint splodges the wood is a fresh, light pine whilst all around the pine has darkened to a pale apricot.
My finishing stain is medium oak, with white risers, and I’m not sure it will cover and eliminate this bleached look.
At this moment I’m looking into bleaching every tread before staining, just adding to the workload 🙁
Anyone out there has this experience out know how to deal with it?
This is a late response, my apologies! I feel your pain on the dried paint and the carpet tacks. Did you just hammer them further in and then fill it in with wood filler, or pull them out. Very tedious work! I had some paint to deal with, and used a combination of paint stripper and scraping it off. I cleaned each stair tread, but did not bleach each one. Is your project done? How did it turn out? Would love to see a before and after picture if you have them.
Wow! This is exactly what I am wanting to do on our basement stairs that are covered with dirty white carpet! I didn’t see a link to the finished project but will keep looking! Thank you for posting the steps you took!
I cant wait to start my stair project in 2 weeks!!! Mine looks like yours did in the before!
yours looks fabulous!!
I am so excited for you DeAna! Just keep your patience as sometimes you will want to scream, but I know that you are going to LOVE it when it is done. Please share pictures with me….please! 😉
Hi, I am also a woman who loves to receive power tools as gifts! I am doing a similar project but am finding that the staple marks from the carpet have left stains on the stair treads. My plan is no stain, just poly over the sanded wood and then a runner, so 3 to 4 inches will show on each side. I tested some poly and it makes the nicks and stains look worse! I don’t know if it’s possible to sand down far enough to get rid of the marks or if I will sand down too far. I think the stairs are pine but a friend thinks they are oak. Any ideas?
Hi Lisa, I think you can sand down far enough that the staples will not be a problem, OR you can fill them in with a little wood filler the color of your current pine (or oak). Staining my treads the darker tone hid numerous imperfections unless you are right on top of that area and look longer than a minute. Let me know how it works out!! Shaunna
Thanks for the advice! I’m going to try to sand a little more and see if it gets better. It’s right next to oak with no blemishes so it needs to look close if not the same. If not I may go dark as well, the stairs lead to a lower level where we just put in a dark engineered hardwood.
You are right, since it is next to oak with zero blemishes, you need to try and make it as seamless as possible. Looking forward to seeing pictures!!
Thanks, decided to go ahead and stain it dark to hide the dings, it definitely helps!
I want to know the price of removal of carpet on stairs and replace with Wooden floors
I am going to be attempting to do the same project with my wife out of town for a month with the kids as a surprise. The only thing I see different in my project that I was hoping you could give me some advice about was what did you do with that large nail heads that were used on the pine treads under the carpet. I have a strip of about 3 nails 1/2 inch from each side connecting the tread to the staircase. I can’t sink it and can’t just stain right over it. Did you run into this at all?
I commend you for doing this while your family is away. Your wife is going to love the surprise. I did not have these extra flat screws to deal with. If they are the true support of the stair tread then I would use a long wood screw and countsink and fill with wood filler or putty. If you want to add some character then you could also use those old fashioned square nails (do not know what they are called). No matter what you choose, I know it will turn out great! 😉
I looks like your carpet covers the whole step. My steps have wood on each side of the carpet. Is there any difference in the process.
There might be if you you have a groove cut out of the wood where your carpet is. My parents have this issue so they would need to replace the entire step. If you have a solid sheet of hardwood underneath the stair then it would be the exact same steps as I did for mine.
We are going through stair renovations now and I know exactly what you’ve been through! You did a really great job! I love the final result!
Thanks Wendy!
Okay, I’m going to renovate my stairs! You are really inspiring and the photos help a lot to make me decide!
Thank you June….I can’t wait to see pictures of your finished project!
Pingback: See-What’s-In-the-House Tuesday | Small, but valuable.
I hope that all ended successfully! I went through the same last year and I know what kind of nightmare it is!
A lot of tedious work, but the end result looks fantastic! We have now moved to ripping out the carpet for new hardwood floors. Yikes!!
Looking forward to an update. We are dealing with the same issues.
Hi Ben, You can follow along with these follow up posts: http://temptingthyme.com/2014/04/16/staining-pine-stairs/ and http://temptingthyme.com/2014/05/14/heading-installing-new-stair-risers/. I would love to see the progress you make once you start the stair project!!