Hi! I hope you all had a great weekend! We had a very quiet one filled with snow, ice …. with a few hockey games sprinkled in for good measure. I love weekends where there isn’t much going on, and I can just putter around the house, dabbling in a little bit of everything. If you ask PT, I think he would say that these are the weekends that scare him the most, as I can start even more projects without finishing up the old ones lying around. I have to say he is right! LOL!
Can you believe we are only fifteen short days away from Christmas? Are you ready? I don’t care how prepared we think we are, it seems like we are still rushing around trying to fit in those last minute touches and traditions that we want our family to have. This may be the first year that I am keeping the decorations minimal and simple. If you think the reason might include a little furry guy that gets into EVERYTHING.…you would be right!
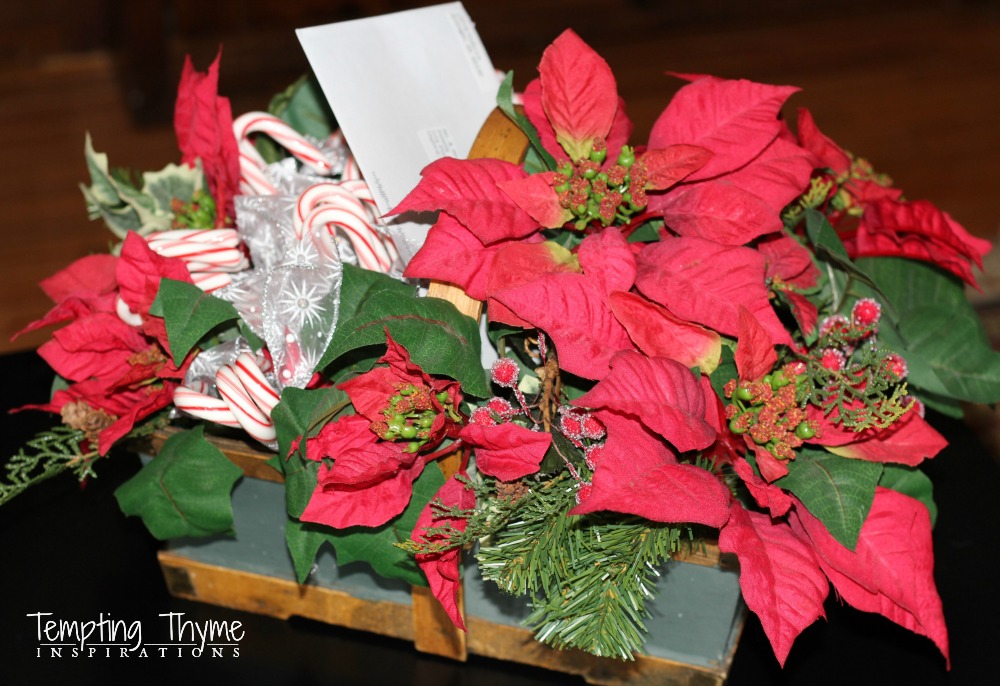
One of the best things about Christmas is going to the mailbox and seeing all of the brightly colored envelopes….. I love seeing what my old and dear friends are up to and how their ‘babies’ have grown. I have been displaying the cards the same way for probably 8+ years. Every time I think I am going to switch things up and do something different, I see this sweet basket peeking out from its dust cover in the storage room……and once again I bring it upstairs and place it on the coffee table. This year it is being placed on the kitchen table, as Rudy has a very bad habit of getting onto the coffee table, sniffing out for any loose paper……shredding and destroying it upon sight. Lord, I am back in the toddler days when you cannot keep anything out!!! =)
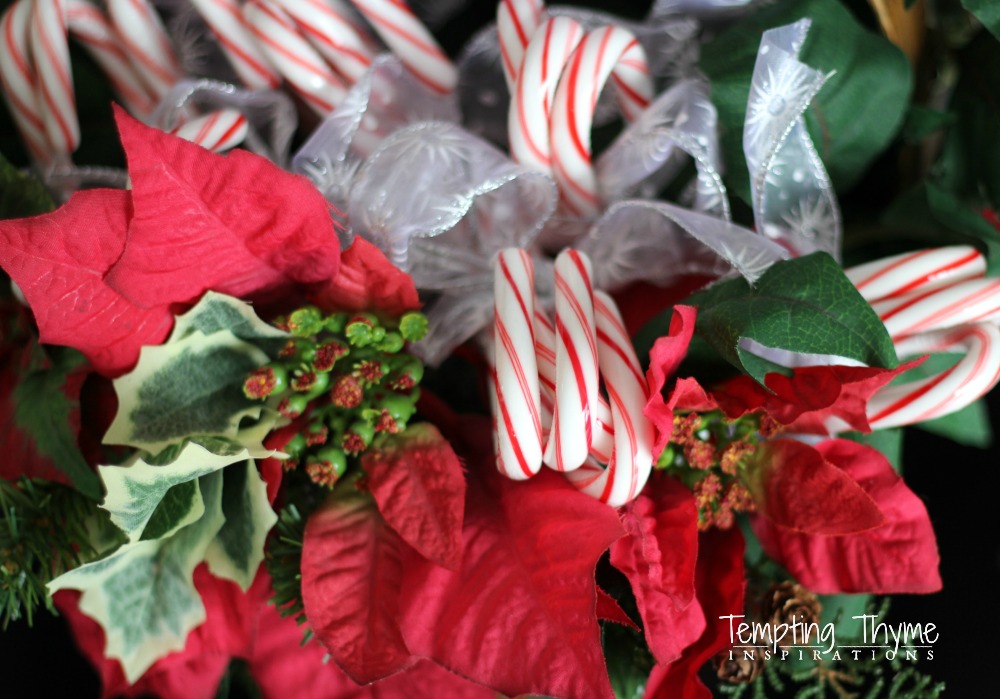
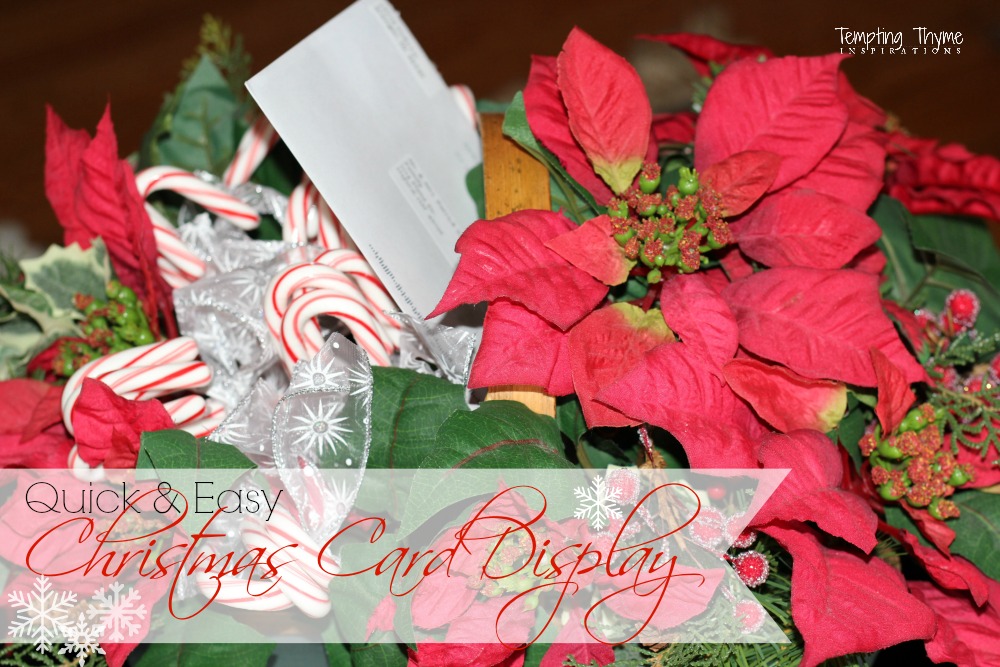
I can just about guarantee that you will have most of these items already on hand, and if not…..the ‘ingredients’ can easily be swapped out for items you have on hand. This was made with a rectangular basket….mine happens to be various shades of green, holly branches, poinsettia picks or a poinsettia bush that you can pull apart to create your own picks, sparkly berry picks, 2 boxes of candy canes and silver snowflake ribbon. You will also need some floral foam bricks and either wire or a glue gun to anchor that foam to the basket {so that it doesn’t move around on you}. Once you get the foam anchored, you will just position the various picks inside the basket.
I wanted the basket to look full while it was waiting for the Christmas Cards, and easily adapted once the cards started arriving. I solved this problem by having 1/3 of the basket filled with candy canes tied with pretty wired ribbon. One side of the basket is completely filled with poinsettia, holly and berry picks. The other side I only did the outer rim with poinsettia and holly picks and left the center open. This is where I place the wrapped candy canes {in bundles of 3-5 each}. If you receive a ton of cards, you can always take out a few candy cane bundles to make room for them. When I took these pictures we had only received 1 card…….and it arrived the day after Thanksgiving. PT’s poor cousin! Many years ago, she got her cards out early and now everyone expects that card in their mailbox the day after Thanksgiving. She has not disappointed us yet! What pressure, right? LOL!
This year I did switch up the candy canes and ribbon. I was getting tired of the soft gold ribbon, and the candy canes were ancient and I was afraid one of the kids would accidentally eat one. After all these years I still really like having this basket as our Christmas Card Display!
How do all of you display your Christmas/Holiday Cards?
Shaunna
Christmas Decorating:
Christmas: Family Room
Christmas: Dining Room
Christmas: Santa’s Village

