
I hope you all are having a great weekend! We have some gorgeous weather going on in SW Ohio, and I hear that it is going to stay this way all next week! I think this means that I will actually have to get outside and take my Christmas wreath off of the front porch, and change out the evergreen ones on our shed. No use shaming me…..I tend to forget about that wreath each and every year!!
Hopefully you are enjoying a little sunshine also!
We are having a pretty low key sort of weekend. I puttered around the house……really accomplishing nothing other than getting the laundry room door painted and the latest ReStore light fixture spray painted. Today I have the honor (ask me when it is all done if I still feel honored) of going car browsing with B. I would like to think that he really values my opinion, wants to spend time with me, and thinks I am a pretty good negotiator. But the truth is he knows that PT cannot stand shopping, and will have zero patience going from lot to lot to lot getting a feel for what he is wanting.
Even though the latter is the fact I will continue to believe the former!!!
Let’s talk fabric, and your favorite quote, graphic or adorable photo of your child. I recently found a very easy way to print on fabric, and thought I should share it with you. Although, you are probably aware of it already…. as I think most of you are way more creative and on the ball than I am!! 😉
Sooooooooo, if you have been doing this for years……just humor me and give me a shout out that you are so happy that I am finally in the 21st century.
This project actually came to light a few years ago when I wanted to make a t-shirt quilt for B for part of his high school graduation present. Thought it would be cool to make it from all of his youth athletic jerseys/t-shirts. You know what I am talking about…….these quilts are very popular these days and perfect for kids who are graduating from high school/college, and would even make a special gift for newlywed’s.
I had to have had an inkling that I would do something like this, as I have been saving every t-shirt and jersey since the kids started playing soccer and t-ball at the tender age of 4!
That is a lot of t-shirts taking up space in my storage room! Maybe I should learn that I don’t need to hold onto “everything” from my kids childhood. Although I don’t think anyone can call me a hoarder, I do have a soft spot for all things B and K.
I won’t even go into the “why” the quilt never got completed (let alone started) two years ago! I am just happy that it has been started and will be done soon.
This particular quilt will not only have bunches of t-shirts, but it will also have squares of “photos” placed in the center of the quilt. I loved the idea of printing some of my favorite photos of him during the first 18 years of his life.
I found some prepackaged printable fabric sheets at JoAnne’s and thought I would be good to go. The package included five 8 ½ x 11 sheets…..just enough for what I wanted to do. I ran into a big problem, when I goofed the first one, and the second one was deemed too small when I printed the photo as a 5×7. That left me only 3 sheets to do 5 photos, and I was dreading spending another $8.40 (that was with a 40% off coupon) for another package!!
I started surfing the internet for alternatives and found that you can actually create your own printable fabric sheets. I was all over this one!!!!! Big shout out to the Graphics Fairy for inspiring me.
Not only did I have most of the supplies (I needed the muslin to be a specific off-white), but it was very quick and easy.
Why buy the expensive printable fabric sheets when you can make your own!!!! Right???
You need to first make sure that your fabric is free of wrinkles, so get out that dang iron and start heating it up.
Once that tedious chore is done you will set up the area where you are going to spray the adhesive. This can get pretty messy and sticky, so make sure that you protect the surrounding space. I learned this lesson the hard way after making this! I was scraping the sticky stuff off my kitchen table for weeks. BTW—–if it is warm where you are, then do this outside. But if you have to do it inside, protect your surface. Learn from my mistakes! 😉
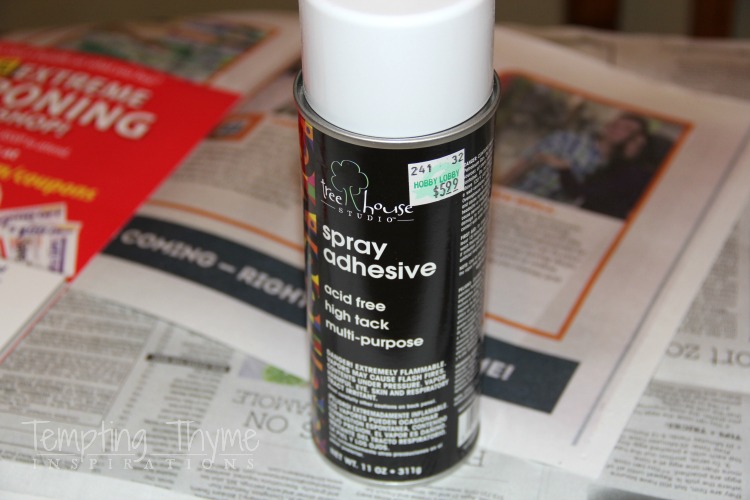
There are many spray adhesives on the market, I just happened to have this on hand…..
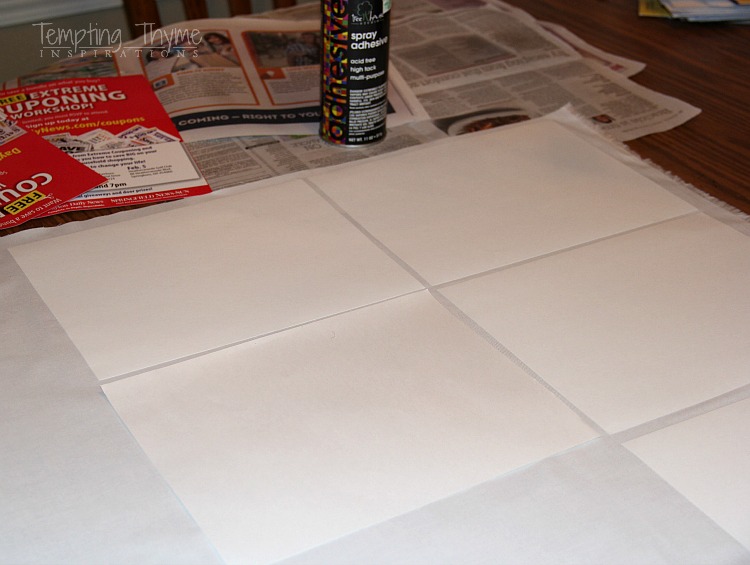
Put the fabric down on top of the newspaper. Lightly spray the adhesive onto the cardstock and place sticky side down onto the fabric, smoothing it down so that you don’t have any wrinkles or bubbles. Just like the subway art projects, I started in the center and worked my way out. I then trimmed around each cardstock so that each one was 8 1/2 x 11, and would have no difficulty going thru the printer.

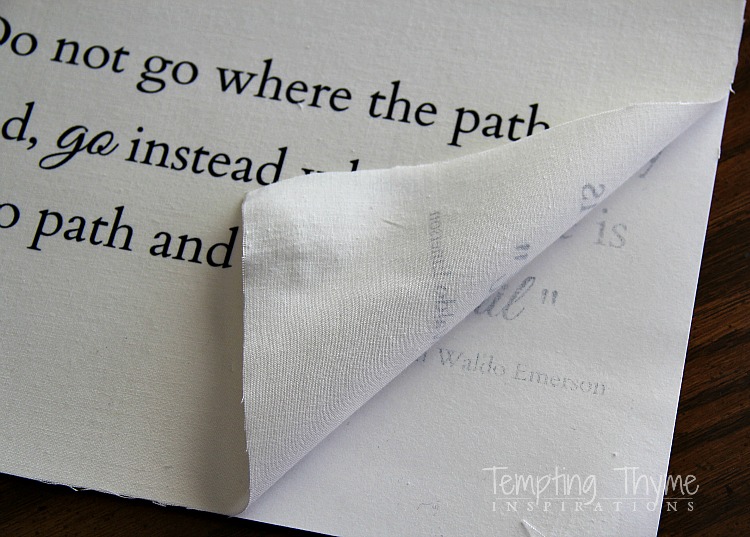
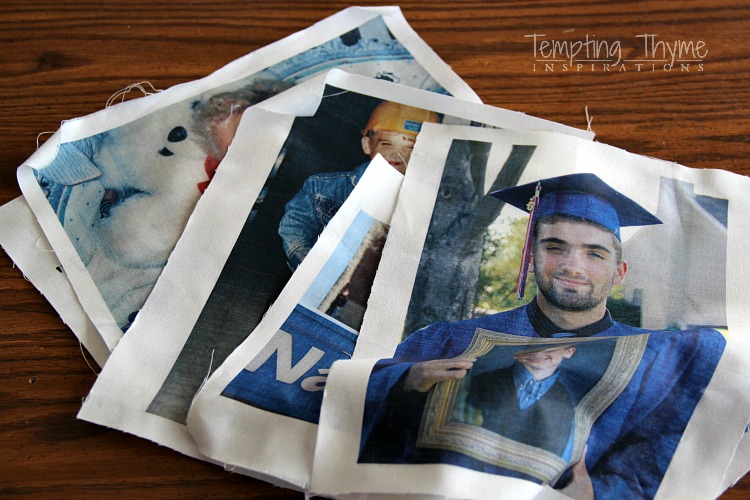
I used a variety of my favorite photos and added in an Emerson quote that I have loved for the longest time, and is so appropriate for someone embarking on their next chapter in life. I don’t have any pictures of how I placed the fabric into the printer. Mine went in fabric side down, but you need to follow the direction of your personal printer.
I let the ink set up for 24 hours and then peeled the fabric off of the cardstock. I don’t think I would use any other color of cardstock besides white. I wouldn’t want to chance that the dyes from the paper would bleed thru to the fabric in the printing process. I could be totally wrong in my thinking, but why risk it!
If you want the ink to be totally permanent, then you can run your fabric squares through a quick vinegar bath, and then air dry. Depending on how you are going to use them in your craft project, you could also use fray check around the edges to curb the unraveling that starts to happen when you cut the fabric. I did not do this, as there will eventually be a border of t-shirt fabric framing all of these squares.
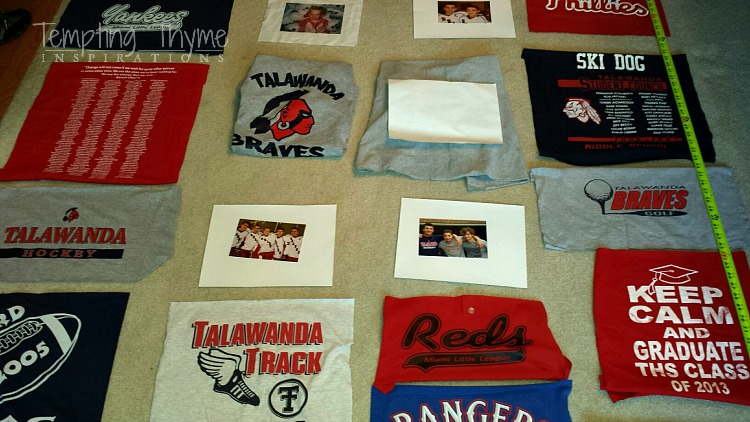
Here is a quick shot of where the photos will go in the quilt. As you can see I decided against using photos of him and friends and turned it into an “all about B” quilt.
Printing on fabric was such an easy project that I will be using this method again and again. The possibilities are endless if you have access to a larger printer….
Supplies:
- Lightweight Fabric (I used muslin)
- Adhesive Spray
- Card Stock
- Scissors
- Inkjet Printer
- Newspaper
What method do you use to print on fabric????


Pingback: Printing on Fabric {Easy Craft Project} | anahikristian