This week absolutely flew by (in the blink of an eye)……
So happy it is the weekend, and 48 hours of freedom lay ahead of us.
Don’t have any plans for it, but the possibilities are endless…..which makes weekends awesome!
It is party planning season with graduations on the horizon for many. For some of you, this is your very first baby who will be embarking on their next chapter.
I feel your pain!
Emotions are at the forefront, and some days it may feel like it takes everything you have just to hold it together and get through the obligations of the day.
For others…..could be your second, third, or even sixth time around and you are familiar with the drill and have it all together. Doesn’t matter what category you are in…….
I will repeat it………I feel your pain! 😉
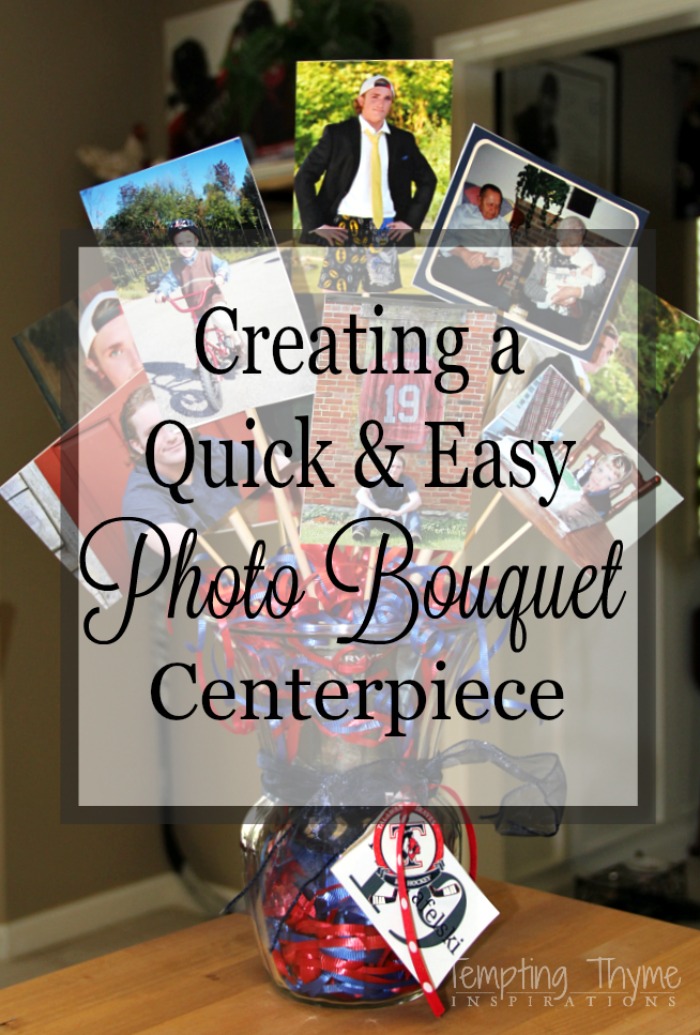
I whipped up this photo bouquet centerpiece for K’s graduation last year.
I liked it so much, it stayed in my office until just a couple of weeks ago.
It is a fun way to show off your child……..the growth and personality changes they have experienced over the years.
I just wish that I had thought of this for B’s graduation a few years back.
Hmmmmm, he will be graduating from UT next year……
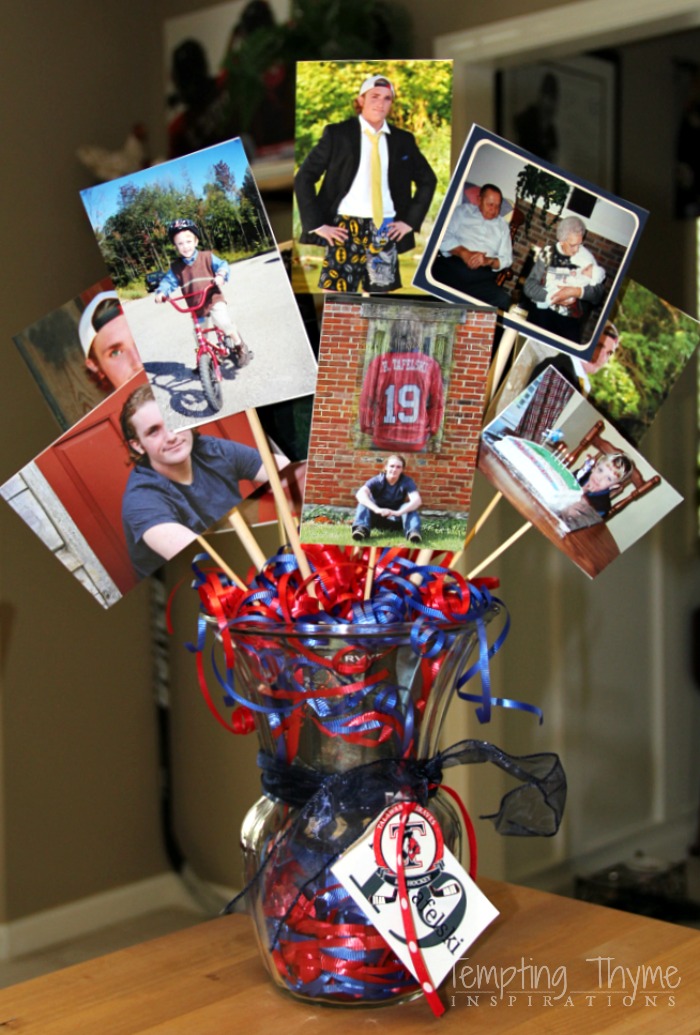
Materials Used:
- Vase – Most of us of a few of these laying around
- Floral Foam
- 12″ Dowels or long wood skewers
- Photos – tons of them
- Double-sided tape
- Ribbon to use as filler in the vase
Optional: Ribbon and pretty tags to wrap around the outside of the vase
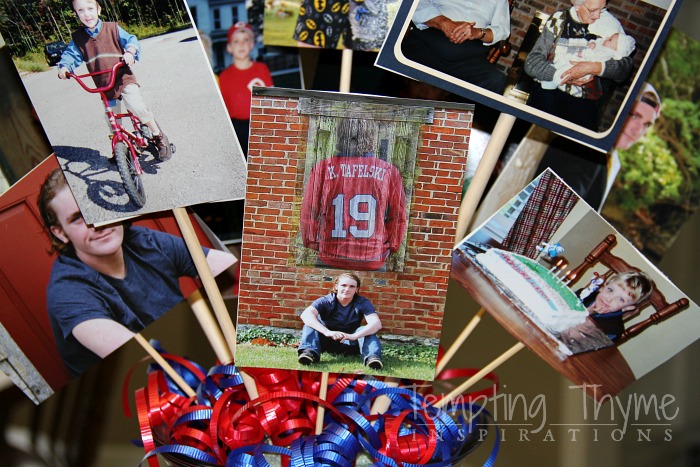
You can use anything for the vase. I had a wide mouth vase that tapered in the center and became wide again towards the bottom. LOL……..that description kind of sounds like my body type!
In fact if you use a colored vase, jug or other unique container you will not need any “filler” to hide the floral foam.
For me this project primarily came about because I wanted some type of centerpiece for his party that could be moved around from table to table, or wherever there was an empty spot that needed a focal point or anchor…..
……and I had a ton of photos left over from this project!
Push the floral foam into the container of your choice. Foam comes in many shapes and sizes, so find one that you can shove in the container giving it a tight fit so that you don’t have to use any glue, tape or wire to hold it in place. Add the filler to hide the foam if needed…..
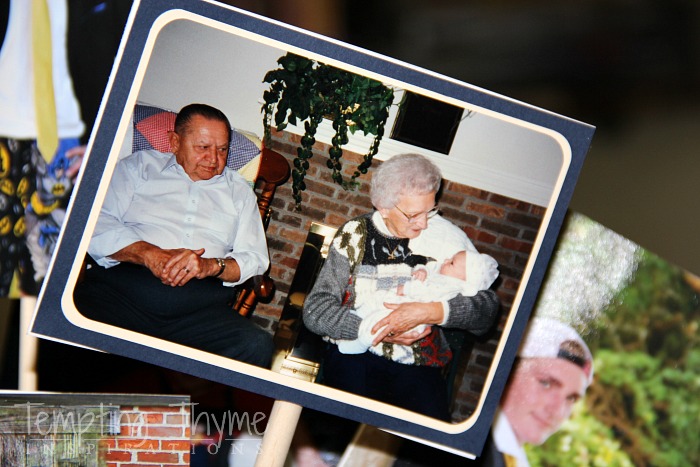
Using double sided tape, add photos to both sides of the dowel (or wood skewer). The photo above is one of the rare shots that I have of him with PT’s grandparents. You can’t see it, but K was the spittin’ image of his great Dzia Dzia when he was a baby.
Once you have a number of them completed…….. start layering them in the vase, pushing the dowel into the foam to anchor them in place. Play around with the design making sure that there is a photo to look at from every angle.
Add, or subtract, as needed until you are happy with the design.
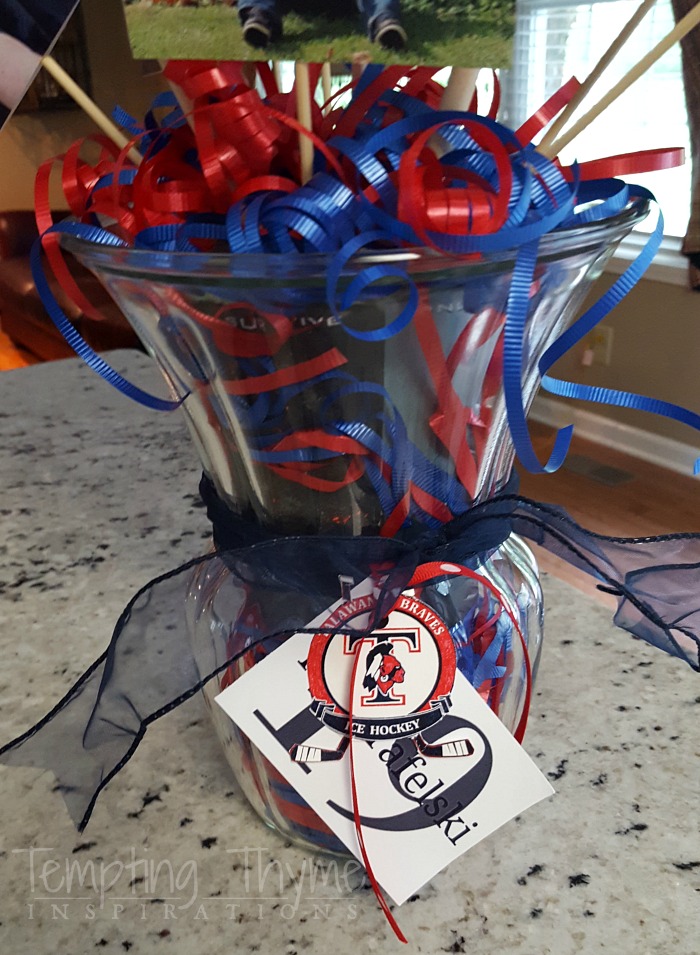
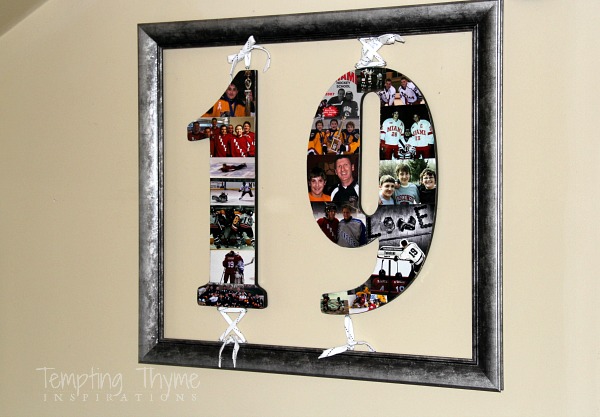
I finished the vase off by using the ribbon and tags that I created to wrap up the jackets that were given to the hockey players during their senior night.
You can finish it however you want. Have fun with it!
I was not planning on showing this photo centerpiece off on the blog, which is why there are zero photos on assembling it! I was so happy with the end result that I took photos of it before, during and after his party.
I came across them a few weeks ago while organizing and sorting through the photos on my computer, and thought I would share it with you now.
You know……just in case you are planning a special occasion party like a graduation, anniversary, retirement OR birthday.
Just like the weekends, the possibilities are ENDLESS for using this photo bouquet centerpiece! 😉
Amazing factoid…….I never took a photo of the sides and back! All of my photos are of this angle with the same photos in every shot!
Such a screwball!!
Have a great weekend everyone……..


I can’t wait to do this for my daughter’s 16th birthday!
What a great idea! I have a son who is graduating in a month and I may be ready physically but emotionally I don’t know if I will ever be ready.