I hope you all had a wonderful weekend. We made a quick trip up to South Bend to spend Easter with my parents and PT’s Dad!
I love the fact that my Mom does not even have to ask whether she should invite my father-in-law …… she just does it!
Thanks Mom!
I have been trying to share this project for a few weeks now, but every time I sat down to edit photos and put thoughts to paper, our internet decided to run at a snail’s pace …..
and hours later I would still have nothing to show for it.
So frustrating!
We are obviously in the market for a new provider……
Anyone happy with their internet provider?
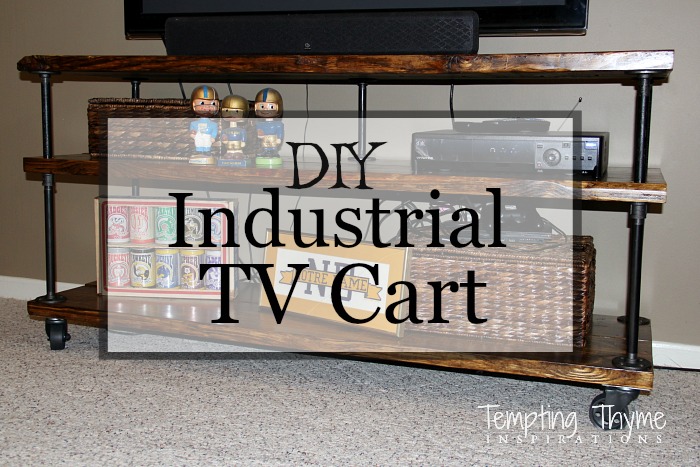
This project was definitely a need and totally self-inflicted. When B’s roommate graduated in December he took all of the family room furniture with him. The young man had the nerve to get an awesome job in Texas, and take his furniture with him! 😉
I, for one, did the happy dance!
Not because Jordan moved, but because we had been holding onto furniture for years waiting for this moment.
You know how it is…….you bring in a new piece of furniture but hate to part with the old, as it would be perfect for a college dorm or apartment!
I am also to the point that I am ready to freshen up our 18-25 year old family room furniture! 😉
I basically opened up the house and told B to take whatever he wanted.
So far only the coffee table and an entertainment center are gone.
I am hoping even more heads out the door soon………
In the meantime I had to get to work …….
as our basement tv was sitting on the floor! LOL!
Still doing the happy dance!
I did think about purchasing one from Hobby Lobby and TJ Maxx, but didn’t have the SUV at the time, and there was no way that I was going to fit either one of them into the Kia (even if I did manage to get this into my little car)!
I also had a strong vision in my head of industrial pipes and big, chunky wood!
I asked how many shelves PT wanted and his response ——> 2
Giving you a heads up, the pictures are not the greatest. Even with the lights on, the basement is kind of dark, plus all of these photos were taken with my phone.
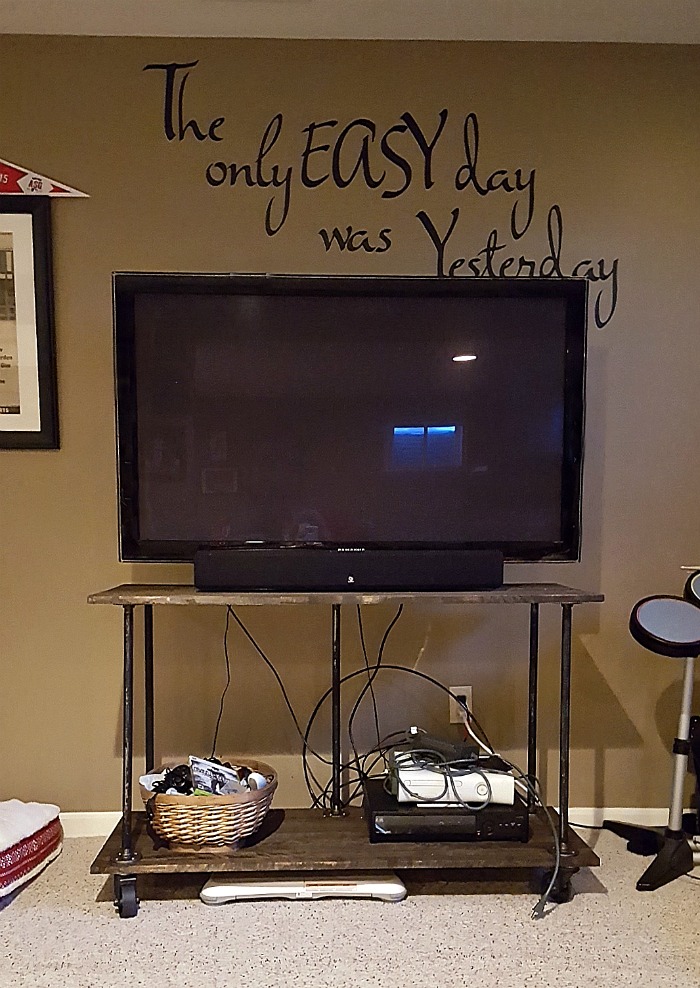
I was able to make it pretty quickly, but HATED it!
Way too much space between the shelves!!
Don’t you agree?
I asked him again how many shelves he wanted, and thankfully his response was ——-> 3
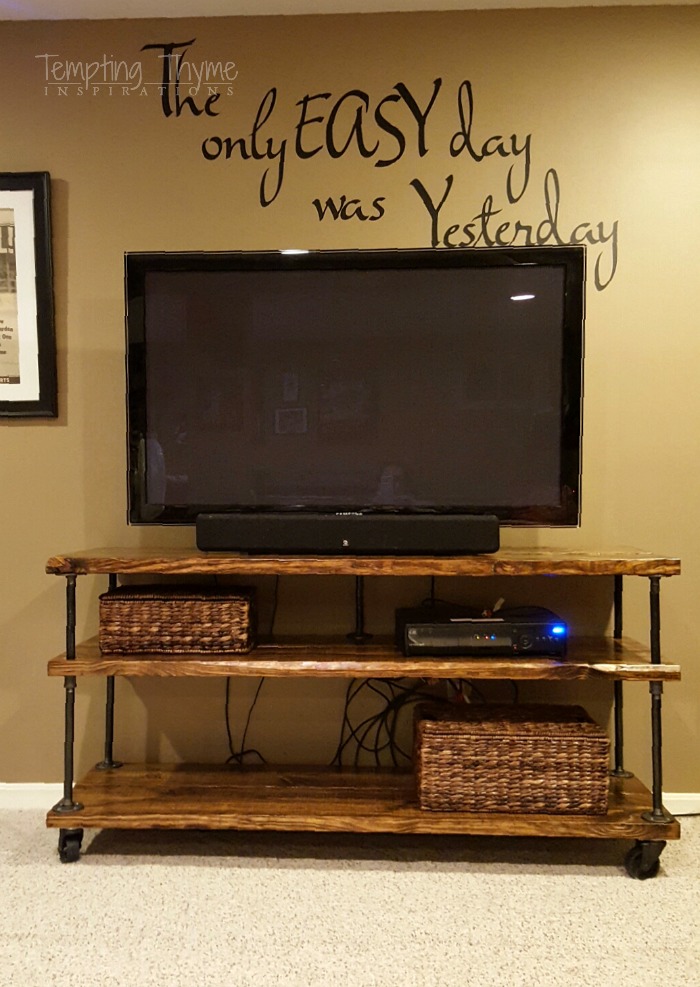
So much better!
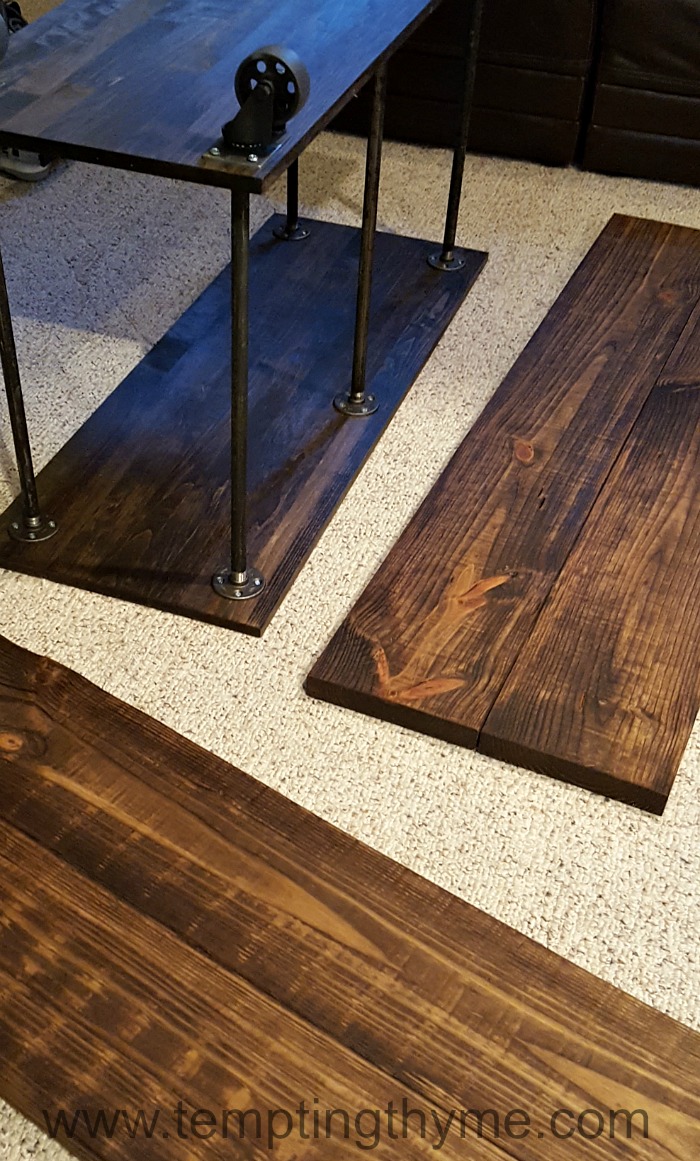
Short on space, and knowing that this sucker was going to be heavy, I built the new one alongside the one that was being dismantled.
Here are the materials that I used:
- 4 iron caster wheels (spray painted black) – mine are 4″ in diameter and I got them at Home Depot.
- 10 – 1/2″ black floor flanges.
- 4 – 1/2″ x 12″ Black Steel Pipe Nipples.
- 5 – 1/2″ x 10″ Black Steel Pipe Nipples.
- 1 – 1/2″ x 8″ Black Steel Pipe Nipple.
- 4 – 1/2″ Black Couplings.
- 3 – 2″ x 10″ x 10′ pine boards (mine are cut in half, giving me 6 boards total).
- Various screws appropriate to the size/depth of the caster wheels used.
- 1 inch wood screws to secure the flanges.
- Drill, drill bits/paddle bit, kreg pocket jig with kreg pocket screws.
- 2-3 24″ minimum bar clamps.
- Minwax stain – Our color is Provincial.
- Minwax quick drying satin polyurethane (optional).
Let’s back up a step so that I can tell you that the second time around I purchased chunkier wood……2″ thick (which is really only 1 1/2″ thick).
The 1″ inch board on the first cart (actually 3/4″) just wasn’t cutting it!
Too wimpy!
Why can’t wood measurements be true to size?
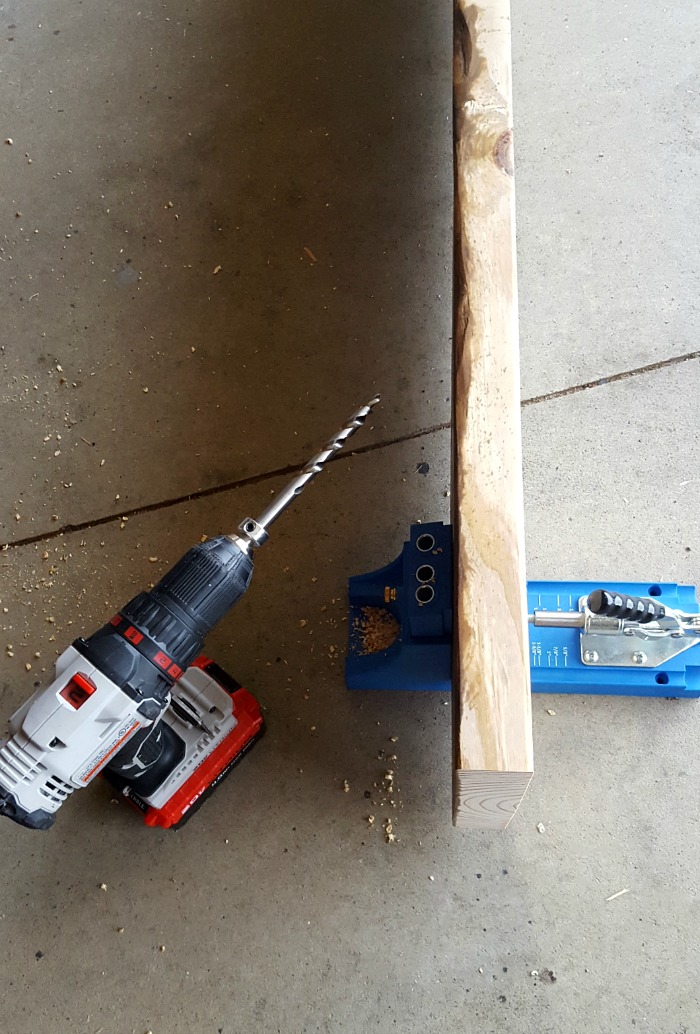
I wanted the shelves to be 5 feet long and 2o inches deep. I found the 3 straightest boards (2x10x10) I could find at Lowe’s and had them cut in half for me. I have heard that they are starting to charge .25 cents per cut, but they did not charge me for this service.
My plan was to join 2 boards together giving me the width that I needed, and the 3 shelves that PT finally agreed would look better.
I pulled out my Kreg pocket jig and used it for the VERY 1st time!
It had only been sitting in my garage for a year! 😉
I drilled the pocket holes about every six inches. Not sure what the true protocol is, but I wanted to make sure that these shelves would be secure!
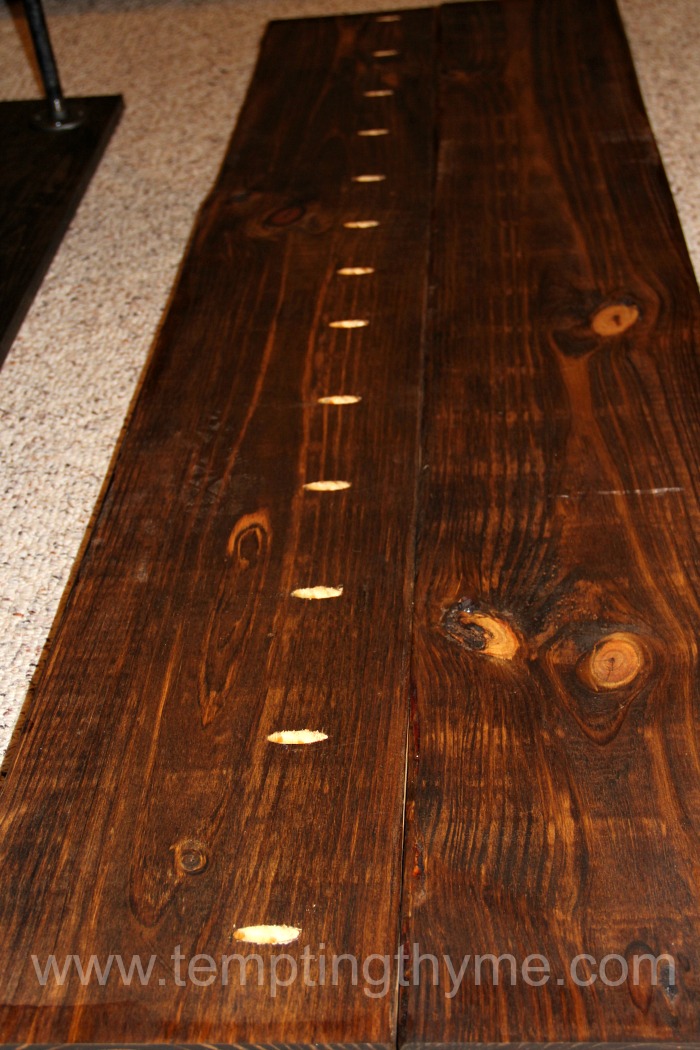
I will not tell you how to use the pocket jig…..
I am definitely still learning myself!
I sanded down the boards, getting rid of all the rough edges and splintered pieces.
I also gave it 2 coats of stain before joining the 2 boards together. The edges of the boards had a slight rounding to them, and I thought it might be easier to stain while the boards were still separate.
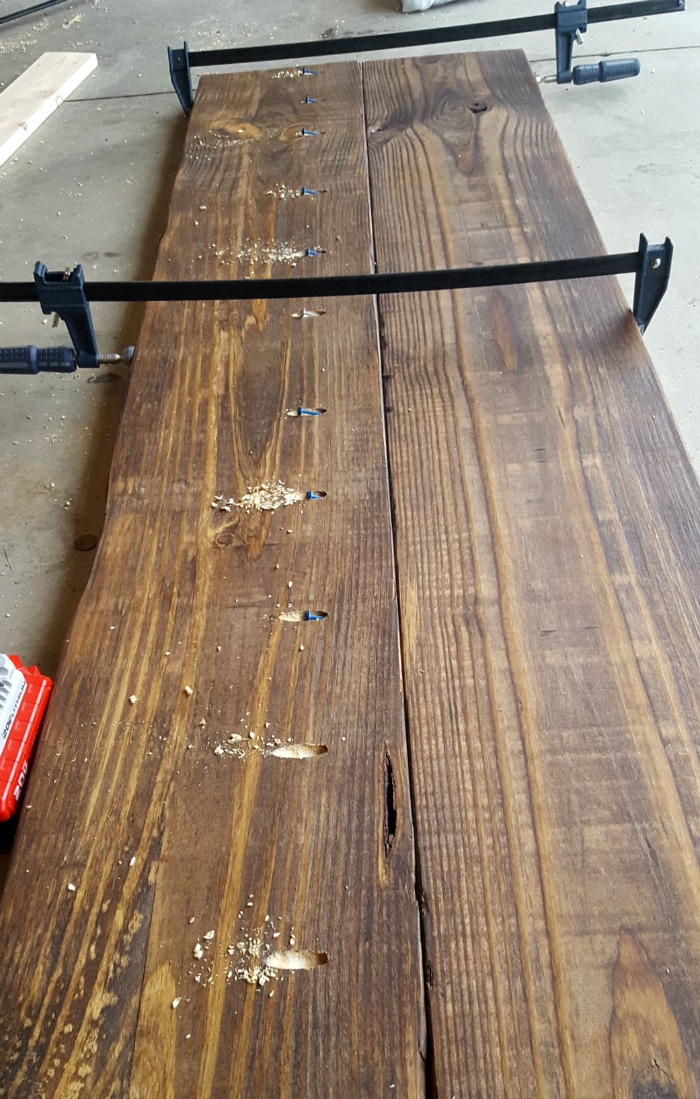
Once the boards were dry, I used 3 bar clamps to give the joints a tight hold while I drove the pocket hole screws into the pocket holes into the second piece of wood.
Try saying that 3 times fast!
I moved the 3 completed shelves to the basement. As I said earlier, this cart was going to be heavy and awkward to get down the stairs. I thought it would be much easier to assemble it in the basement.
I started with the wheels, spray painting them black before screwing them into the bottom of one shelf.

Like I said…..awful lighting!
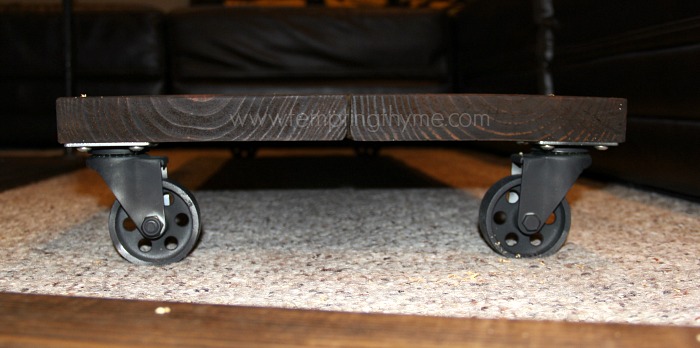
After flipping the first shelf over, I placed 4 floor flanges along the edges and drilled pilot holes, screwing them into place with 1″ wood screws.
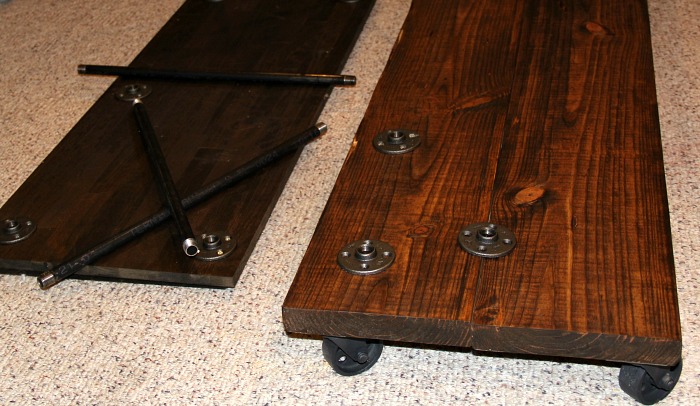
Next up was screwing in the 12″ nipples. On top of the nipples I screwed on the couplings. I did not screw each of them tight, as I needed to be able to make some adjustments to keep everything level.
I do not have any pictures of the next step, but I placed the second set of boards on top of the couplings, made adjustments to the nipples/couplings as the leveler dictated and then used a sharpie to mark the area around the coupling.
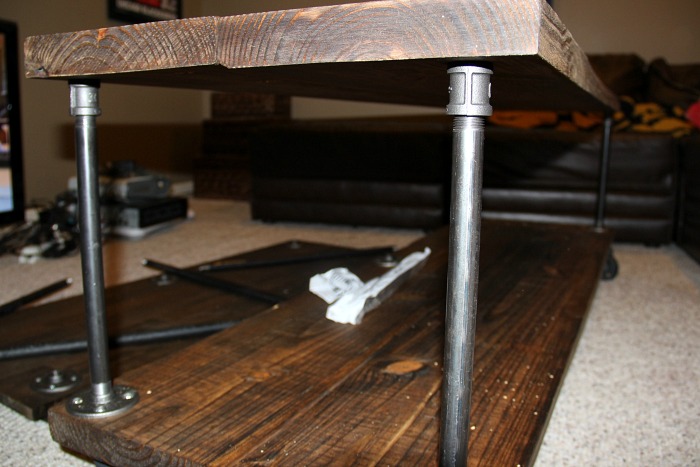
The thought process was to drill a hole through the second shelf, so that I could insert the 10″ nipple and screw it into the coupling.
You could make it even easier by skipping the coupling and attach each level with more floor flanges, but I had an image in my head that I could not let go of………
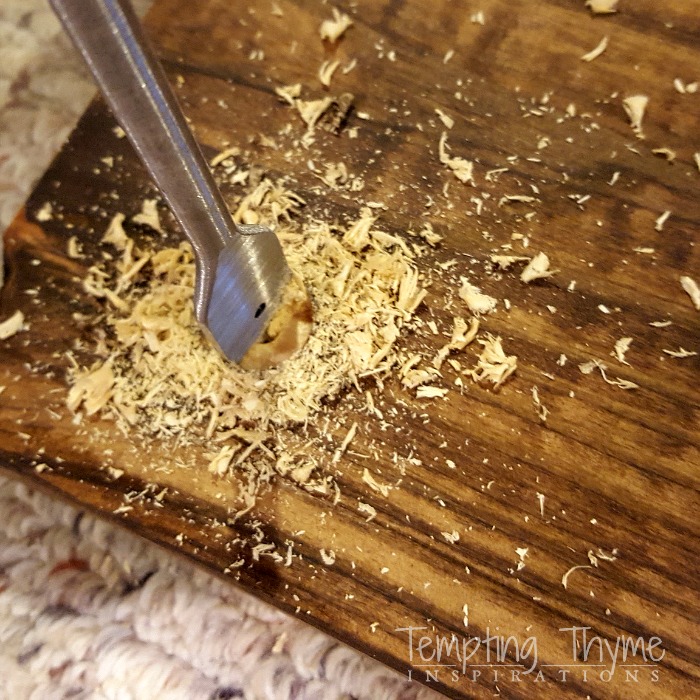
The pipe nipples are 1/2″, but I used a spade bit that was a little bigger so that I could easily slip the pipe through the wood to screw it into the coupling. The bits ranged in size from 5/8″ – 3/4″, as each pipe were not exactly the same width.
Go figure!
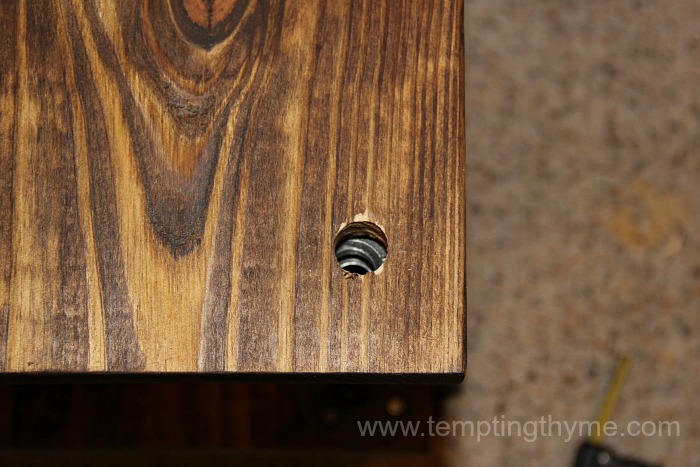
I think you can see in the above picture that the board sits on the coupling. One end of the coupling has a little wider base making it perfect in supporting the wood shelf.
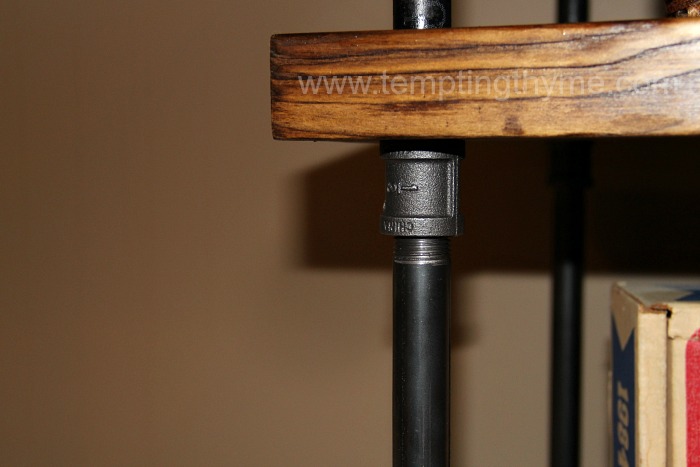
Next step was inserting the 10″ nipples , and loosely screwing them in. You will not screw them in tight until you know that the top shelf will be level.
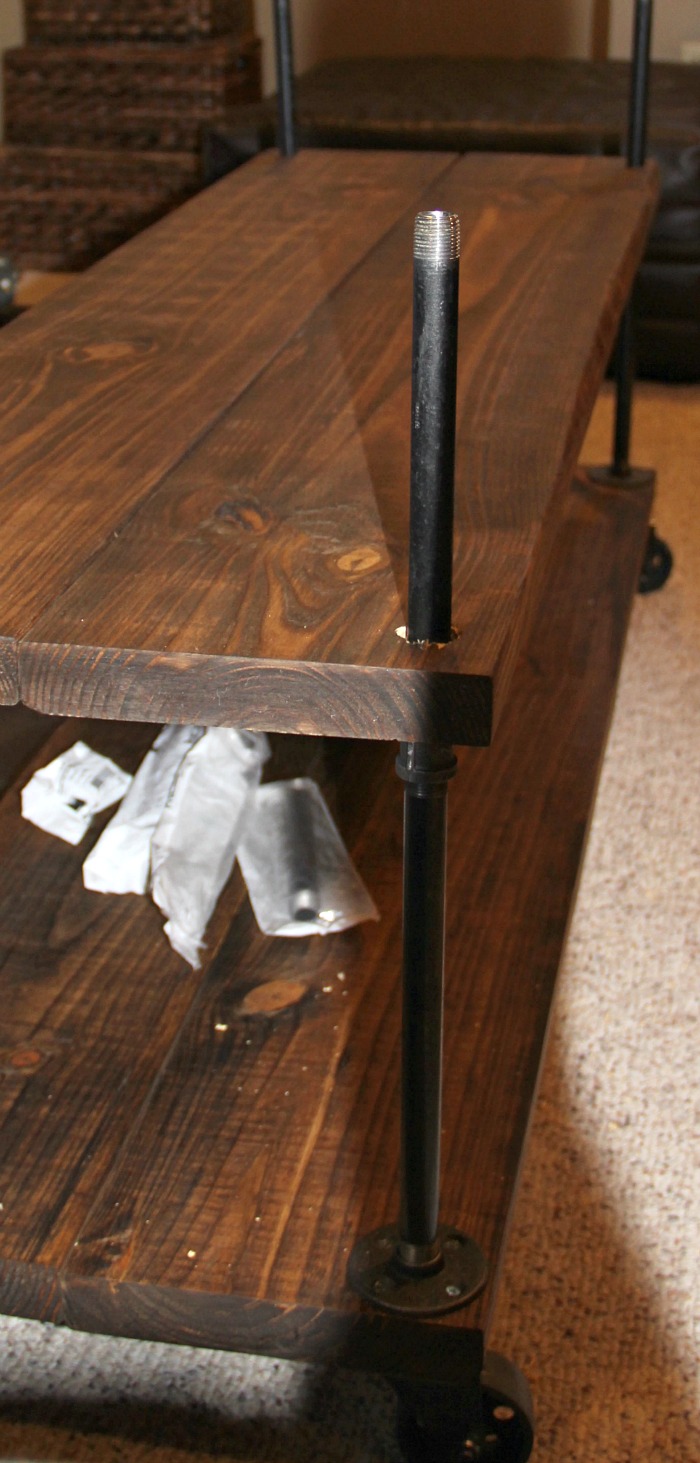
I have no pictures of the last few steps, but you will get the idea from the picture below.
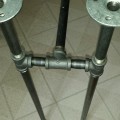
I screwed the floor flanges onto the pipes, placed the final shelf on top, dry fitting it to make sure that everything would still be level and adjusting the pipes and flanges as needed.
I drilled pilot holes and used screws to secure the flanges into the top shelf.

At this point I decided that a little more support was needed in the center…….
a 50″ tv was going to be placed on top!
No way did I want it to be top heavy and start sagging in the center.
This is where that lone 1/2″ x 8″ pipe comes into play.
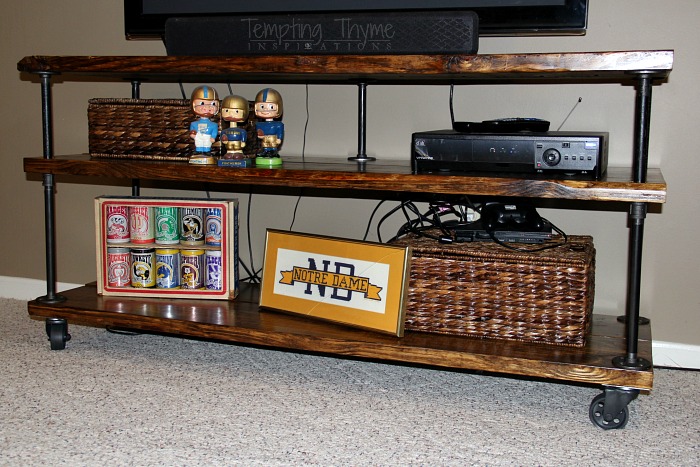
I screwed both ends of the 8″ pipe into the 2 remaining floor flanges and wiggled it into place along the back edge of the middle and top shelf. I finished it up by drilling pilot holes top and bottom, and secured it all with 1″ wood screws.
It may sound like it took awhile to assemble this cart, but once in the basement the entire process to dismantle and assemble took less than an hour!
I did finish it up with a coat of quick drying polyurethane. The can said satin, but I swear the finished product looks glossy. {SIGH}
So happy that my vision came together relatively easy!


I just completed mine and wanted to thank you for all the details. You stand has a twin in Texas!
That is awesome! Thanks for letting me know Ronnie. Post or email a photo please.
You did a great job. I got my first jig last year and love it. What a great tool. Have a great weekend,
Bev
Great job I am impressed. Your pictures are fine. I just need to know what flanges, pilot holes and spade bits are. I guess a trip to Home Depot is in order.
Thank you Joan! LOL…. I was totally in your shoes a few years ago, and knew nothing about all of this stuff. Still don’t for that matter!! 😉 Pilot holes are drilled into the wood prior to screwing in the screws. The holes make it easier to adjust and secure the screw. Spade bits are simple drill bits that will drill a large circular hole through your material, and floor flanges are in the plumbing and pipe aisle at your local hardware store, and are generally the starting point for any of my industrial projects. They can secure the items to the wall or floor, or in this project…..to the wood shelves.