I hope all of you had a wonderful Easter weekend. Ours was extremely low key as I am not as mobile while my collarbone heals.
Yep, I broke my collarbone while we were over in Greece.
Didn’t know that PT and I took a trip to Greece and Italy? You will hear all about this “educational” tour soon, as I will be posting a gazillion photos. Needless to say, I had an awesome time getting to know some of PT’s students. The only downfall was falling the first day while touring the Parthenon (Acropolis), and breaking my collarbone.
Good times people….good times!
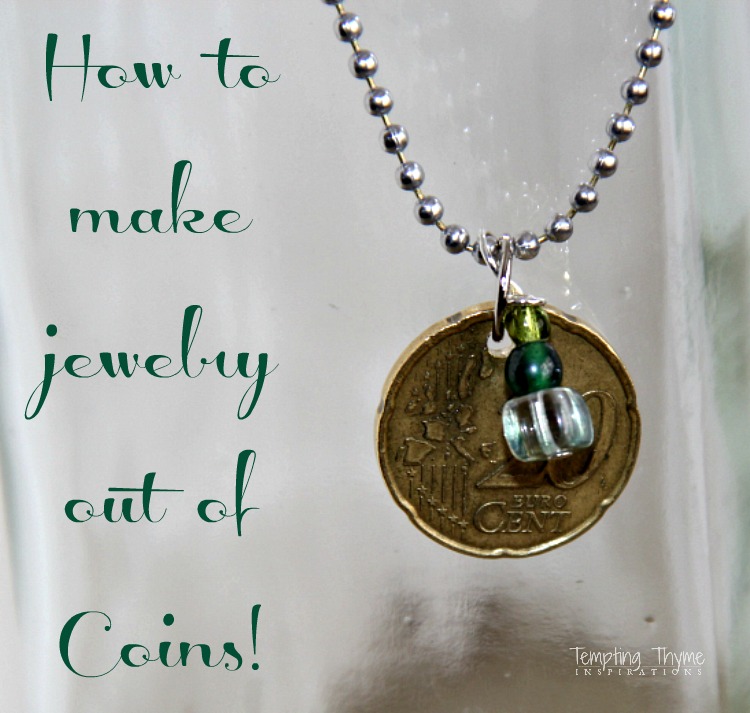
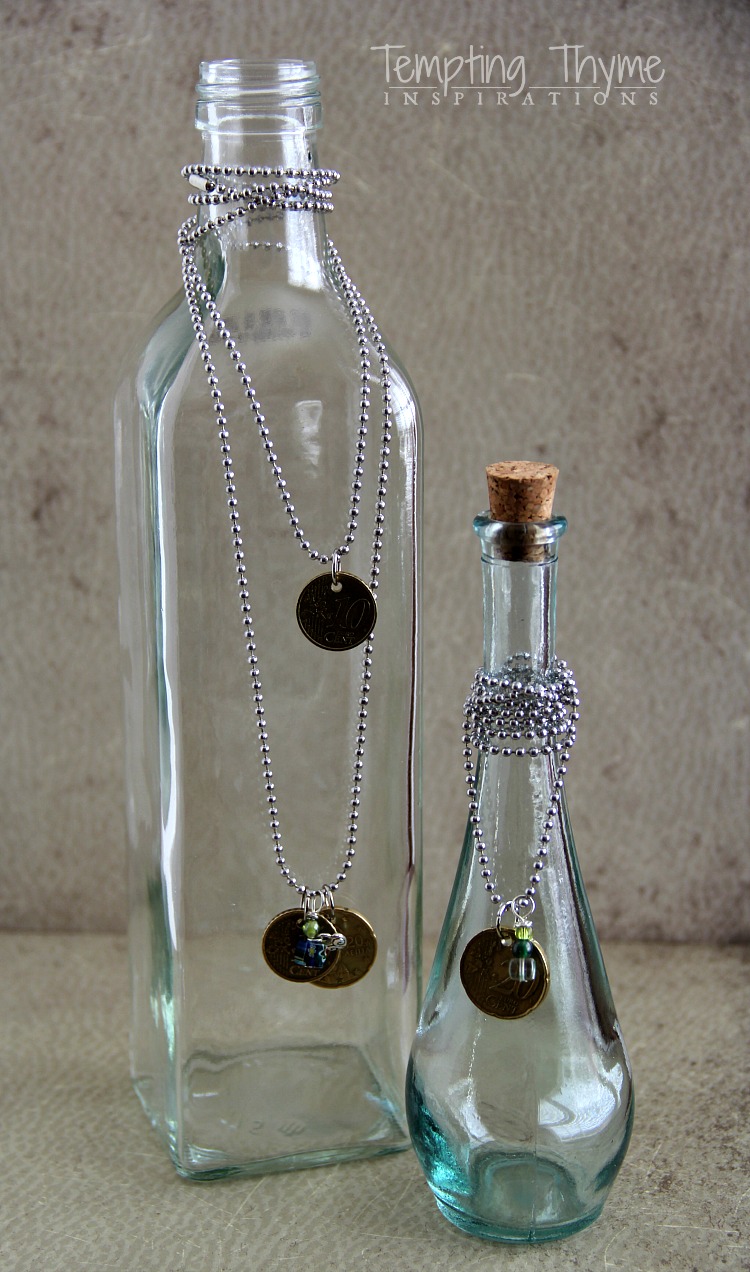
Which brings me to this quick little tutorial on turning coins into jewelry. One of the other adviser’s in our tour group mentioned that she had made some pendants out of some Euro’s left over from a previous trip, and I was like…..”omg, what a fantastic idea”!!!
Can’t you just see me saying this……hands going every which way?! 😉
Well, only one hand this time. The other one was glued to my side for most of the trip.
I was so excited to get this going this weekend.
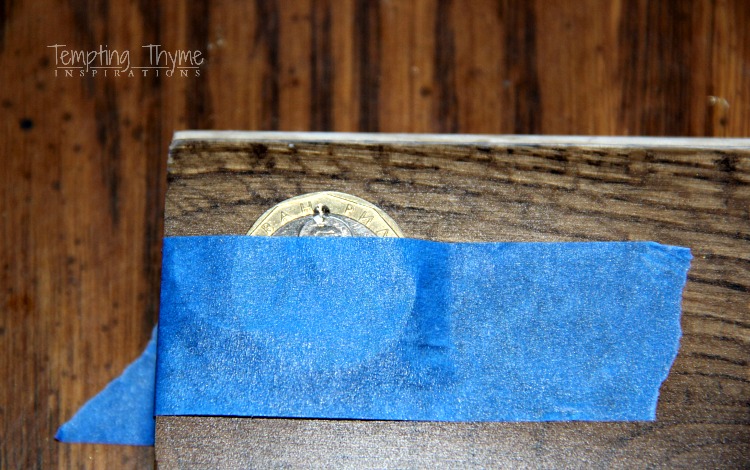
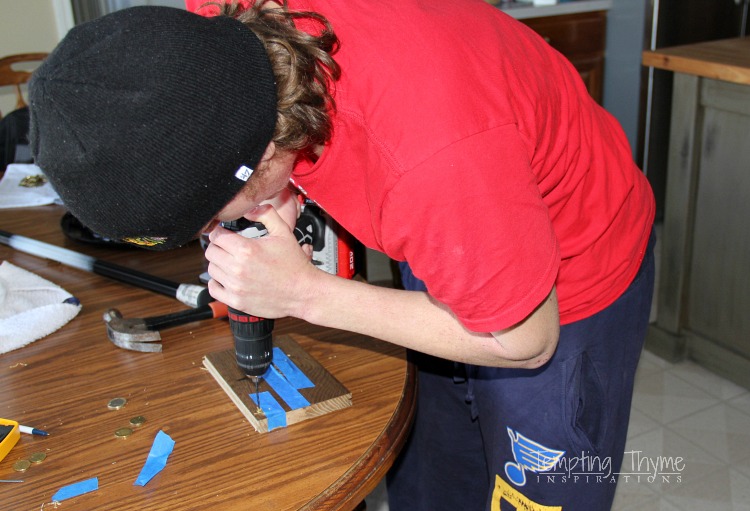
I found a spare block of hardwood flooring leftover from this project, and taped down some of the Euro coins so that they wouldn’t wiggle around while the drill was doing its job. As double insurance I also used double sided tape and taped the block of wood to the table.
I decided to use a 3/32 drill bit, so that a larger jump ring could fit through the hole.
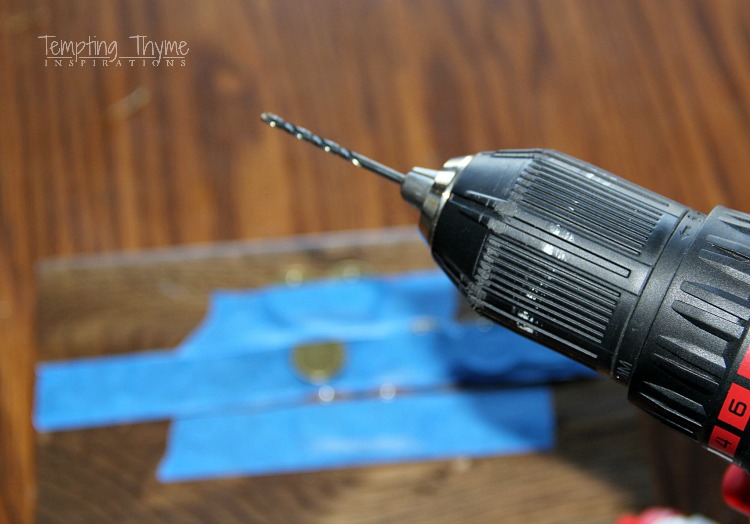
K was fabulous, and did all of the drilling for me!!! With ZERO complaints I might add!!!
The rest was pretty easy. I used 20 gauge jump rings, slipping them through each coin. I happened to have these on hand from previous jewelry projects and they were easy to “open” up with some small chain-nose pliers.
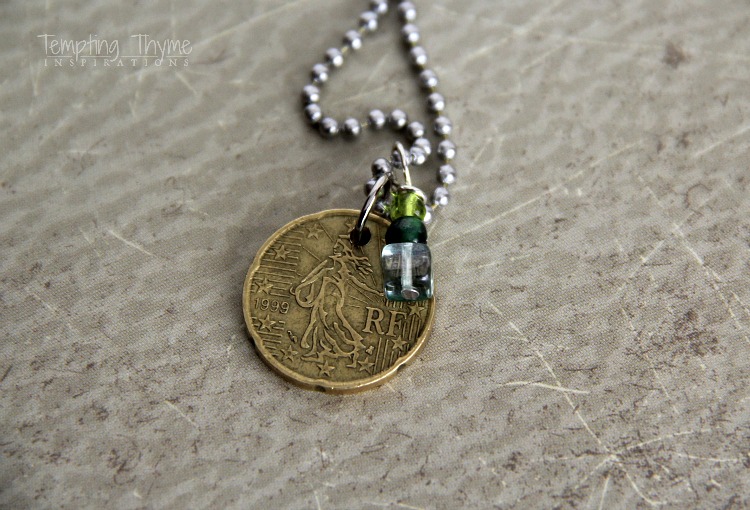
I added these coins to simple bead ball chains…… only because I have a lot left over from a Relay for Life fundraiser I did a few years back. When I am out and about in the coming months I will be looking for some copper or silver chains that might accent the coins better.
I also added a few bead charms to the coins. I used colors that would highlight our particular trip…..blues and greens for Greece, and reds, yellows and rust colored ones for Italy.
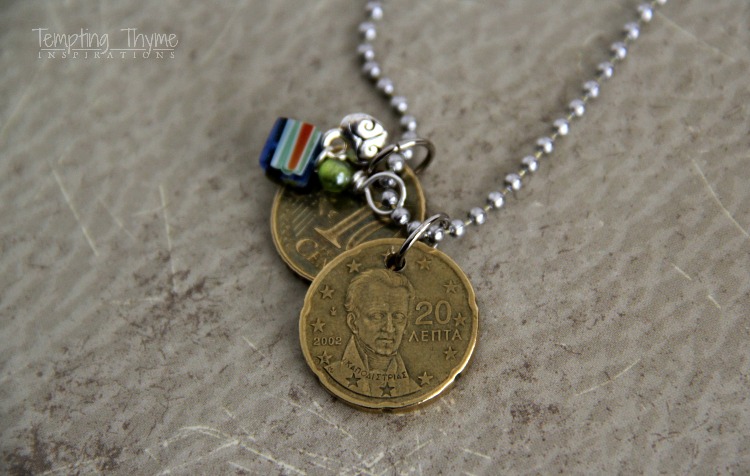
I added the beads to long pin heads, creating a loop using round-nose pliers and then twisting the excess wire around a few times before cutting the excess off with flush cutters.
There are noooooo pictures of this process. Sorry!! I will do a quick tutorial on this when I have the use of both arms. The jump rings and bead charms were completed with one arm tight to my body in a sling. No way could I do this and try to hold a camera for pictures. 😉
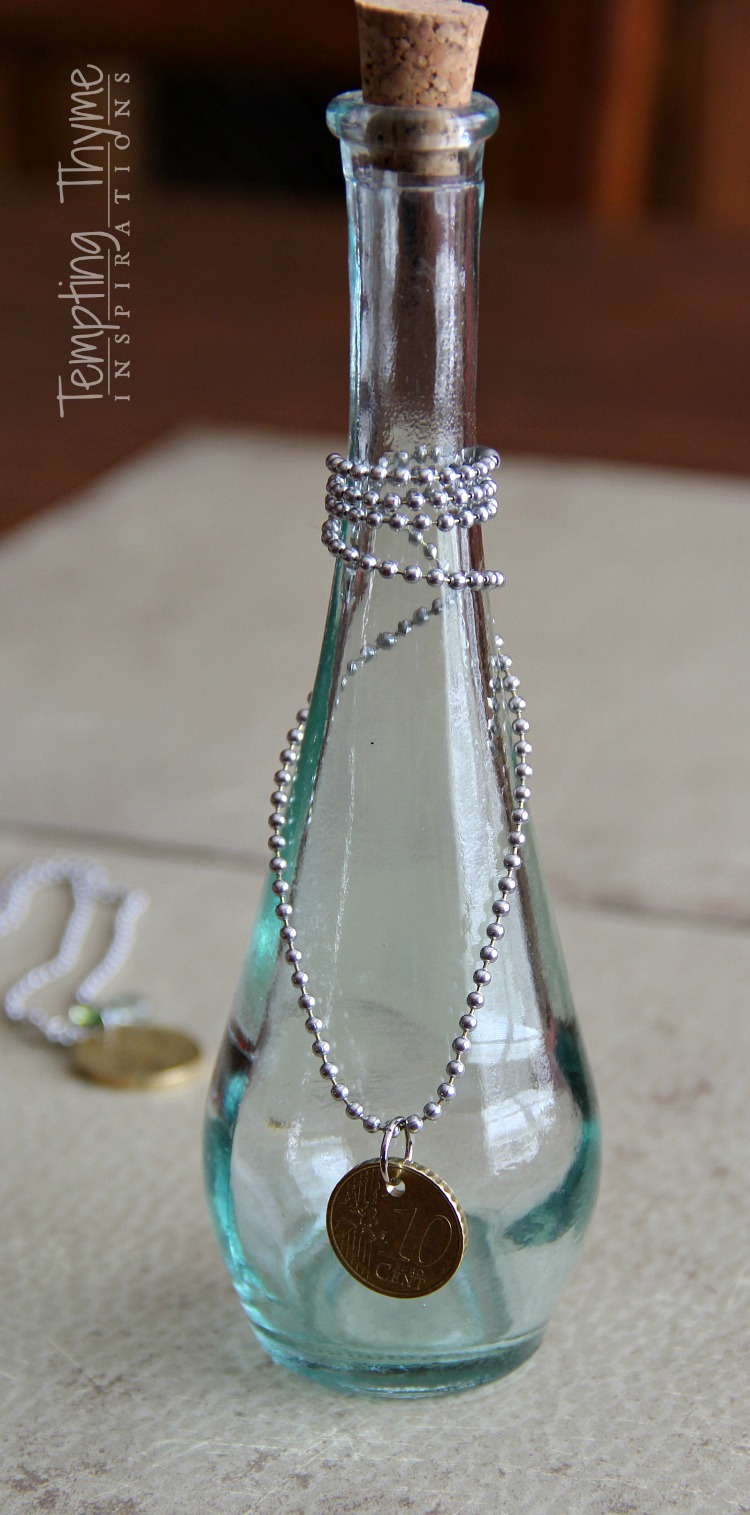
You are not limited to doing pendants and necklaces with your leftover coins. I think a bracelet would be awesome. You can just add these “as is” to a charm bracelet…..maybe 5 or 6 of the smaller euros……or drill 2 holes opposite of each other and string them together with jump rings, finishing it off with a lobster clasp.
The only thing that would make these coins even better is by stamping each one with the dates of your travel. Now that would be cool!!!
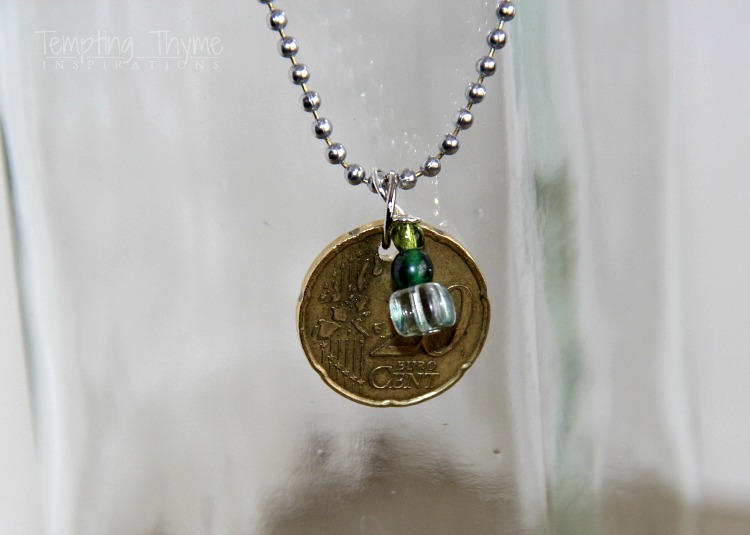
Until I splurge on a metal stamping set, I will be happy as a clam wearing my euro pendants around……and with every glance down or quick finger rub…..I will remember the amazing trip that we had.
By the way, it is not illegal to punch holes into coins/currency as long as your intent is not to defraud. (18 U.S.C. §331) So go ahead and turn those leftover coins into some awesome jewelry and memorabilia.
I may never get back to Europe….so the 10+ coins that I didn’t spend would have just been hanging around collecting dust if I hadn’t made some jewelry out of them!
Who am I kidding!
I purposely didn’t spend these coins (even used larger bills for purchases just to get even more coins) just so that I could make these pendants!!!
No fooling you….
You know me better than I know myself!!! 😉


Hi Shaunna, I think that’s one of the best DIYs that I have come across which I am goign to be trying out in 2016. It looks easy to make and also brings that ancient feel. Thanks a lot for sharing this.
Cindy
These were a piece of cake to make, and I still wear them every week! Thank you so much for the kind words Cindy!!
Did you have to use any particular bit to drill into the coins?
We used a regular bit, but if you have a particularly thick coin, then I would switch to a bit that is geared towards metal.
What a great idea! I have “pounds” sitting around from our trip to England. I know what I will be doing with them now. Thanks!