Wow, that title may have freaked a few of you out! Mom and Dad….I am fine! 😉
Before I get into the broken elbow, and how freeing it was, I want to tell you how stinking excited I am about the treasure I found at the local ReStore. I found it last Friday night, and I wanted to squeal in delight!
Okay…..Okay…… I really did squeal…….I cannot lie! LOL! I think I freaked the salesman out a little bit, and my girlfriend was laughing.
Not with me, but at me!
Cheryl, I forgive you! I know I made a fool of myself!
This beauty is a little too big for the space, and I was asking him if I would destroy the integrity of the piece if I cut it down 2 inches. Although he assured me that it would be okay, I have been a little antsy over it. So much so that I was creeping downstairs this morning at 1:30 am to take a quick measurement. I might have found a work around (pays to be a little flexible), which means no cutting. Keep your fingers crossed!
What does it say for my husband when he does not make a peep when I come home with this monstrosity? That I have trained him well!!
Right?
Okay, let’s get back to the broken elbow. Thank the Lord it wasn’t mine, as that would have hurt like the dickens. Anyone break one??
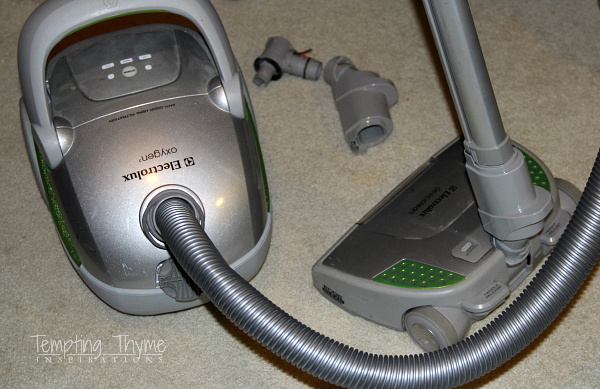
No, the dang elbow that broke was from my vacuum cleaner’s brush roller. You know….that attachment that you hook up to the hose that lets you sweep the carpets!
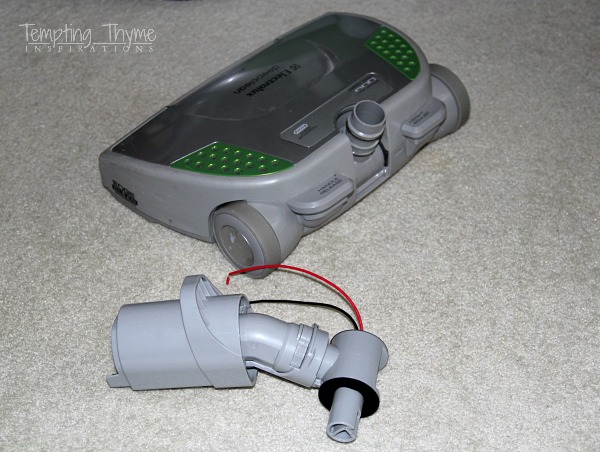
I will blame PT and K, as it happened when they were vacuuming the basement. Don’t get too excited, they only do it with constant badgering or when there is company on the horizon.
I was sad!
I was bummed!
I didn’t think it could be repaired……..
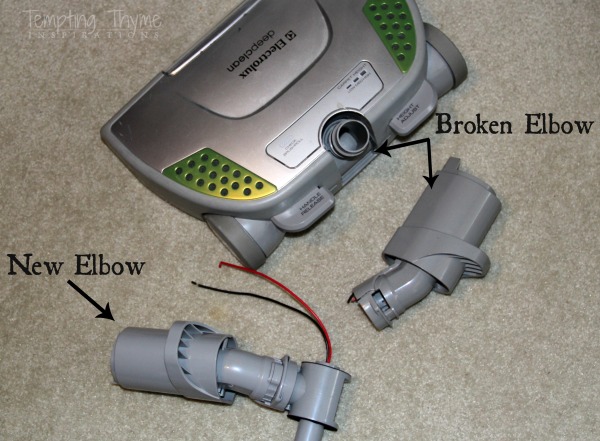
Or should I say I didn’t think it could be repaired for less than what it cost to just flat out buy a new one!
Did I say I was sad!
I did some searching online and found that I could just buy an entire new sweeper attachment……for $149!! Geez Louise!
I quit crying (I am kidding on the crying, I really wasn’t) after I decided that I would just use this vacuum upstairs….. as the hardwood attachment was working just fine. Good timing I guess, as the hardwood floors were being installed when the elbow broke.
I bit the bullet and bought an upright Hoover. After 1 spin around the house, I decided it had to go back. It handled great, was light as a feather, swiveled and pivoted into all the tight spots, BUT it was a bag less! Folks, I don’t want to see the dirt that I have just sucked up from the ground. Nor do I want to touch it if it doesn’t want to leave the container to get into the trash can. Plus, when you bang it against the trash can (cause I don’t want to touch my dirt…..duh!!) dust and dirt enter the air, and into my lungs….which makes me sulky and sad! =(
I loved my Electrolux! It was my Christmas present from my Mom 3 years ago, and I swear to God it has lasted longer than any other vacuum we have ever owned. The life span of vacuums in our household is 2 years. Something about me and vacuums DO NOT mix!
Did you catch that I got it for Christmas? Who gets appliances as a Christmas gift??
Quiet Mom….I will confess! I tend to ask for appliances and tools all of the time! I am a freak!!
Sorry, I am getting long-winded and I seem to be talking too fast. I talk fast when I get nervous or excited, which seems to be all the time! 😉
How did the elbow breaking set me free?
I decided to let go of all my inner trash talk saying that I couldn’t repair the roller attachment and I just DID IT! What the hell did I have to lose? Right?
After tons of googling, I finally found a diagram of my vacuum with a minute breakdown of each part and its number. If you ever want to have a gander at repairing your own, head on over to the EVacuum Store. They have every part imaginable for any type of vacuum you may own. I ordered my elbow for a cool $14.95 and it arrived 4 days later. The day it arrived I literally dropped my plans and got down to business.
I found a tutorial over here and a You Tube video over here, and the next 2 hours I was consumed!
I unscrewed the cover and this is what I saw…..
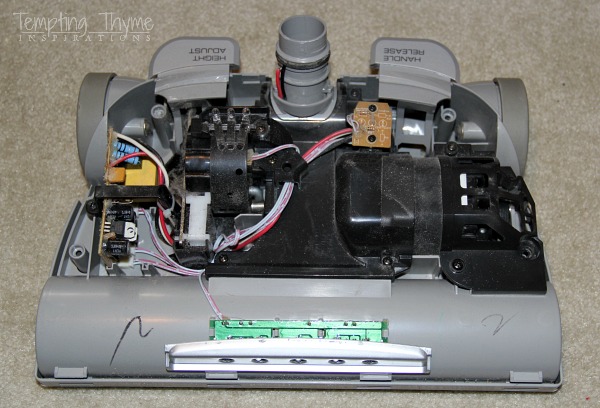
You do not even want me to repeat what I was muttering when I saw this mother board! Holy Moly!
There were 11 teeny tiny screws that I had to take out, just to get to the inner plate out. Problem one was that I couldn’t find that 11th screw (turns out it was on the side of that gold bracket on the right), and problem two was that inner plate couldn’t be removed without cutting all those beautiful red and white wires that are crossing it. Taking the screws off loosened them up a bit, but I still couldn’t really budge that inner plate.
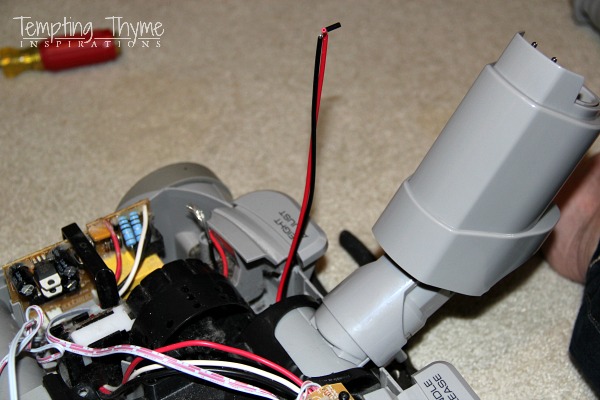
I had to cut the red and black wires as close to the old elbow as I could get. I wiggled the broken elbow out, and then man handled the new elbow in. The picture above shows the new elbow in its new home. At this point I am sweating bullets, as I thought I was going to break the inner plate trying to maneuver that sucker in there!
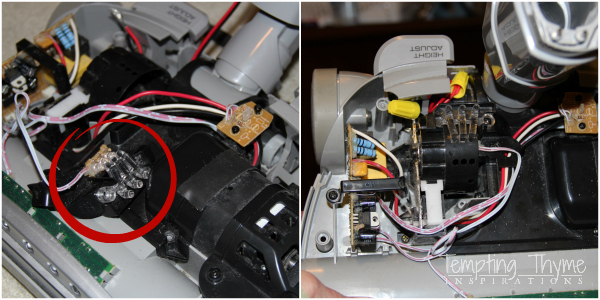
Now I had to put it all back together! 😉 See that red circle above left? That is the section for the height adjustment and I couldn’t remember how it angled back in. You had to have it at the right angle with those clear spokes just right or the screws wouldn’t fit back in.
Now you understand why it took me so long to do this little project!! 😉
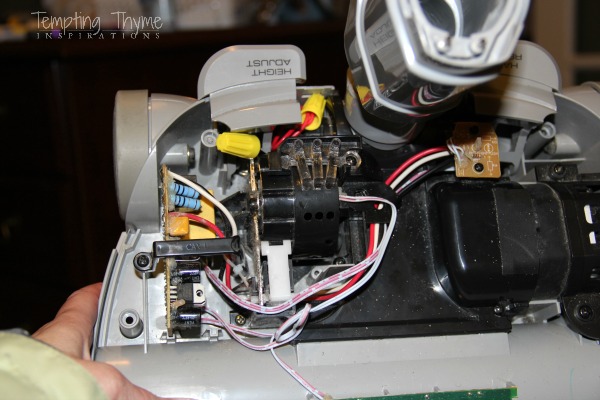
I also had to splice the wires from the new elbow to the wire from the mother board that I had cut to get the old one out. Follow that? Thankfully B still had some wire caps in his tool belt from his summer job. Those wires are connected and snug as a bug in a rug in the yellow caps in the picture above on the right. Isn’t she pretty???
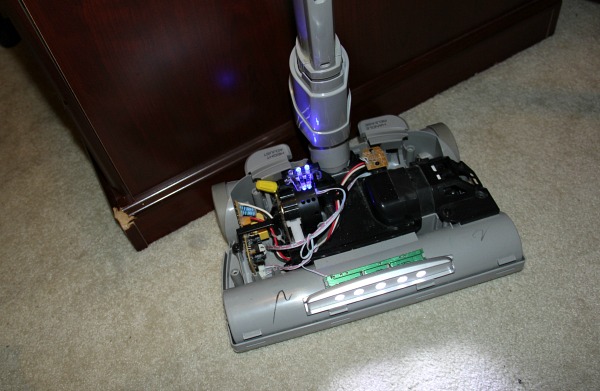
Before putting the cover back on I hooked her back up to the hose and said a prayer that it would work. See that light on in the front? She turned on and when I pressed the button for the carpet attachment the brush started to roll! BOOYAH BABY!
Top cover screwed back in and we are back in business.
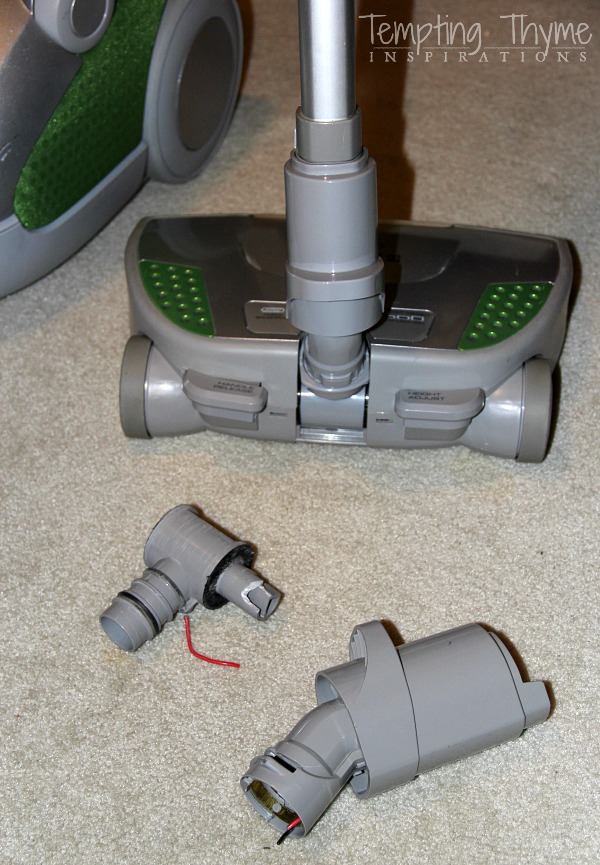
My frown has turned into a smile!
I am no longer sad!!
What is the lesson in all of this?
JUST DO IT!!
Don’t be afraid of stuff you have never done before! Obviously if you are totally freaked out about attempting something, don’t do it…..hire it out (this applies to all DIY repairs), but if it doesn’t make you squeamish then go for it!
You have nothing to lose, and you just may learn a new skill! Stop listening to that inner voice telling you cannot do something…YOU CAN!
I personally think I got lucky repairing this Electrolux Elbow (aka: coupling), and I am not convinced that I didn’t screw up the height adjuster…..but at least I tried!!
Have you ever had a “Just Do It” moment? Was it a success or a bust?
Have a great week!
Shaunna


Shaunna, Your grandfather Eastman would be proud of you, as are mom and I.
I think he and I are kindred spirits!!!
Good job on the vacuum! Those Electrolux machines are an investment! And gotta call you a tease about your monstrosity. Looking forward to seeing what you found. The closest ReStore to me (never been) is 30 miles away but I’ve heard lots of good things about it. I bounce into GoodWill all the time for picture frames and such that can have a second chance.
Thank you Joyce. The first Restore I went to was about 50 minutes from me, which is where I found the foyer light that I recently spray painted and shared. This one is about 20 minutes from here, and is close to some other stores that I frequent. I have to find a kit to test for some lead paint on my “find”, but I hope to be refinishing it this weekend. The kit that I found at a local hardware store yesterday was all dried up when I tried it out a few minutes ago. That will be returned tomorrow, and then I will be off to Lowe’s to see what they have.
I am a friend of your proud parents. Love your posts. Your tenacity to repair the vacuum was impressive, however, the short life span of your past vacuums was shocking. I have an Electrolux that is older than myself, so your choice to repair was wise.
New Hampshire Handyman,
Bill
Hi Bill! Very scary our past track record with vacuum cleaners. That is what I get when I buy cheap products. I have to laugh, as I believe my Mom’s Electrolux is older than me, and still running strong.
BTW…..great job on my parents staircase. I will be doing some wainscoting in our dining room next year, and some paneling in 2 hallways.
Have a great week!