I hope you all are having a great week! We are getting dumped on once again, and I have to say I am getting tired of it. I at least have to be thankful that we do not live in locations that have gotten 75 + inches of snow this winter. Geez…… Sorry Mom and Dad! The only bonus for you is that you are getting to do lots of snowshoeing! HA!
Nine months after the fact, I am finally sharing the boys’ bathroom cabinet. LOL!
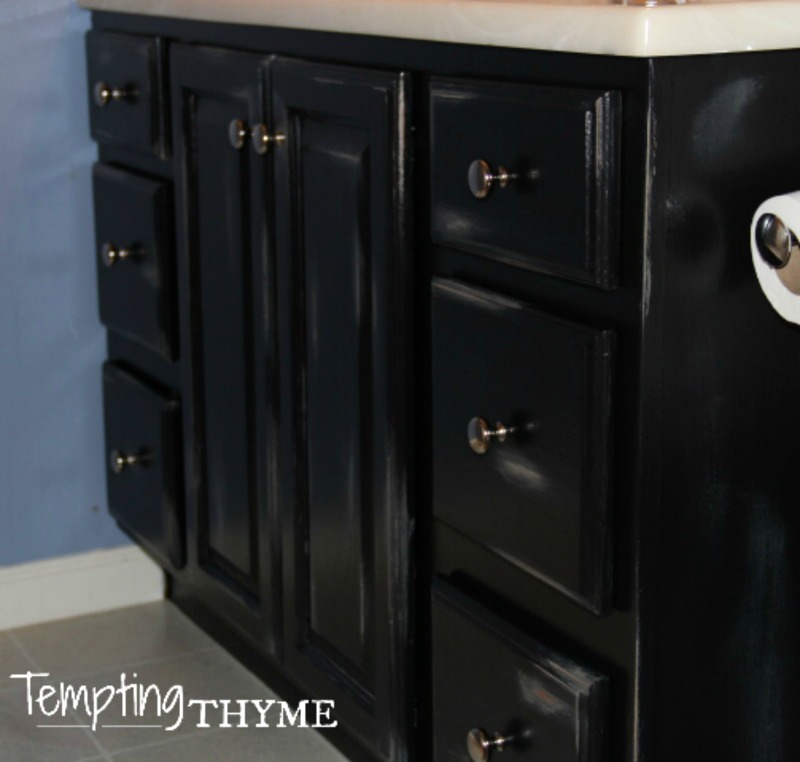
I tell you, I have lots of things to share with you all…..just no time to go through the photo editing and write-up. Anyone want to be my virtual assistant??? =) I can’t pay anything, but it would be alot of fun! Yeah, I know…….
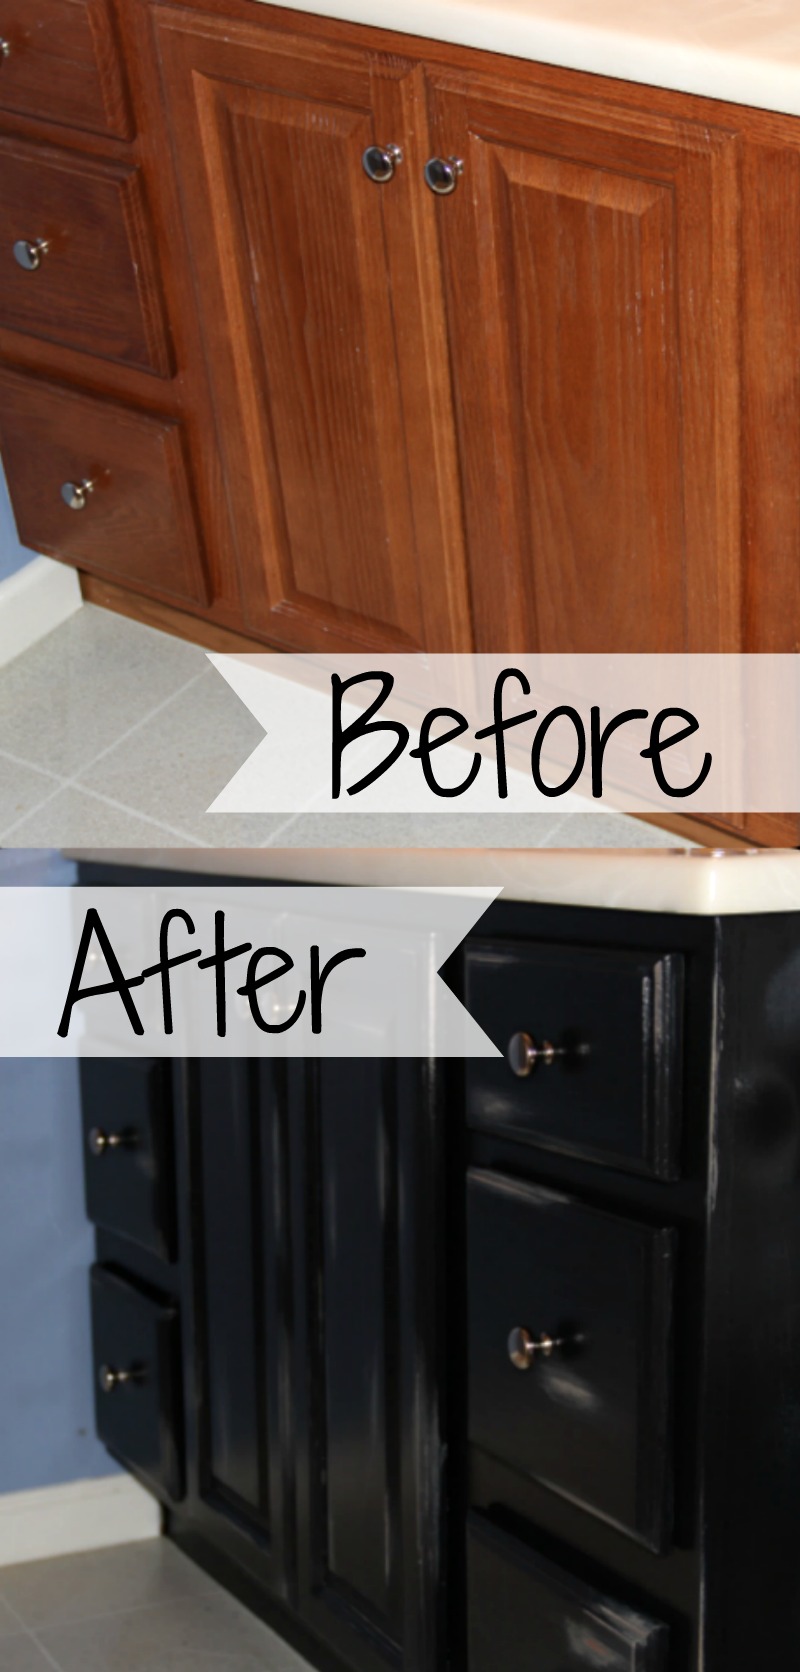
I have been wanting to paint the boys bathroom cabinet for years. Actually, I want to paint all of the cabinets in our house……I am so over the Oak cabinets that seem to get more orange with each years’ passing! I don’t know why it took me so long, but last March I finally took the plunge and got it done. I tried a few new techniques (for me anyway) which unfortunately created more work for me in the end. =( Why I mess with the tried and true is beyond me!
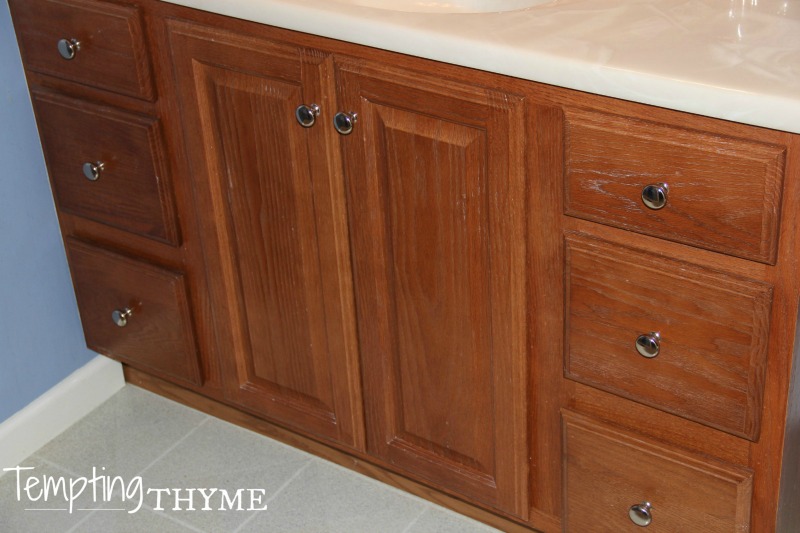
What these cabinets did do for me was fueled the fire in my gut, and now I am anxious to get started on all of the other cabinets in our house. I want all of this light Oak gone! Since I can’t afford to put in custom cabinets throughout, I am settling for a number of manual hours and gallons of paint.
I told you a little bit ago all of my goals and projects that I want to get done this year {Goals for 2014}, finishing the boys’ bathroom being at the top of the list. I will share the rest of the projects later, but the room is certainly getting a much needed overhaul. It is also a great place to try new tasks out to see if I want to do them in my bathroom and the kitchen. Smart, eh?!
What were the steps that I used to paint these cabinets?
1. I prepped the cabinet, doors and drawers by scrubbing them with a mixture of water and vinegar. They weren’t too dirty, as the boys do not use a bunch of hair products….specifically hair spray. As K is allergic to all fragrance, B is not allowed to spray any deodorant or cologne in there, making cleaning them fairly easy.
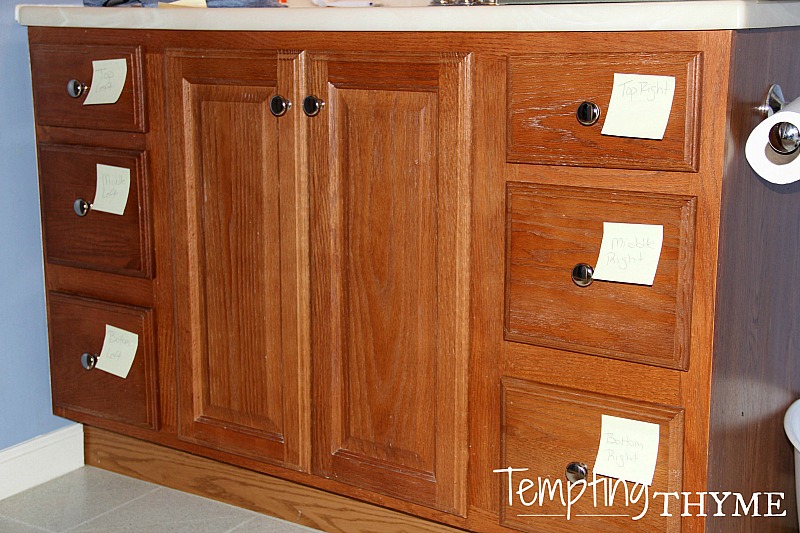
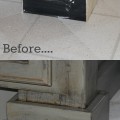
2. I took the doors off the hinges and pulled the drawers out. Unscrewed all the hardware, labeling all the drawers and pulls. See those post it notes? I moved those to the inside, only leaving them on the ‘face’ to take the picture. I wanted to make sure that I was able to place everything back as it originally was. My labeling was very basic……”top right, middle right, bottom right……and the opposite for the left side”! It would not be fun if I wasn’t able to line up the drawers and pulls properly. I also dumped out all the drawer contents into a couple of shoe boxes. Would make sanding so much easier. I cannot believe how much ‘crap’ they have? LOL! I am sure it would be 100 x worse if I had daughters!!
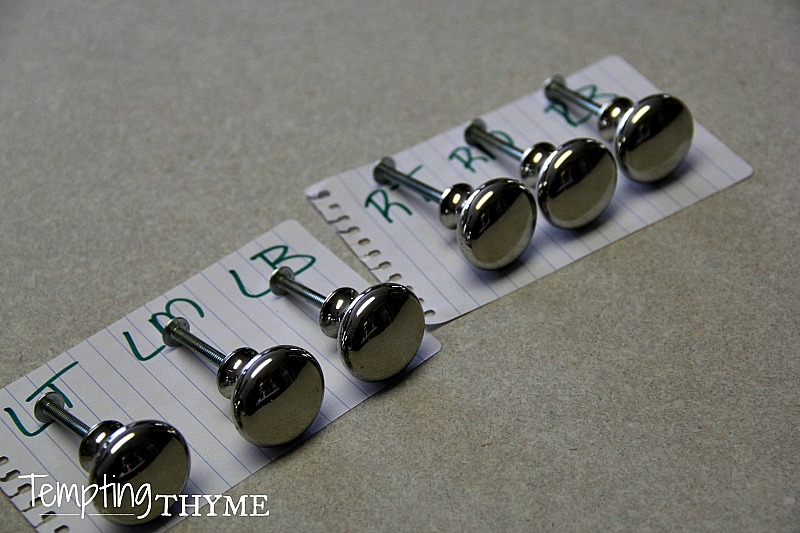
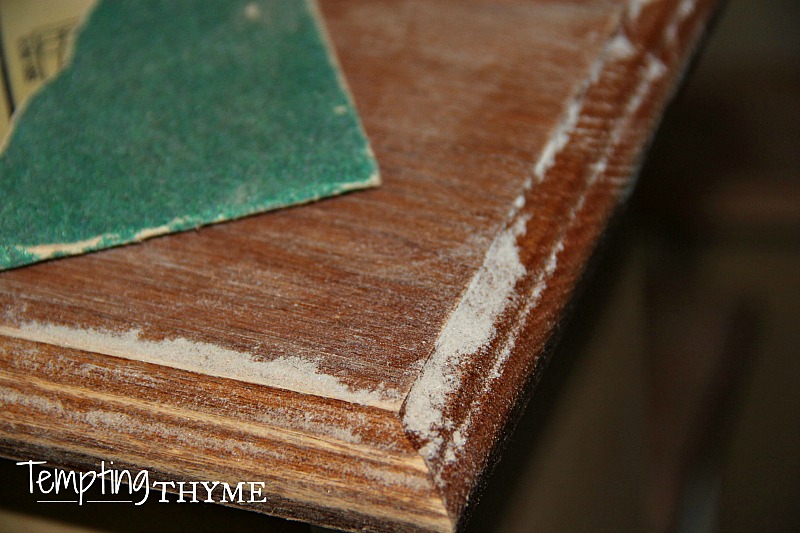
3. Let the sanding begin. I used a #80 grit, as I was wanting to strip down the gloss and varnish as much as possible. Sanding is the best way to take out any frustration you may have. Just make sure you go with the grain…..
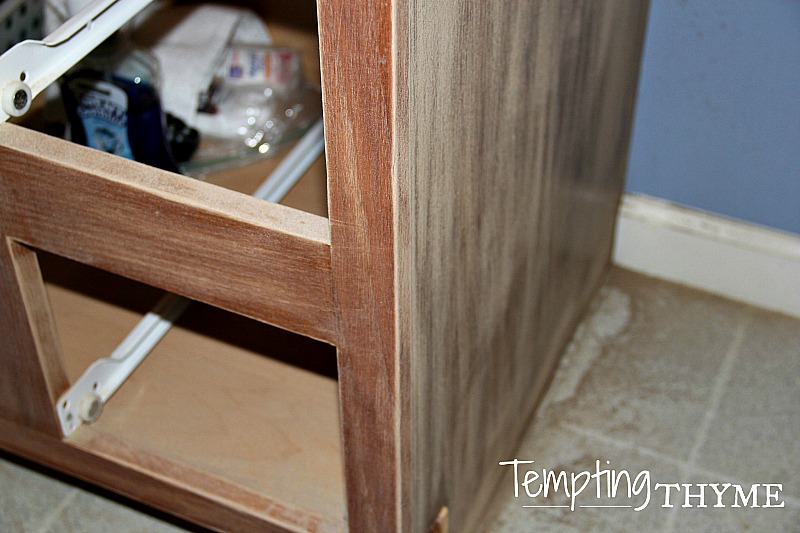
I did a lot of sanding. Good thing I did this while B was in San Diego with my sister and K was at baseball practice. The kitchen floor was covered, even with me vacuuming constantly. If the weather had been nicer I would have done this part in the garage.
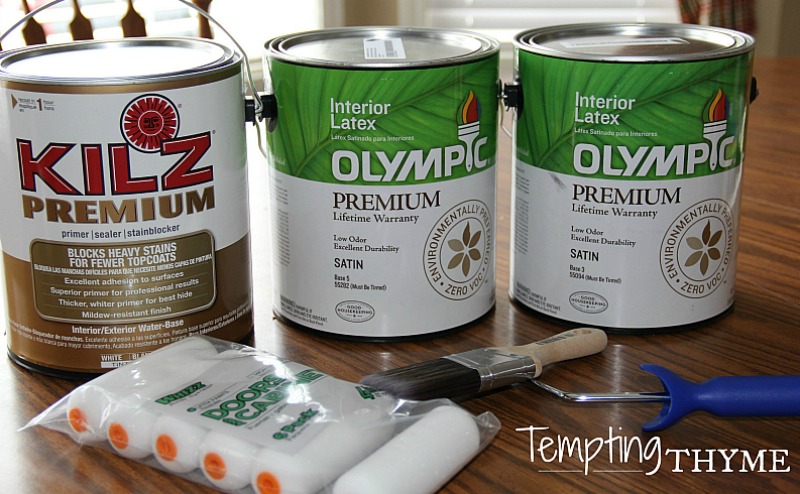
4. Materials I used were Kilz and Olympic Premium Paints. I have always had great luck with Kilz when using it as a primer. I don’t always prime my furniture before painting, but with this Oak species and it being a bathroom with tons of moisture, I was not going to take any chances. So far I have not been loyal to any one brand of paint. I look for the sales, and if I have an extra coupon I am all over it. I also used painter’s tape to tape off the floor and walls so that I didn’t get any black and taupe paint on either of them. I have no idea why I did this, as I would be painting the WALLS next. LOL! Could have saved myself some time….. The other basic tools were a good 2″ slanted brush and mini rollers.
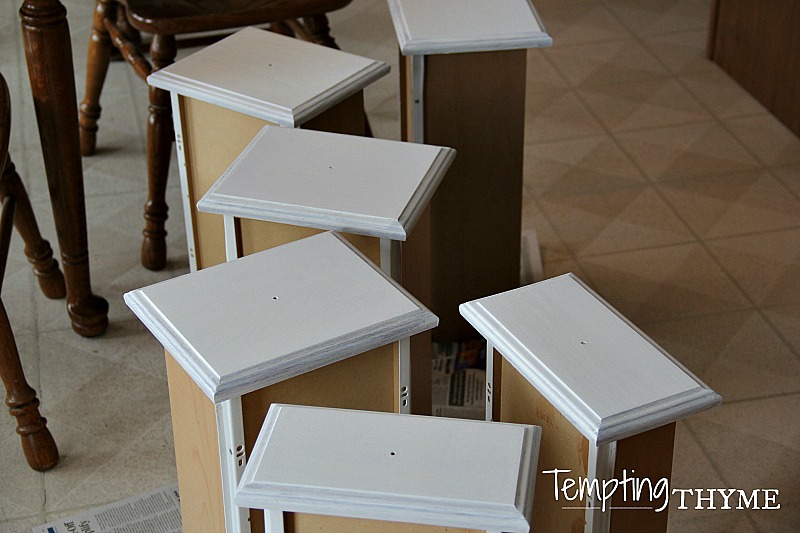
I painted the cabinets, doors and drawers with 2 coats Kilz primer. I followed the directions on how long they should dry in between coats and lightly sanded everything in between coats with #180 grit sandpaper.
5. The next step is where I added tons more time to this project than was necessary. My original intent was to have the first layer of color be taupe, and the second layer of color would be black. Once the black layer was up, I was going to sand down certain areas to get to the taupe. I used candle wax in the areas that I did not want the black paint to stick. I wanted it to be distressed, bullied, beat up with these 2 colors. Totally not worth the extra time and effort. This was the one technique that was a FAIL for me. Normally, I dry brush my furniture. Works every single time!!!
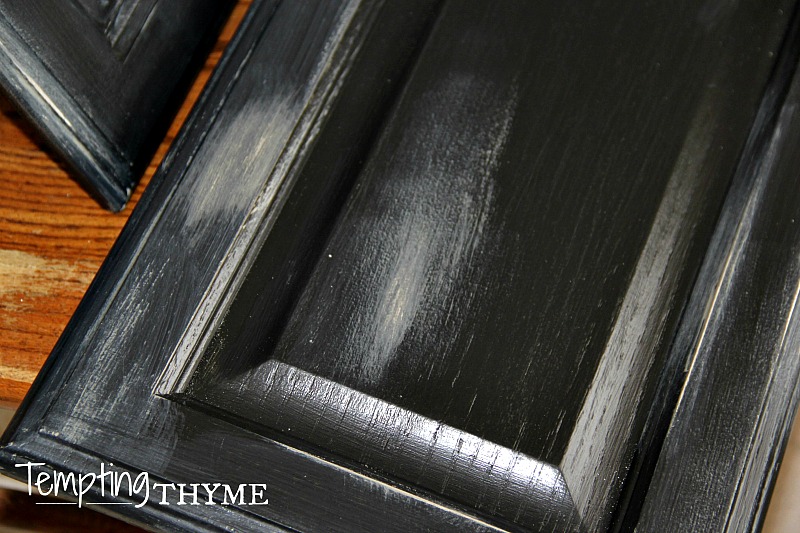
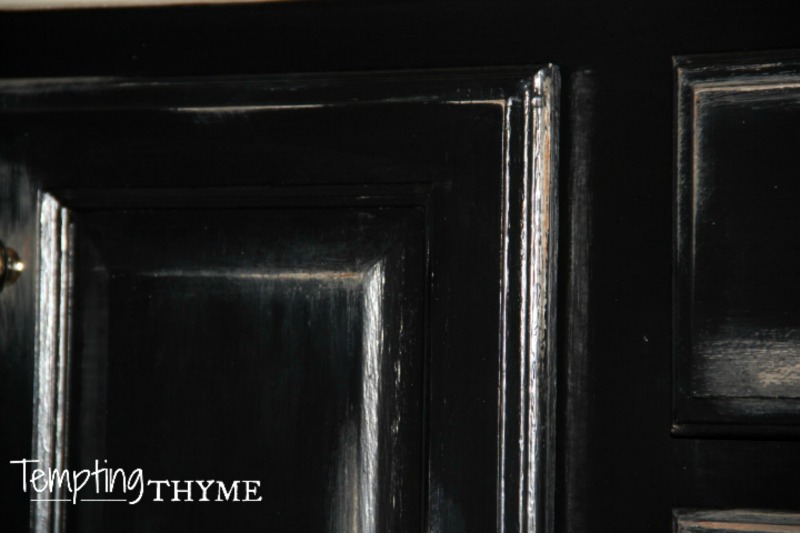
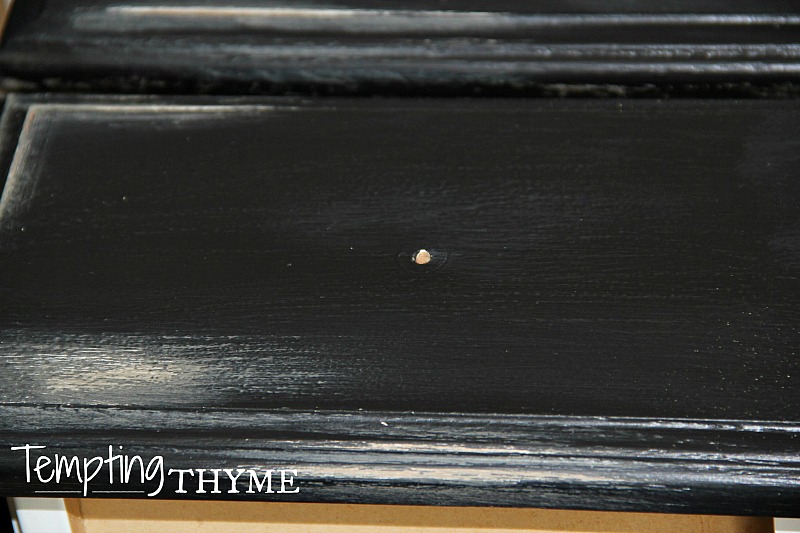
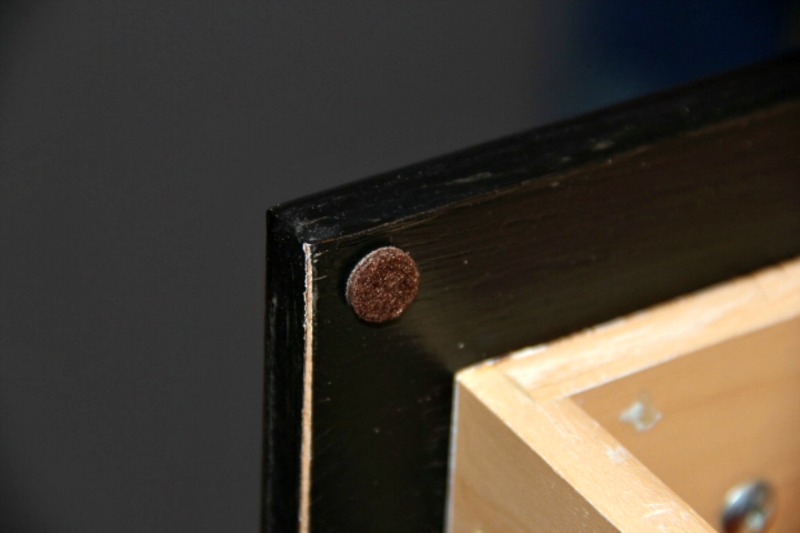

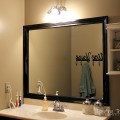
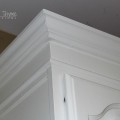
I will catch you up on the rest of the bathroom soon. So far it has been painted, the cabinets are done and there is a new shower rod and curtain. Oh yeah, I also spray painted the door knob and hinges. I took a big chance on this last one, and almost a year later, they are still holding up strong. Next up is to frame out the mirror, put down new flooring, add some molding to the cabinet, and finally figure out what to do with the toilet and door {cough….cough….the toilet is too big for the space and the door will not open all the way}! Yes, I know, that last one is just downright funny! No getting around it! Figuratively and literally…..
Before I sign off let me give you one last look at the before and after. Even using a satin clear finish, I think the protective coating makes the cabinet look a little too shiny. I know that this will dull down over time, and overall I am still very happy with this cabinet……even if it did take 2 additional coats and ‘extra’ dry brushing. Live and learn! Live and learn!

Beautiful!! I absolutely love it! I love seeing makeovers like this. It can totally change an entire room!
Stephanie @ CrayonMarks&TigerStripes recently posted…{Experiencing Peace} Bringing Peace to Others
You are right, it can change the entire room….even a teeny tiny bathroom. Thanks for stopping by.
I love the finished product and the step-by-step tutorial you provided. Especially the pointers on what went wrong and where your time was spent. It’s a huge help when you’re undertaking these projects for the first time. Kudos to your work! 🙂
Sarah Thomas recently posted…Nurturing the Garden Within
I’ve been living with reddish oak cabinets in the bathroom for far too long. Paint makes such a difference, doesn’t it. This project is definitely on my list for this year!
Shauna recently posted…Kitchen Must-Haves {A Pretty Life in the Suburbs}
Paint is such an easy way to transform a room. If you don’t like it was just your time and about $30. Can’t wait to see your finished cabinets!
What a fabulous transformation! We are big DIY’ers here too! I am waiting for spring to get here so I can open the windows up and sand our wood floors!
Susie (The Esthetic Goddess) recently posted…How To Use Retin A Correctly
Thank you! I did them last March when I could have the windows open. Good luck with the floors. Are you going to stain them again, or just polyurethane them?
I’m just going to put a water based poly on them. We remodel our kitchen and living room 2 years ago and installed a natural stain wood floors so of course it then turned into a project to refinish the existing floors to match! I love the water based poly because it doesn’t smell, dries fast, and won’t turn orange in time like oil based poly does.
Susie (The Esthetic Goddess) recently posted…How To Use Retin A Correctly
Isn’t that the way it always goes, truly a domino affect when it comes to household projects! Thanks for the tip on the water based poly. =)
WOW! What a great transformation. I’ve never painted cabinetry before but you make it look doable, if I could ever find a big enough chunk of time to work on it!
Sarah @ Beauty School Dropout recently posted…What does a municipal attorney do, anyway?
Thanks! All in all these took me about 4-5 days to complete. I was very slow and precise as I didn’t want to screw anything up. Still had the mishaps with the paint, but it is a smooth finish. Thanks for stopping by!
What a great tutorial! We have been renting because of short stays due to the military, but I’m pinning this now for future use. Thanks!
LOL….I don’t think they would be very happy if you started painting their cabinets! Hmmm, on second thought, they might thank you!