Hey everyone! As I told you yesterday….I did a little guest post over at One Artsy Mama, showing her faithful readers how to Dye Fabric using Tea Bags. I hope you had the chance to check out her blog. It is pretty cool, and I love how she is featuring new bloggers in her New Kids on the Block Series. Because I am anal, and want to house all of my crap cool projects under one roof, I am going to repost it @ tempting thyme. Little bonus…..you get to see a teeny tiny bio on me AND you get to see how handsome PT is!!
I am Shaunna, and I want to give a big shout out and thank you to Amy for hosting the New Kids on The Block Series. Can you believe she is giving some of us the chance to get acquainted with all of you … her closest friends? I blog over at Tempting Thyme, and I cannot wait to open my door to visiter’s.
I have two fabulous (most of the time) teenage boys and a wonderful husband who puts up with all of the chaos that I create. Being a cancer survivor, I started Tempting Thyme to document my appreciation for life and the truly amazing chance we have here on Earth. Everyday is a gift from God, that needs to be relished and realized for the blessing that it is. I also wanted a place to store all of my favorite recipes, decorating and house projects and what better place to house them all but a blog? Even though I work full-time in finance, and am gone most weekends cheering my boys on in their hockey and baseball games, I do try to carve out some ‘me’ time. Some women consider pampering to involve mani/pedi’s, shopping or massages. My idea of pampering is trying to balance a paint brush in one hand, with a cookie sheet and drill in the other, deciding which to tackle first!
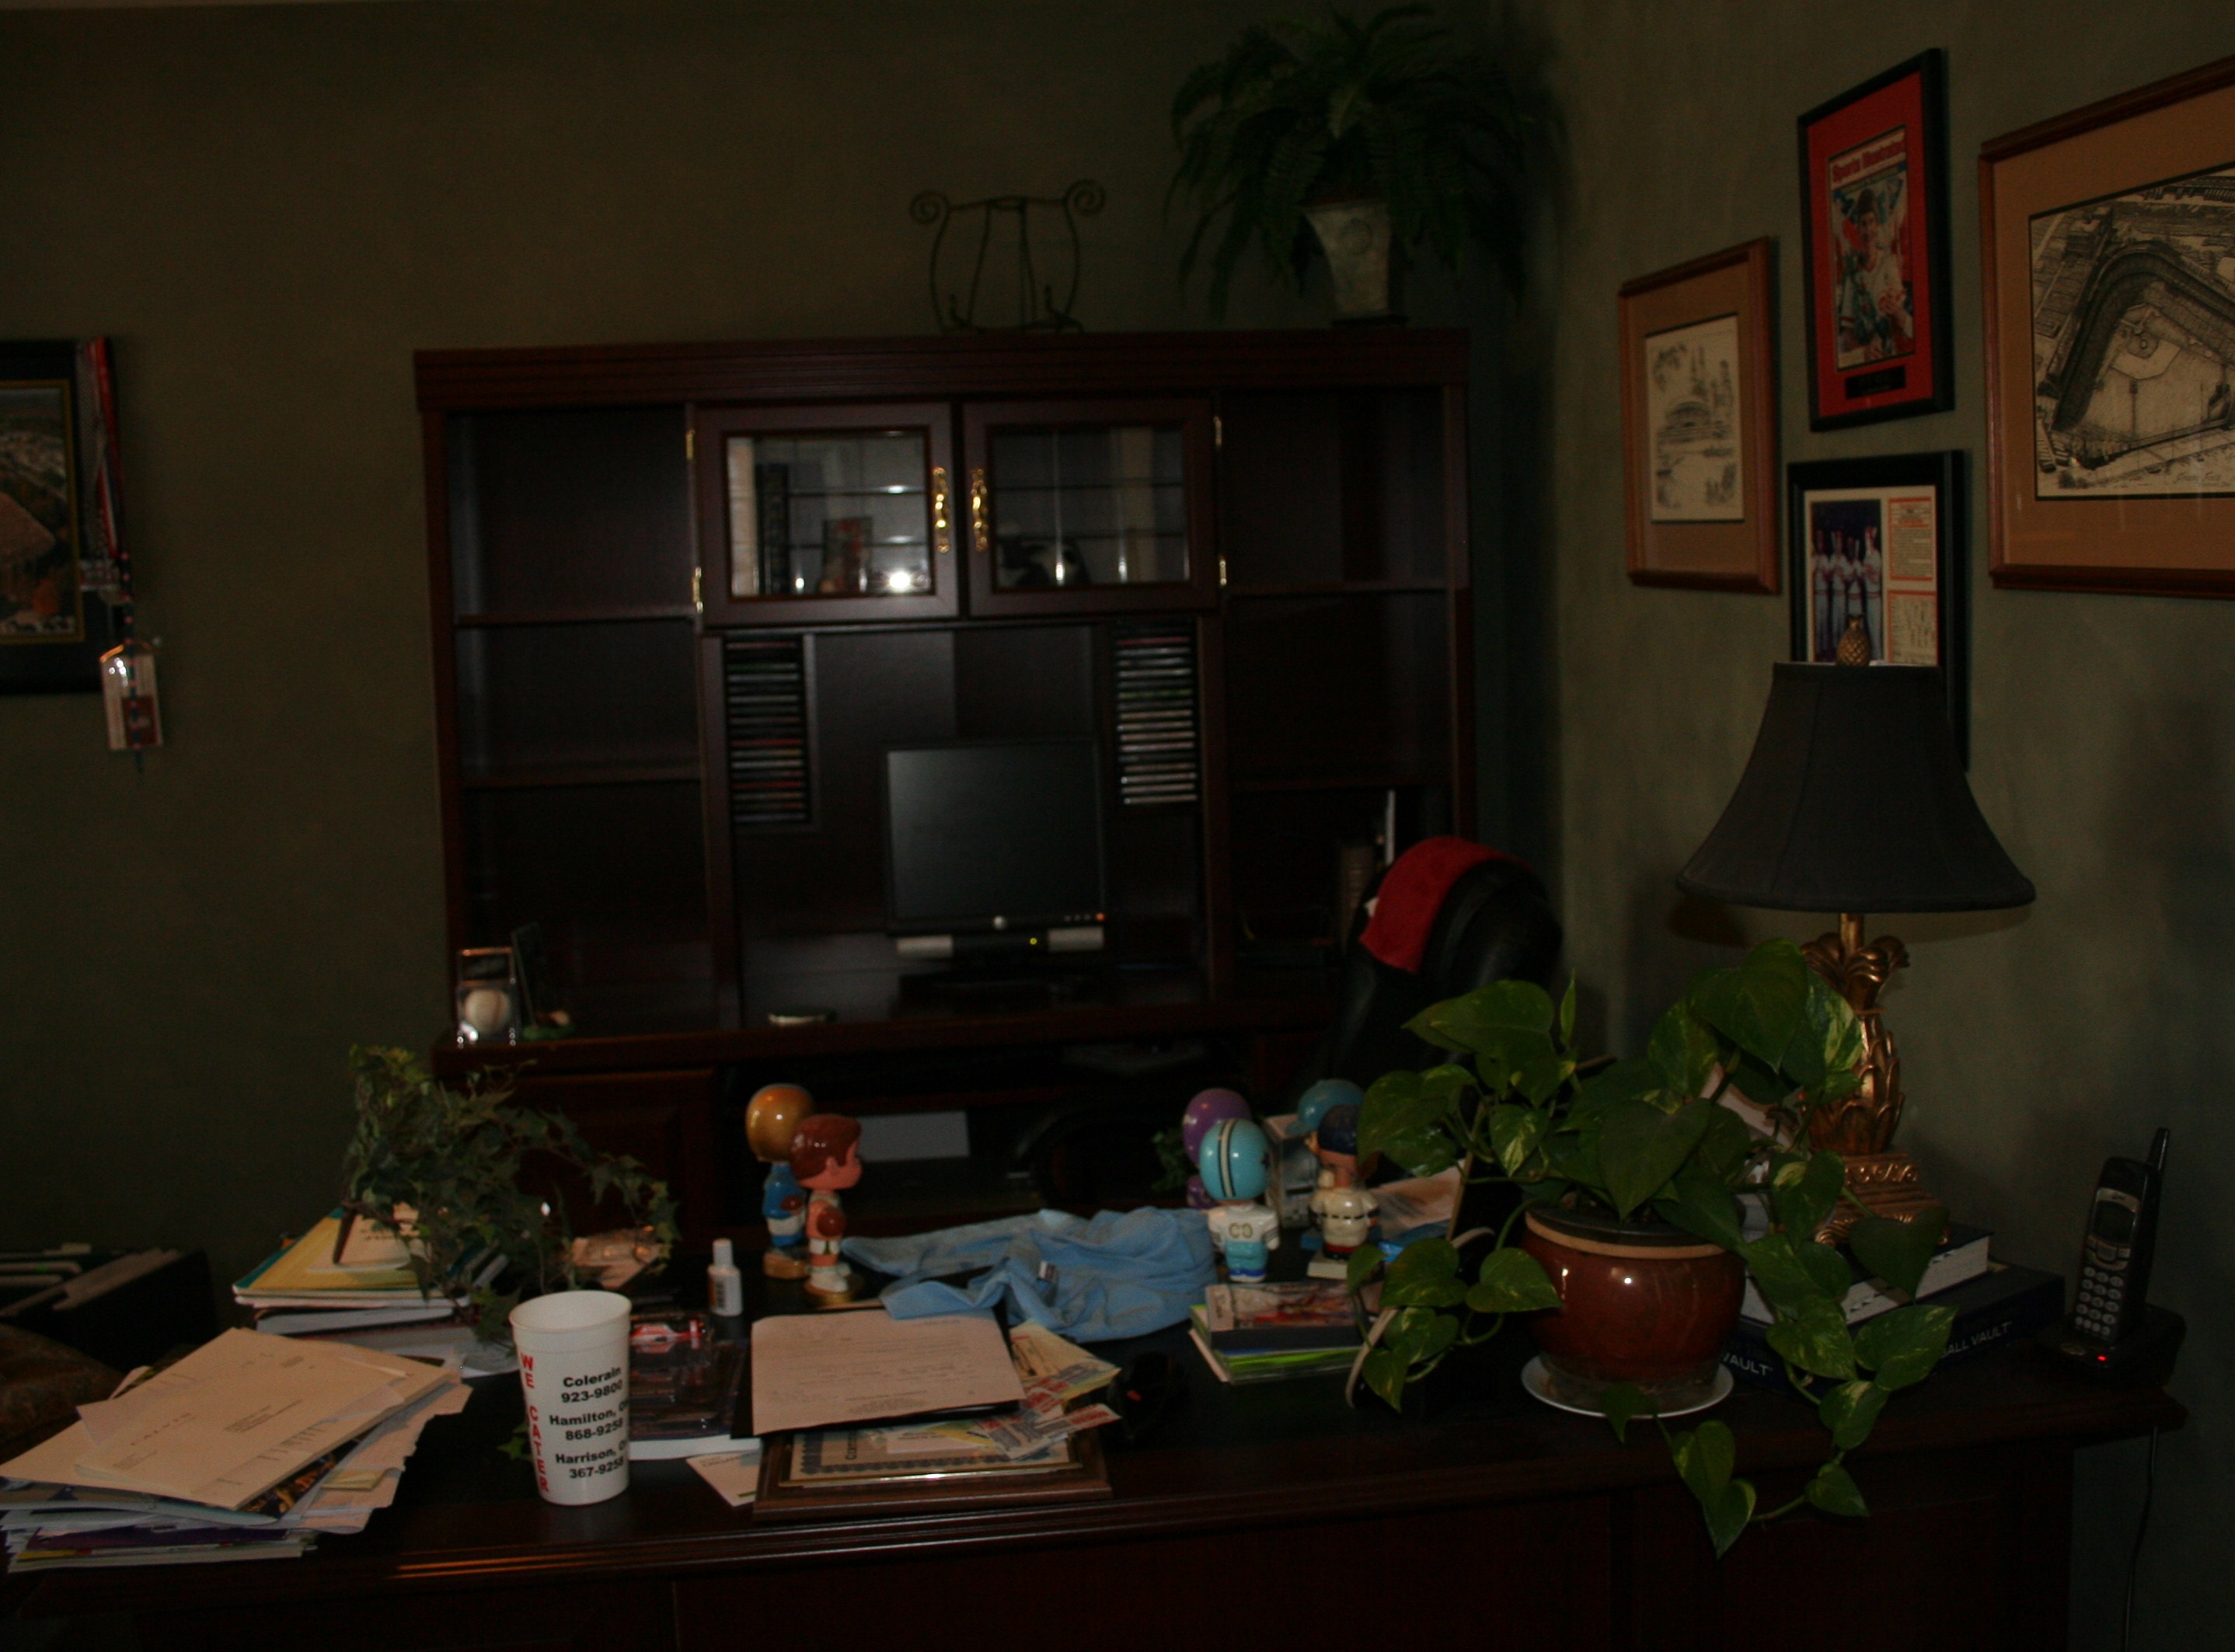
Enough about me, let’s get to work. I recently swapped offices with the hubby (poor guy didn’t know what hit him), and continue to try and give it a little personality. It currently has an Executive Desk with a credenza/hutch behind it. I miss my wonderful black sawhorse style desk, but knew we couldn’t get this heavy desk set down the basement stairs. Being practical doesn’t make me miss it any less though {sigh}!! I can’t believe I am showing you this picture, but if you are like me, you are a visual person and need lots of pictures. Please don’t judge….we were in the midst of removing all of his ‘treasures’ when I decided we needed a picture. The lighting stinks, and the scene is not set but at least it gives you a ‘before’!
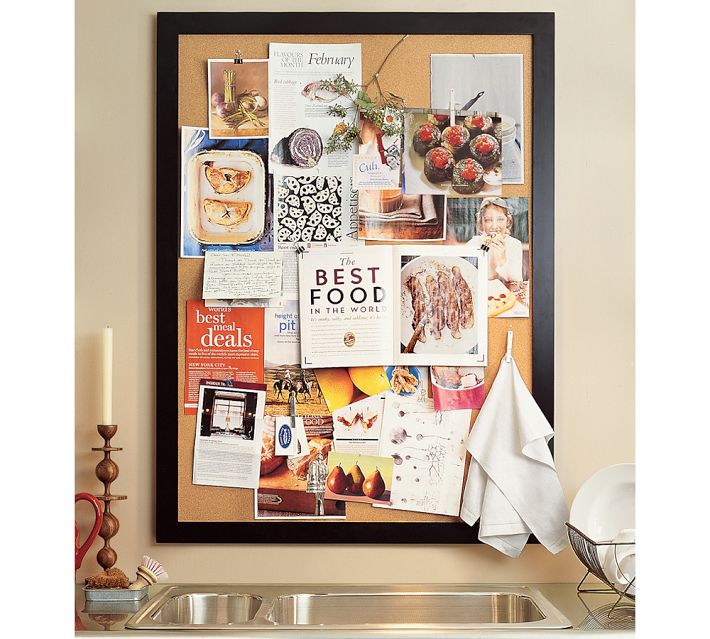
See the computer? I ripped out (okay, unscrewed) the cd holders and had every intention of putting a corkboard in the wider opening. I love the look of the Pottery Barn & Ballard Design corkboards, but cringe at the prices they charge. I don’t understand how they can charge upwards of $200 for something that can cost under $20 if bought at a Wal-Mart or Target.
 Lady Luck was not on my side….the opening ended up being an odd size 23×32, and I couldn’t find any on the market that size. I am sure the 2 cd racks were laughing at my expense…...from the bottom of the recycling bin…. LOL! I consider myself resourceful (some say cheap skate), and decided to make my own with some leftover wood from a subway art project, and cork squares.
 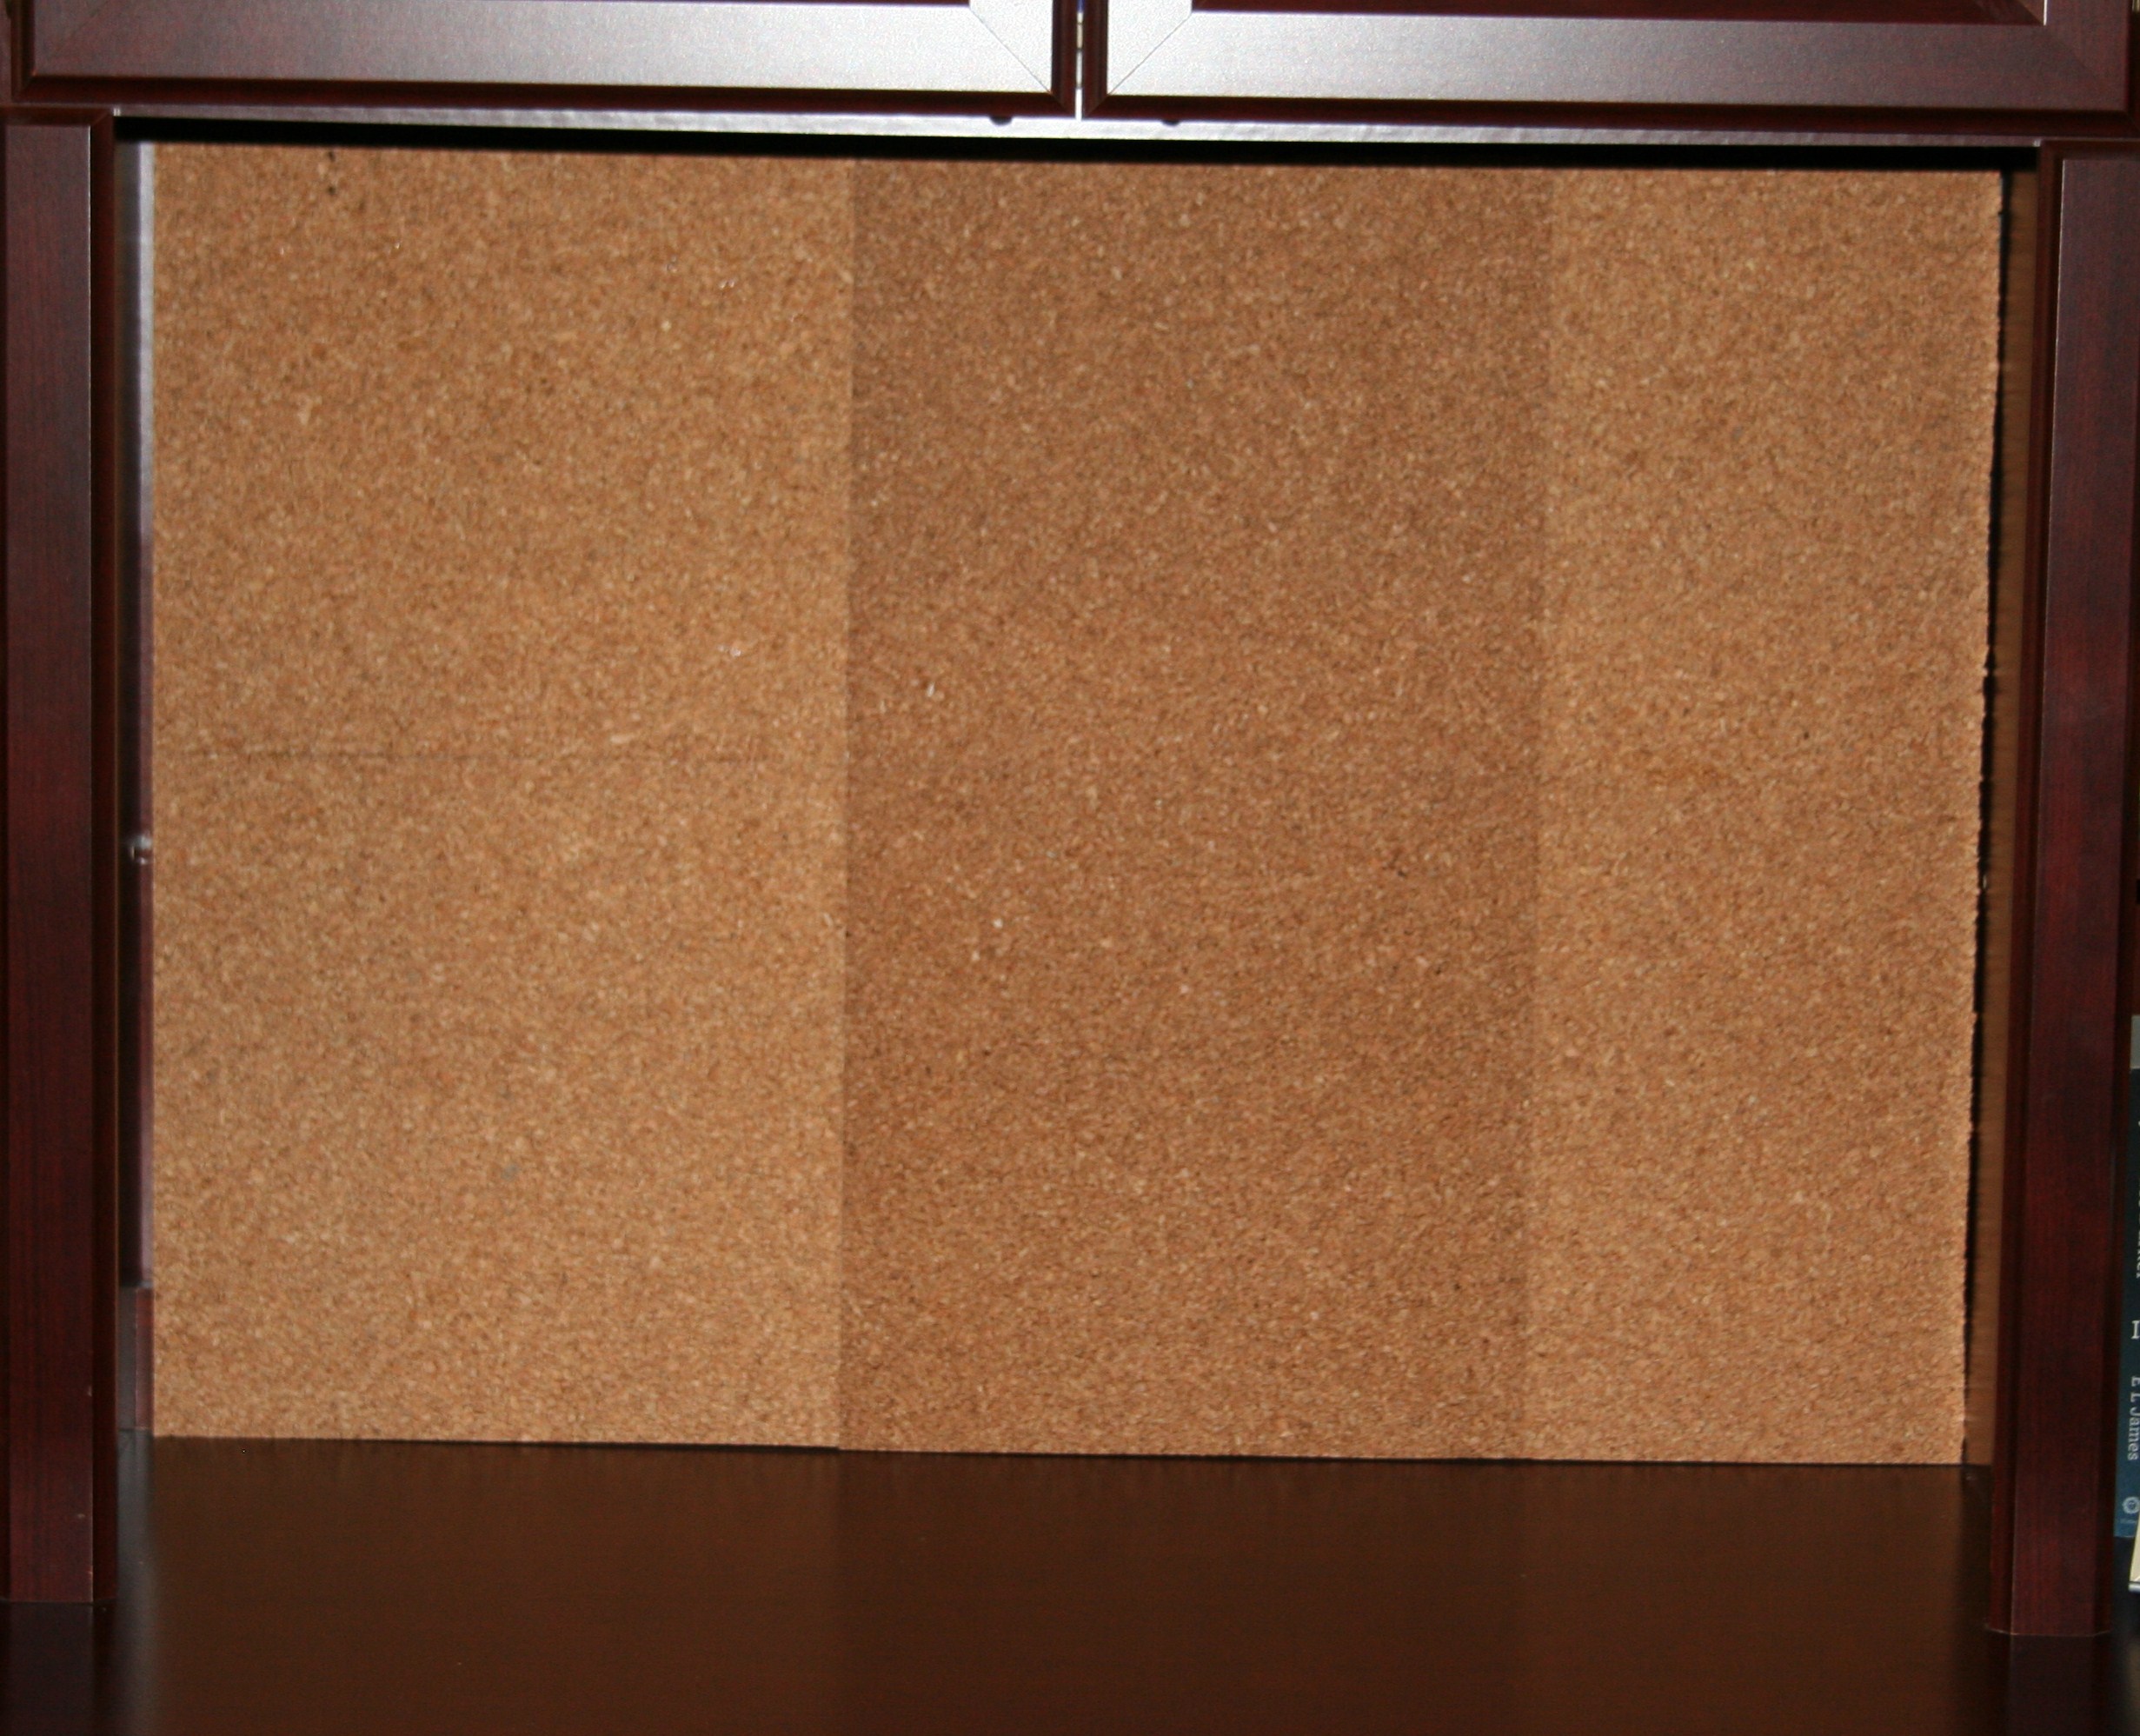 See my dilemma? The cork is 2 different colors, and not equal widths! I swear to God, every project I touch has glitches. Only solution, in my eyes, was to cover it with fabric…..right? I know there are other solutions, but there comes a point when I get tired of a project and just want it done! I headed to my local Hobby Lobby, on the hunt for burlap. Hmmmm…..this may look better than I planned. I am into texture, and a burlap cork board would give me just that.
Very disappointed with the color choices…white, whiter and whitest! Hello, I was envisioning a tobacco color burlap….sigh! Few minutes of internal debate later, I purchased the burlap. Driving from store to store was not appealing to me, and I knew I could fix this problem. 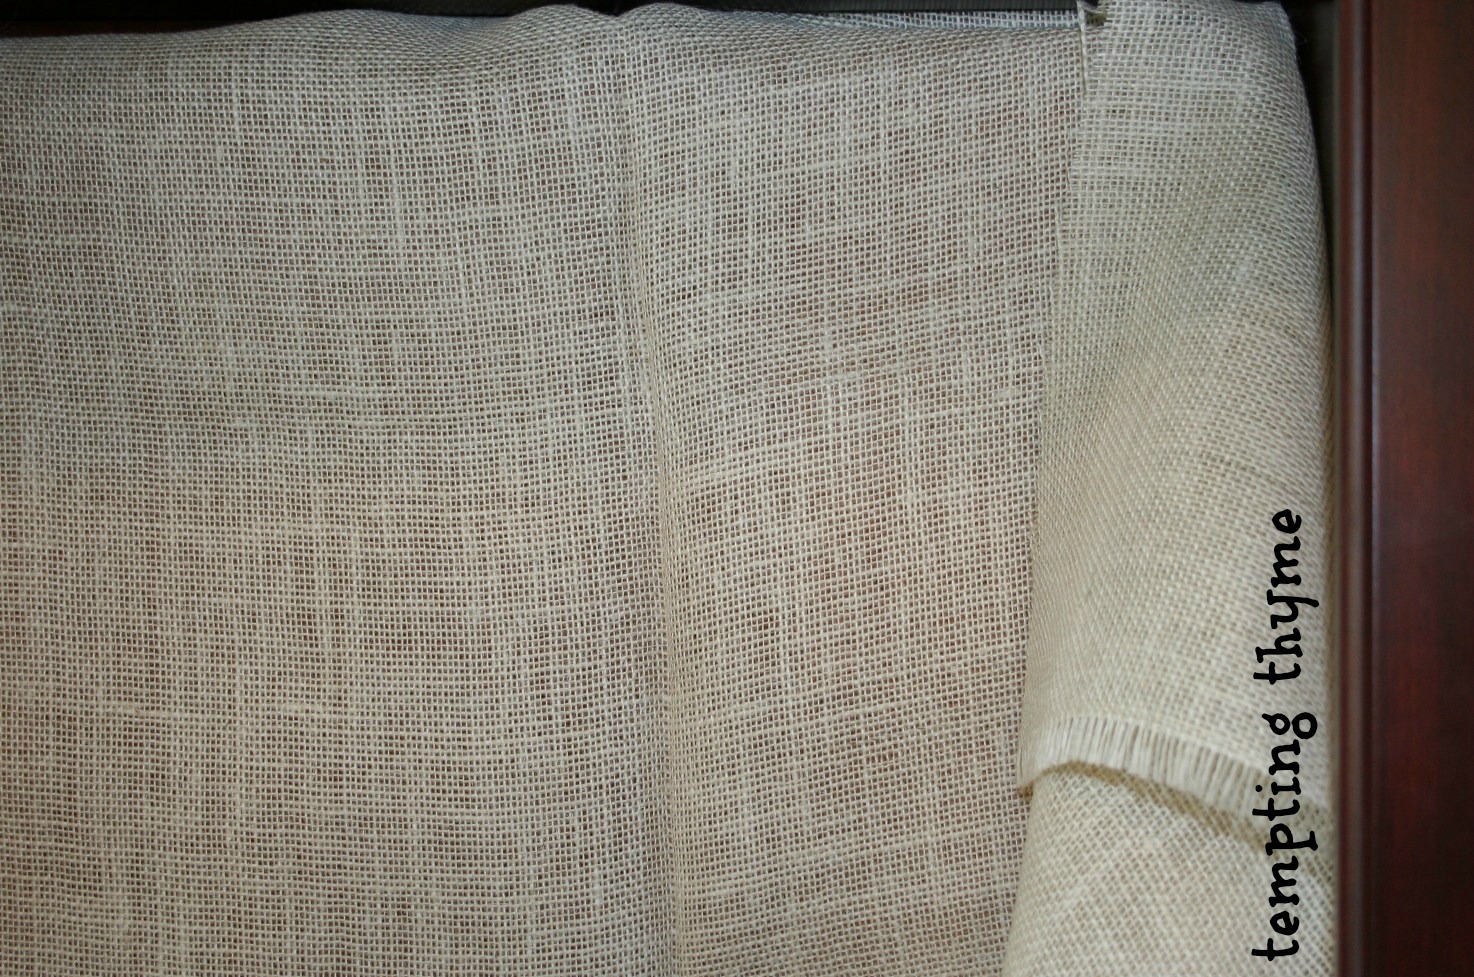 Have you ever dyed anything using tea bags? I promise…..you will never look at tea the same way again. Let’s get going because I am so tired of looking at this mahogany ‘hole’!
Materials Needed:
Big Pasta Pot
10 Tea Bags—-does not matter the brand or flavor (but I wouldn’t use anything expensive)
Wooden spoon
Fill the large pot with water. Make sure you leave enough headroom so that once you add your fabric the water doesn’t end up boiling over the top of the pot. Add in your 10 tea bags. 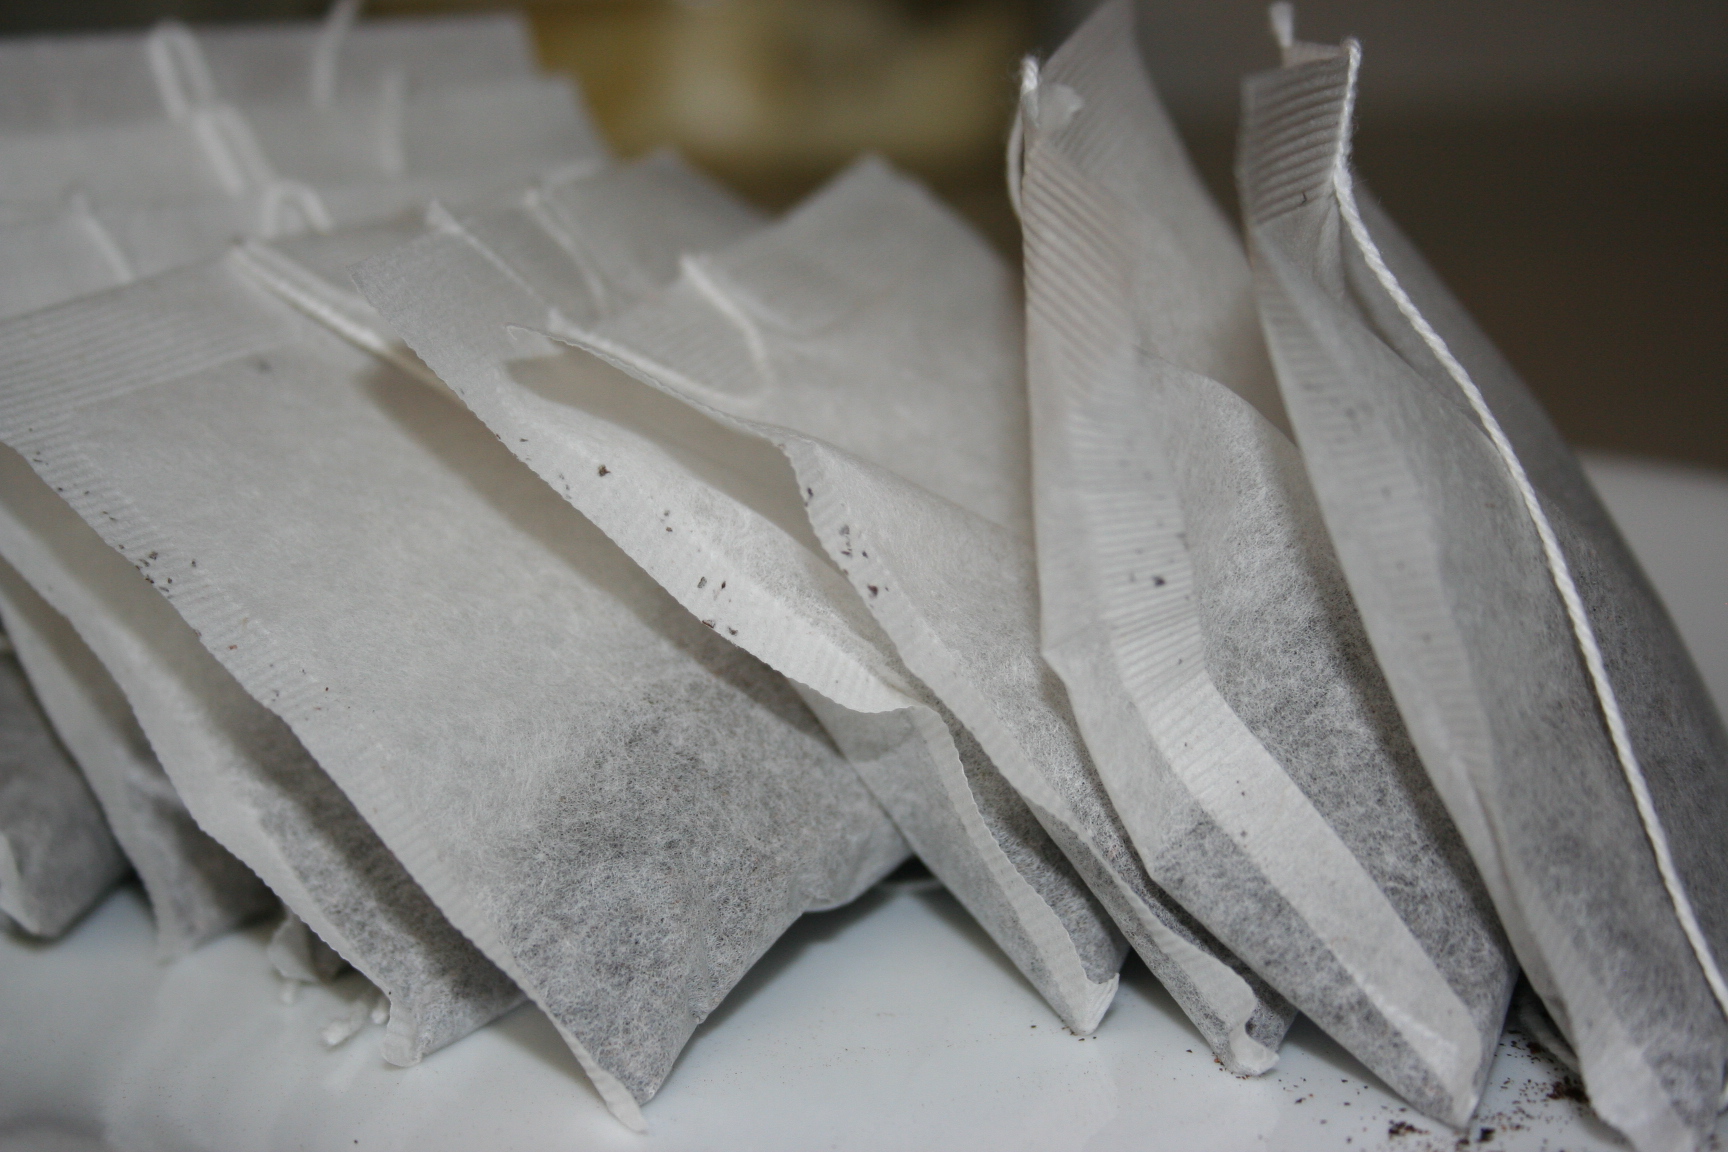 Turn your burner onto High and bring the water to a boil. Boil the water and tea bags for 10 minutes before adding your fabric.
 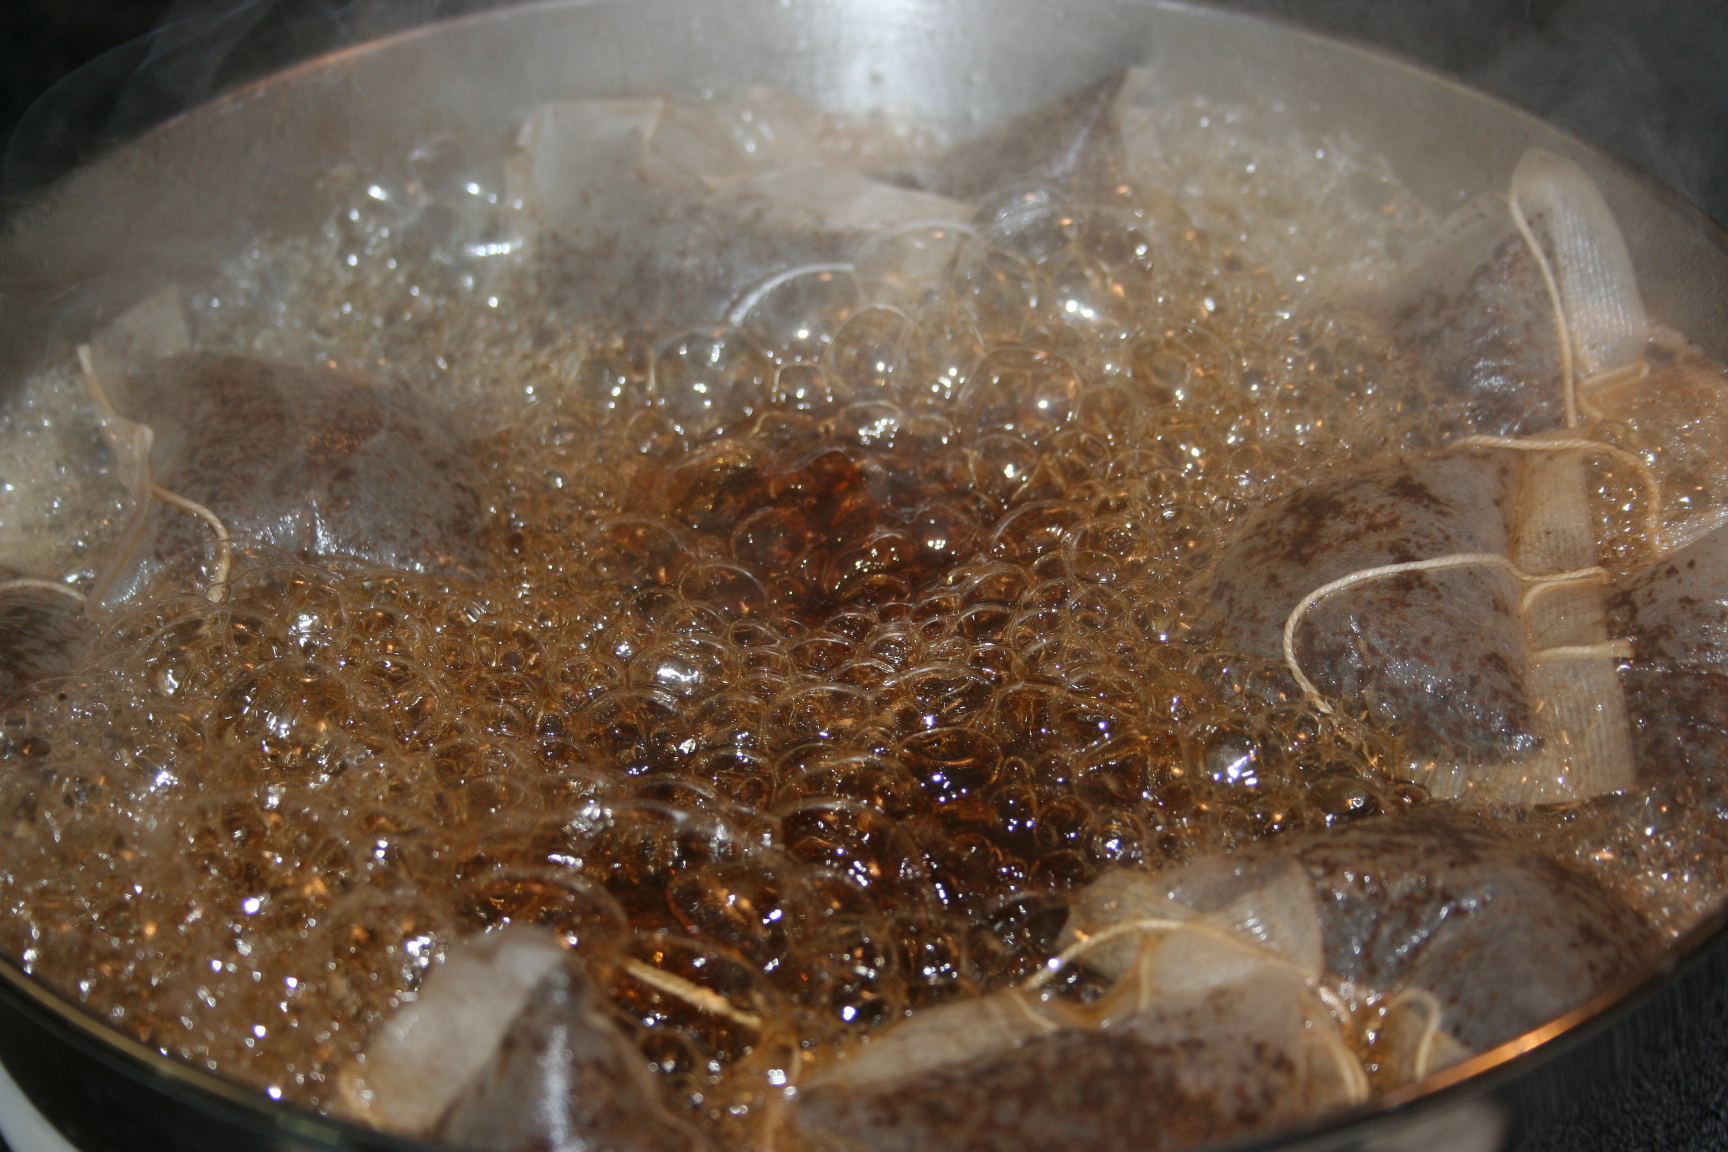 Carefully add in your fabric. I had to fold the burlap up a few times to get it to fit inside the pan. Don’t fold it to tight, you want the tea stained water to be able to move around the fabric, dyeing it evenly.
 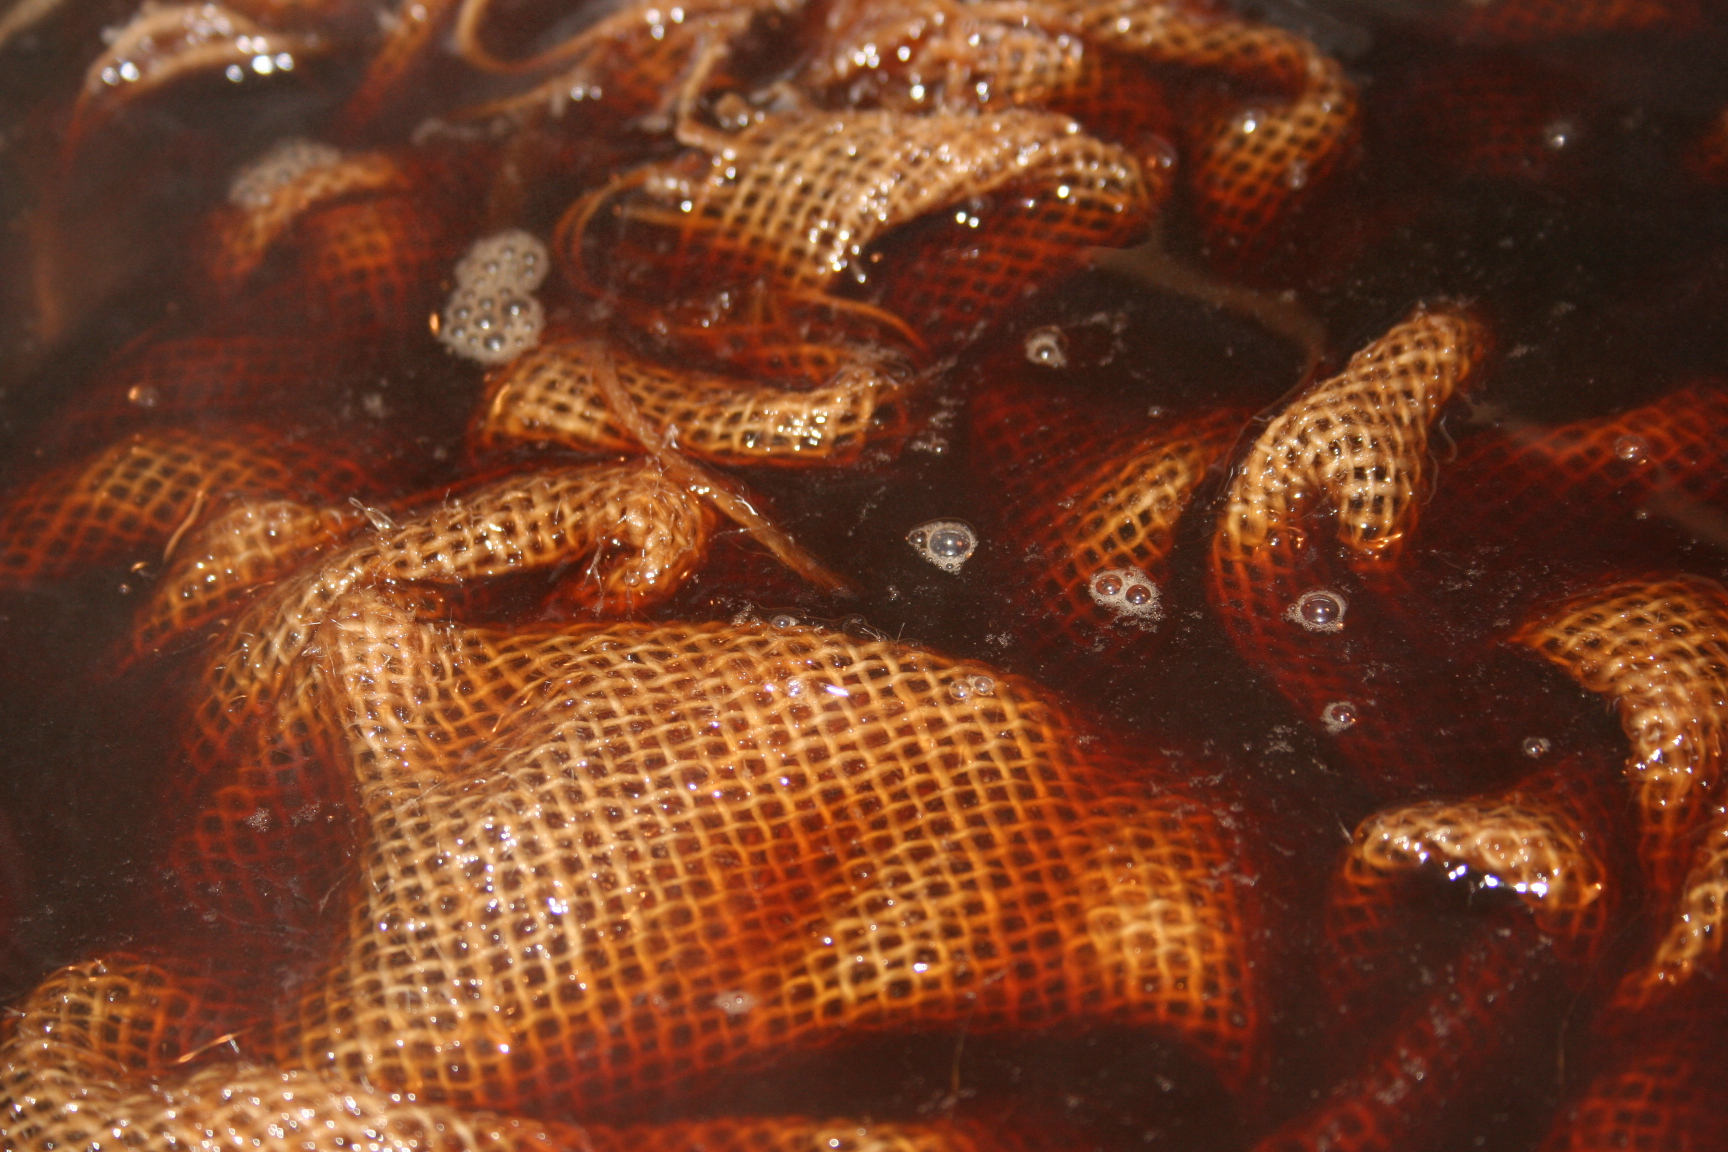 Very cool looking isn’t it? Let it boil just a few minutes longer and then turn the burner off. Now you have to sit tight and be patient…….you are going to let it sit for 2 hours! I know, I know….at this stage who has any patience left? Geez! Stir the fabric every so often with a wooden spoon. Be careful, it will be very hot. Which is the main reason you are going to have to wait 2 hours before pulling it out of the pot. You are going to need your hands to wring out the fabric, and you don’t want to burn yourself.
At this point I don’t have any pictures for you. It gets messy, and I was all by my lonesome. When the water temperature has cooled enough, drain it in your sink. Rinse your fabric with water until the water runs clear. Depending on your yardage, this may take a bit of time. Not the color you desire? No problem. Just start the process over again. Easy Peasy!
I brought it outside to finish wringing it out, shook it a little to lessen the wrinkles (who was I kidding, being bunched up in a pot….wrinkle galore!) and then allowed it to drip dry on one of the deck railings. 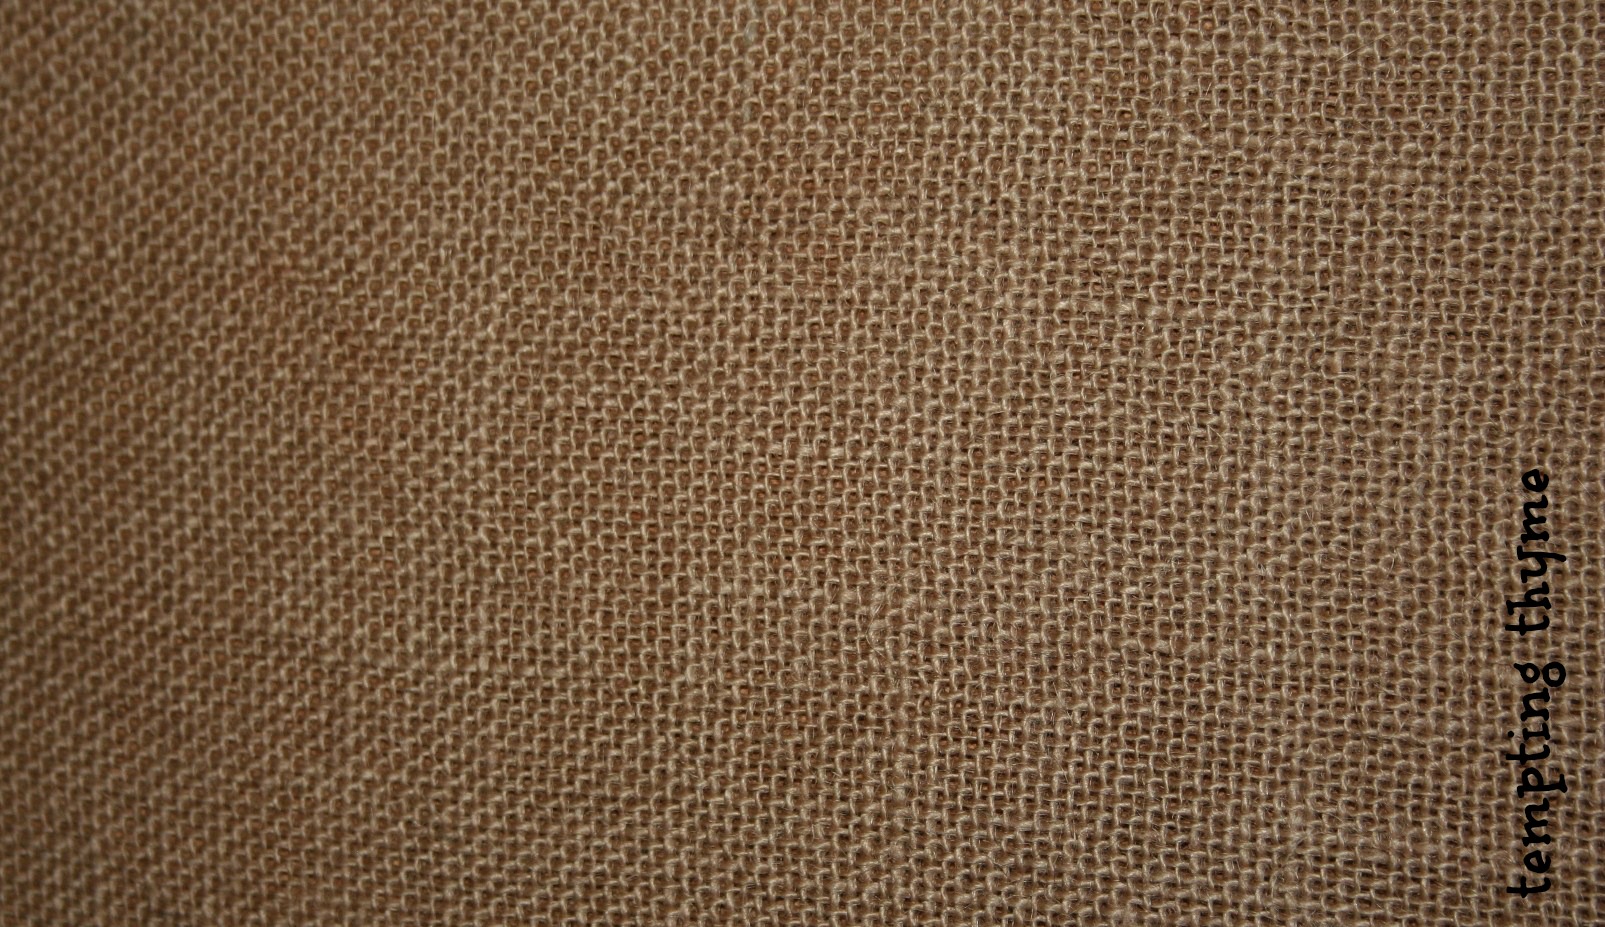
Once fully dry, iron your fabric and use it for whatever your project may be.
Tea Dyeing is a fast way to add a little bit of whimsy to your furnishings. It instantly ages your pieces and makes them look vintage. This can be done with a variety of fabric, as well as purchased items you already own.
I hope you all add this little {how to} into your home projects. It is easy and very cost effective….don’t you think?
Now I can’t leave you hanging, can I ? You want to see the finished project, right?
Let’s get to it. After ironing, and ironing, and more ironing, I laid the burlap on my table and placed the make shift cork board on top (cork face down onto the burlap). Using a staple gun, pull the burlap tight around the board and staple every few inches apart. Work slowly to make sure you don’t end up with any gaps and the burlap is ‘taut’ over the entire board. 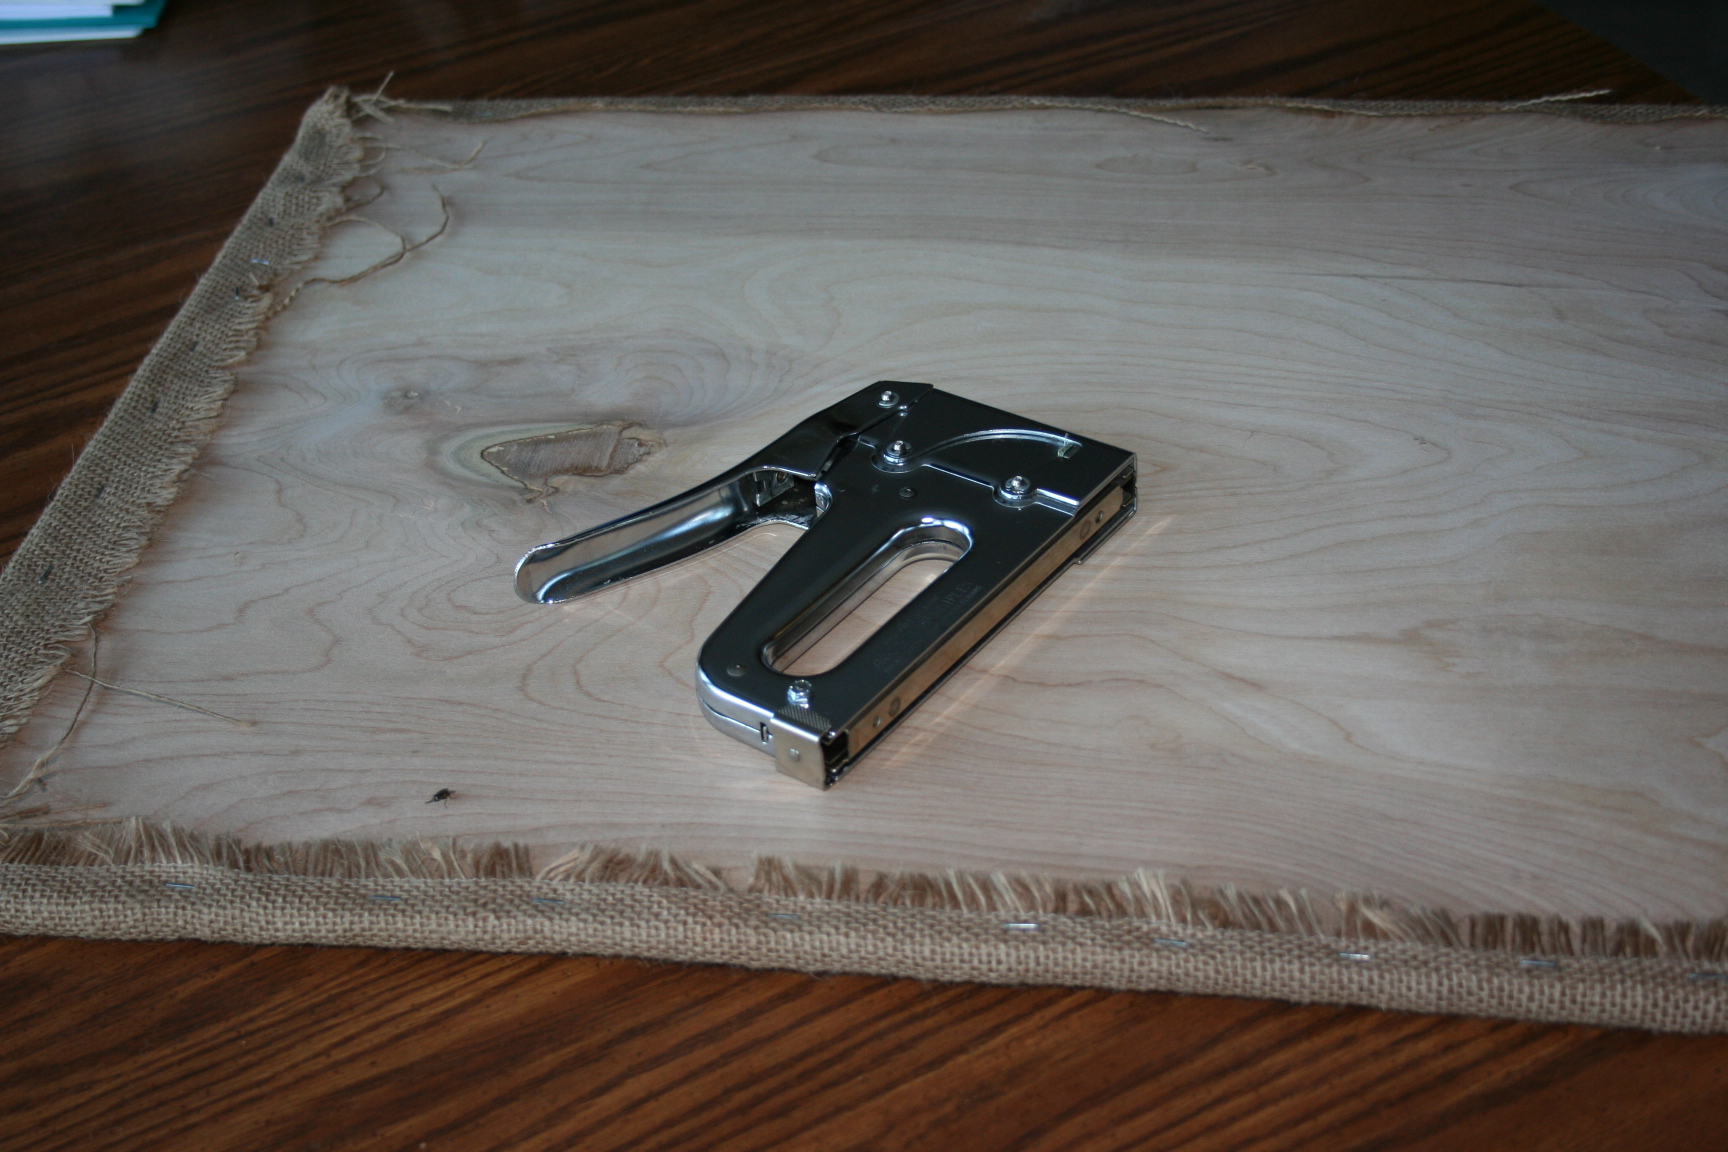
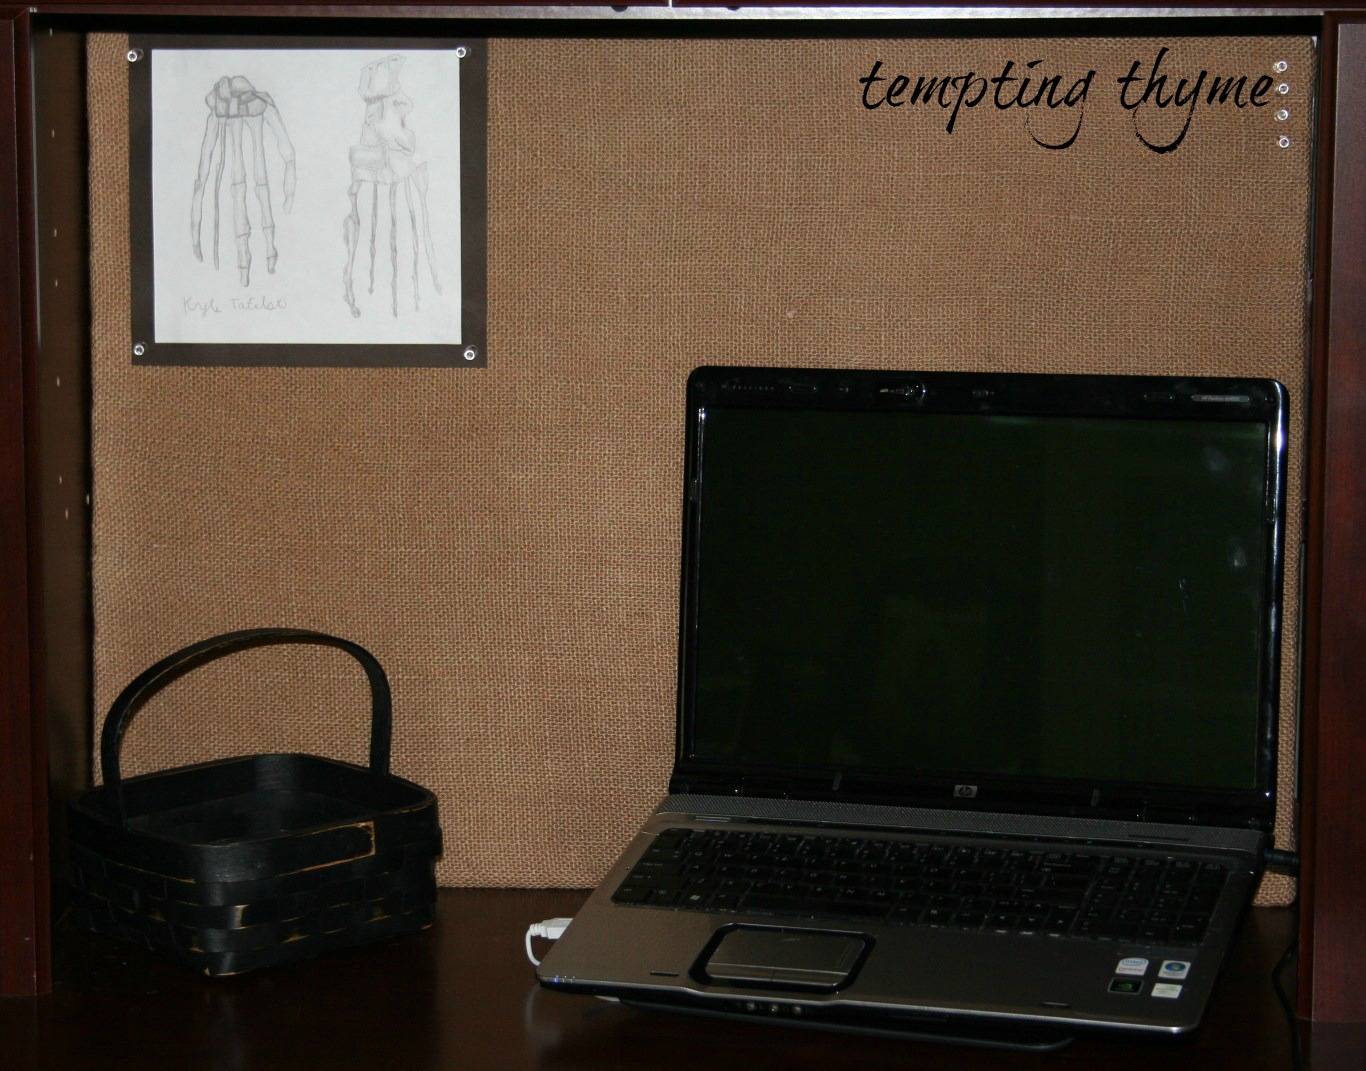 Ignore the filthy computer screen See that little black basket? Let me show you how I painted it. You could do this with any of your Peterboro/Longaberger baskets too! Here is another look…..
 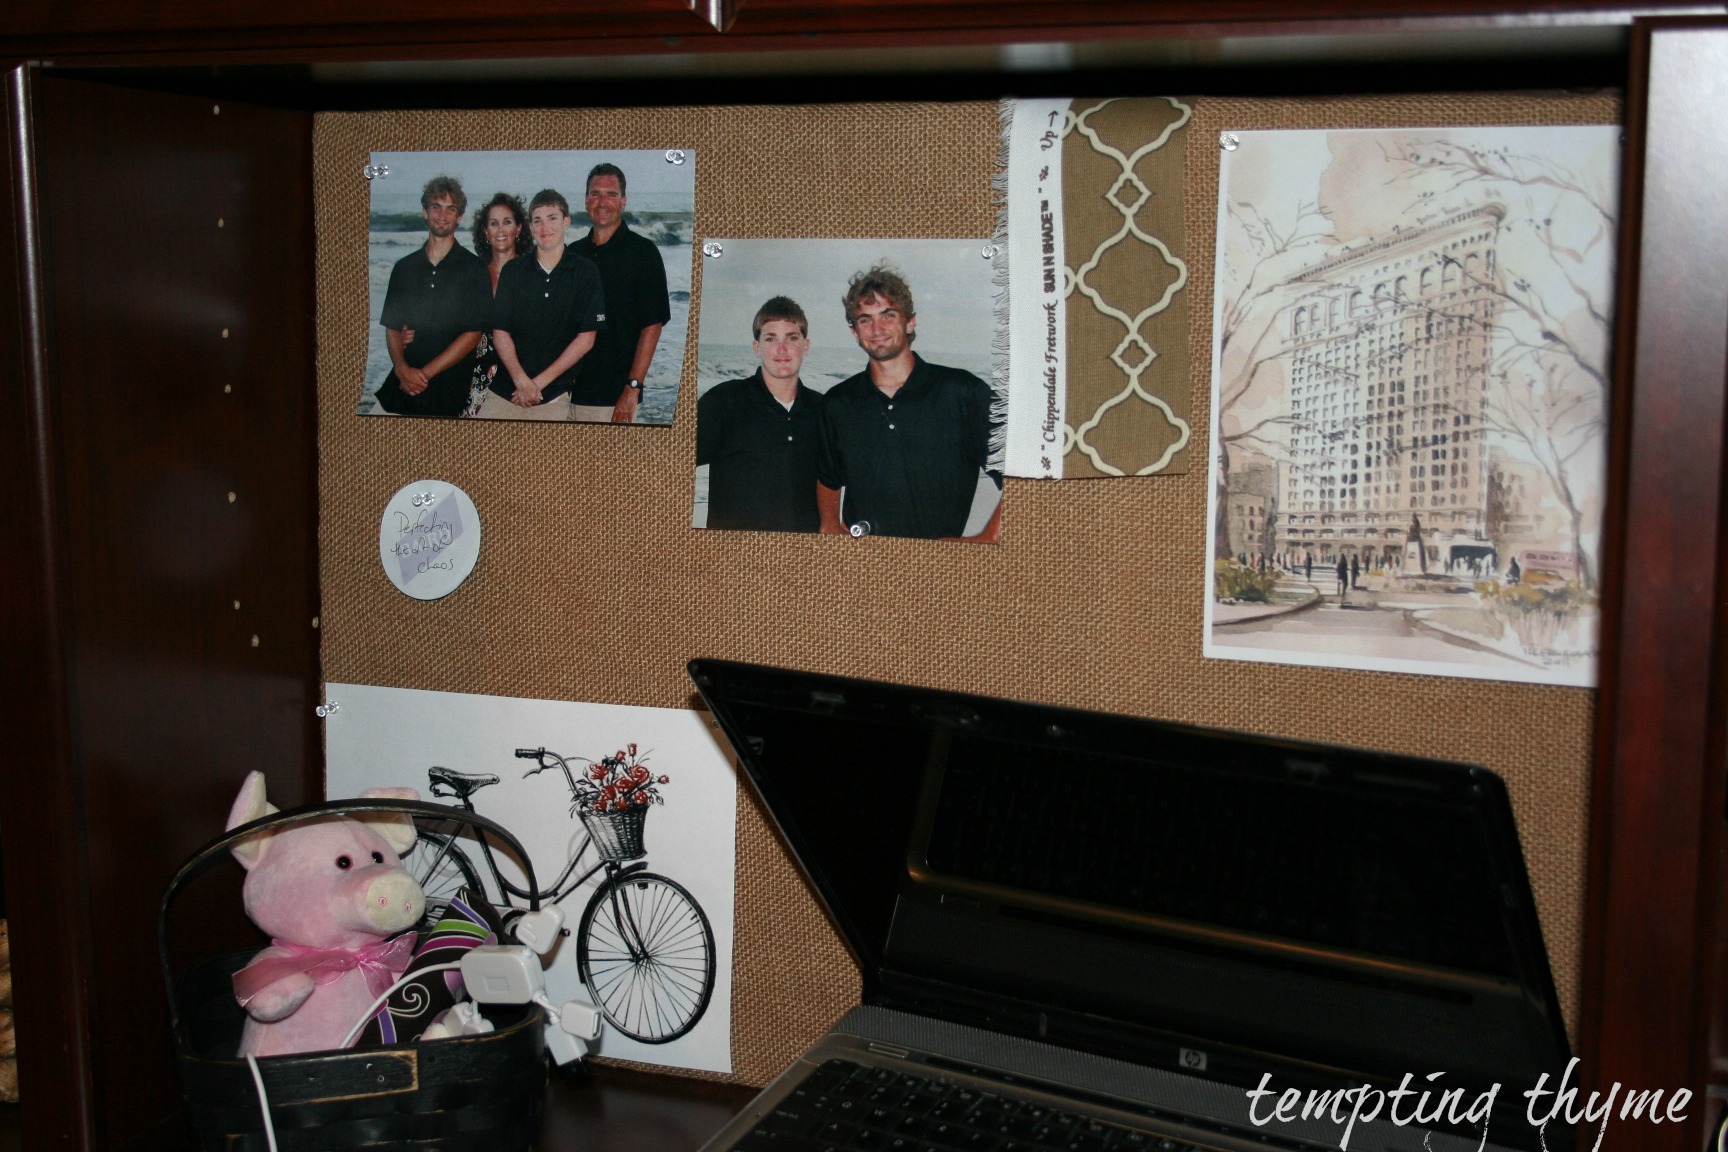 I am loving this board! My oldest son told me not to frame it out with black wood, as it is already ‘framed’ by the mahagoney. Creative isn’t he?
If you are scrolling up and down trying to see the difference in colors…..I made it easy for you….. 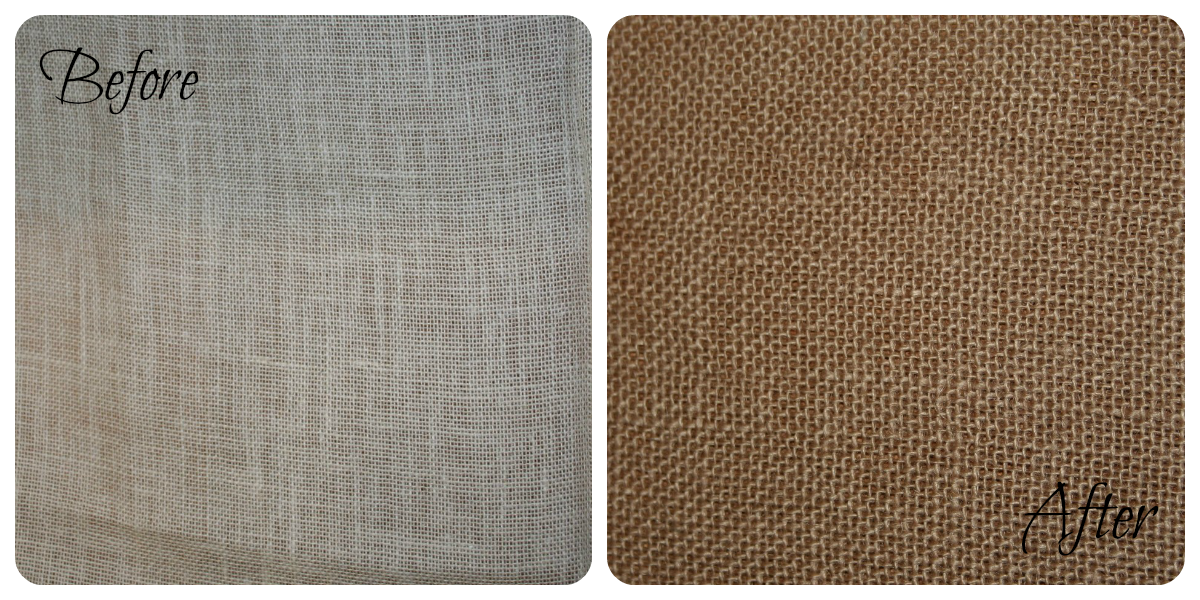 Makes you want to dye something, doesn’t it??!
I have had so much fun over here at One Artsy Mama, I hope to see you all around! I love making new friends, and blogland seems to be a warm, welcoming community. Thank you so much to my hostess, Amy, for giving me this opportunity! If you get the chance, come on over and hangout at Tempting Thyme!
Didn’t know your kitchen pantry could be so versatile and useful!!!???? I hope you are looking around your house right now, thinking about what you could ‘Dye using Tea Bags’.
Shaunna
Linking Up to:




My burlap curtains are thick and already came the color you had dyed them with tea. I’m going for a rustic look though so I want some inconsistencies, maybe a faux soot stain and darker patches, maybe some faux frayed areas as well etc. Not sure how to go about this.
The frayed edges will be easy….just start pulling at the ends and the burlap will naturally start fraying. To get the darker inconsistencies you are wanting, how about brewing up some dark coffee and staining the burlap with that?
I love this idea redoing some side tables for my room and have some burlap to go on top. Wish I could post a pic but anyway the burlap has a design on it printed I wonder if the design will stain.
I have used tea bags to stain paper, but never fabric ~ great tip! I have a dainty set of white lace curtains that could use a little “aging” to make them look just right! Inexpensive and easy…awesome! 🙂
Kim recently posted…The Most Exquisitely Unremarkable Posts of 2013
Thanks Kim! It is a little messy if using big pieces of burlap or ‘lace curtains’, so make it easier and use the utility sink that is in most laundry rooms. Let me know when you get it done, I would love to see a before and after picture.
Great site that you have here both design and layout is terrific.|
Love that idea!!! I have some doilies I need to color and I am going to try this!!!! Thanks so much for sharing!!!
Instant follow for me!!!