I hope you all had a great week, and have some fun things planned for the upcoming weekend. Ours became a little more open as K’s hockey team lost Wednesday night in their State tournament.
What to do?? What to do?? 😉
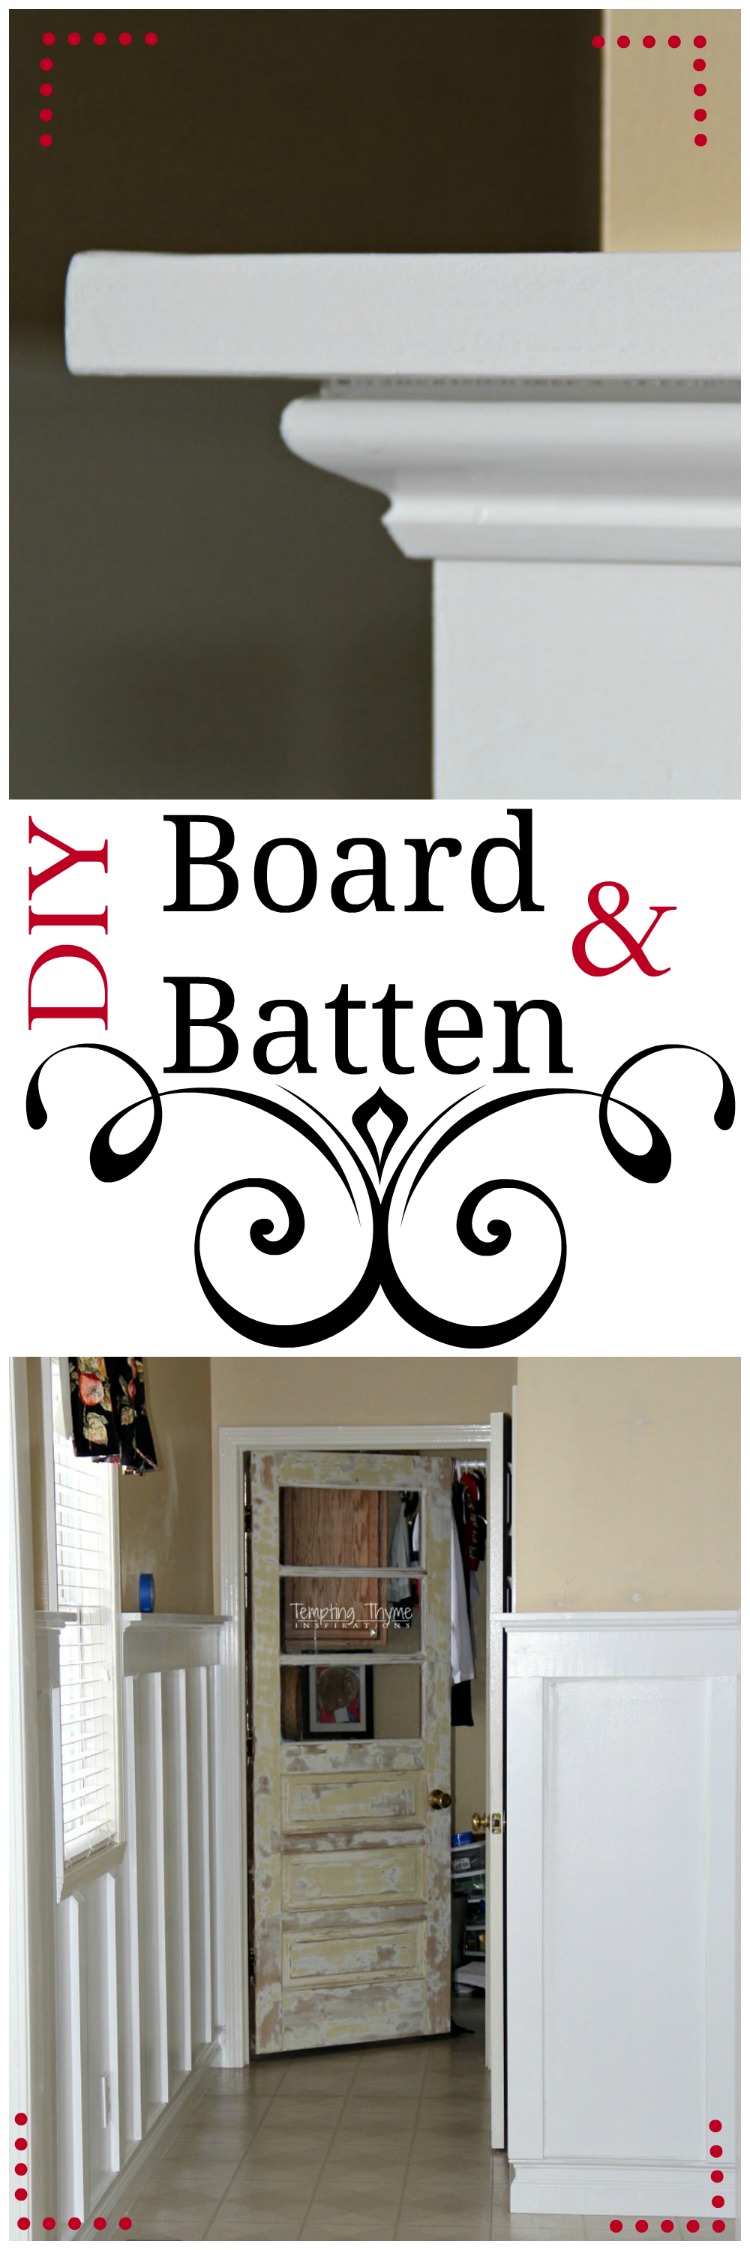
I know that you all have probably seen board and batten all over the internet, as it has become popular again over the past few years. I always thought it was primarily in older homes; you know…..the tudor, mission, or cape cod style homes. But I am loving that it is popping up in the more traditional, newer homes.
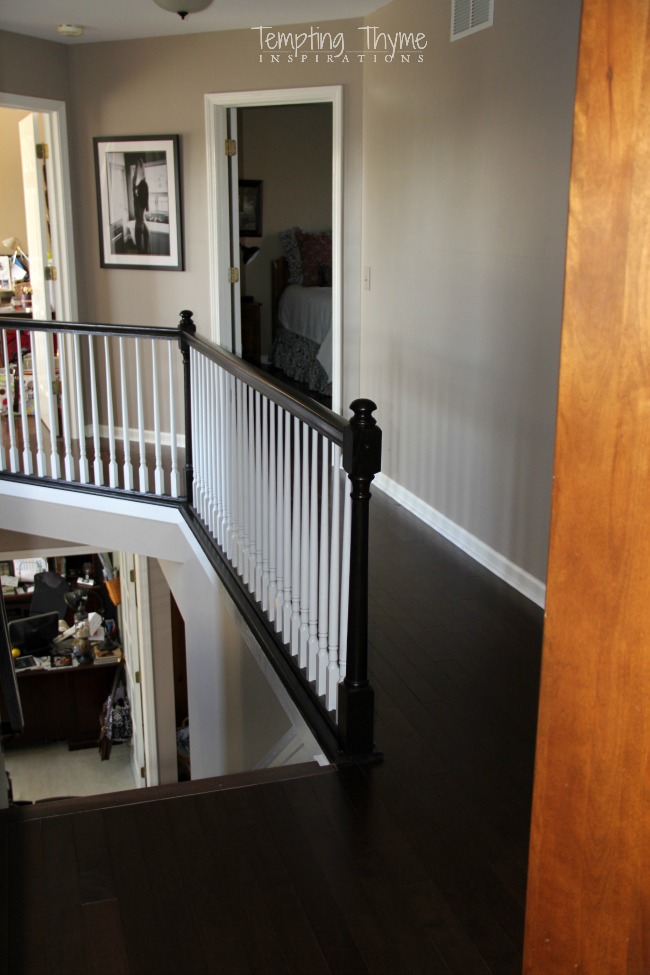
When I was envisioning our upstairs hallway, I thought that the board and batten style paneling would be perfect as I feel like there is a lot of dead wall space as I am walking from the stairs to our bedroom. I have never known how to treat this wall with pictures and /or memorabilia, and when I get stumped…..nothing gets accomplished. After 15 years it is time to take some action!!
But I was nervous…….
We had just painted the hallway and changed out all of the flooring……
I didn’t want to screw anything up while I practiced this new (to me) paneling technique…..
So I did the next best thing!
I installed it onto our mudroom walls……

……. and I couldn’t be happier with the results.
First let me say that there was nothing wrong with our mudroom. I just thought it was getting a little drab and needing a little TLC, and the perfect area to practice the board and batten.
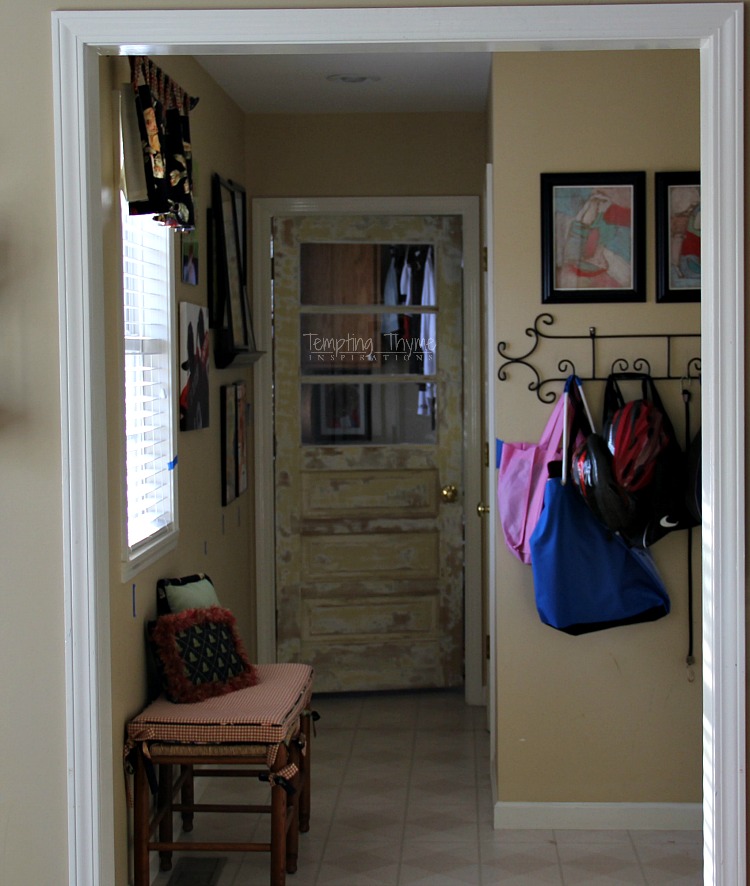
*** Let me clarify for you what I call the mudroom. It is actually the hallway area that you enter off the garage; and it also brings you to our half bath, laundry room and also has an all-purpose closet. ***
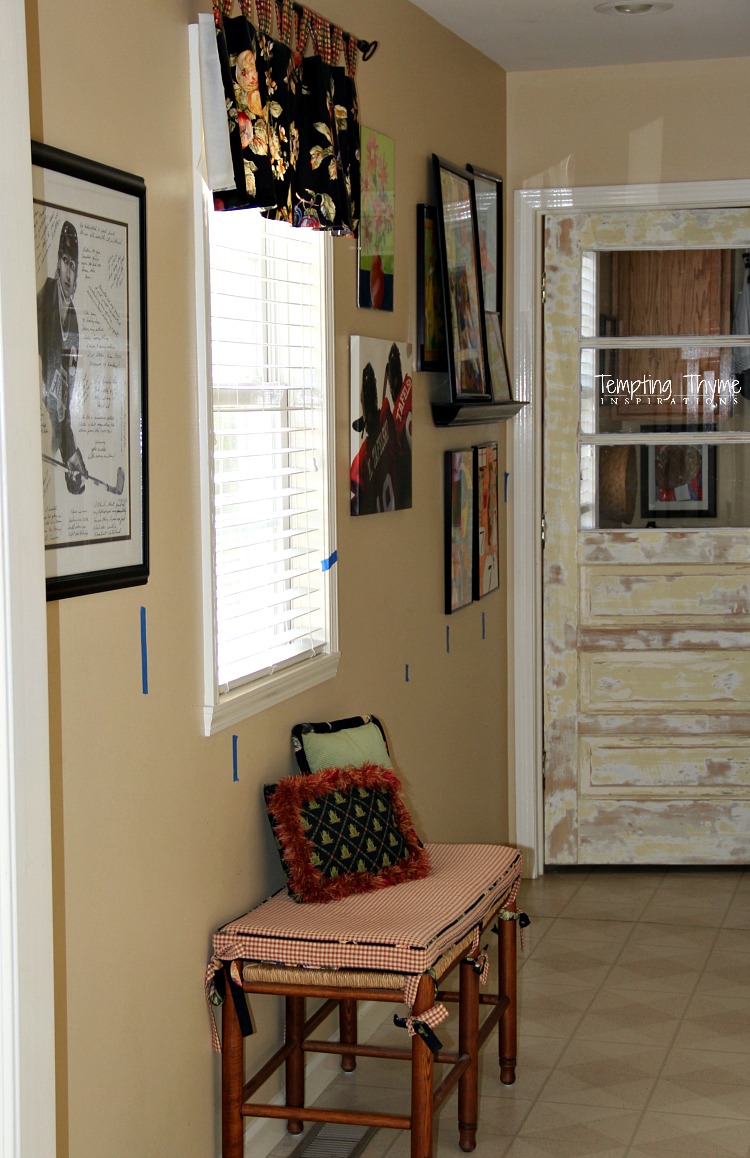
I was already testing the waters with painters tape on the placement of boards.
Although I love the look of authentic board and batten, I did not want it to cost an arm and a leg. So I cheated just a little!! If you were to go here and here, they will explain to you that “real” board and batten are flat panels of wood lining the walls, and vertical boards are then added to cover up each seam.
In my opinion that is just too much wood; especially when there was nothing wrong with our walls to begin with. I was also a little squeamish of having water damage to the drywall, but not knowing about it because there was plywood covering all of it.
If you haven’t noticed I have a very large mold phobia. I think that was pretty obvious over here. I don’t like it, and I think I can safely say that you do not either!
So this version of board and batten was created purely from pine wood and decorative mdf molding. I also can guarantee that you will not even notice that the wood paneling is missing unless you get right on top of it and look closely! 😉
Materials:
- 1x4x8 pine boards (vertical boards)
- 1x6x8 pine boards (top horizontal board)
- 1x3x8 pine boards (used for the top ledge and for the inner/outer corners of the wall)
- Base Cap MDF molding in 8 foot sections (used to beef up the base molding and underneath the top ledge)
- Spackle
- Caulk
- 18-Gauge 1 ¾ “ brad nails
- Level
- Stud Finder
- Painter’s Tape and/or pencil
- High Gloss Paint
I thought I would make life a little easier and paint 2 coats of high gloss white enamel paint on what would eventually be considered the “paneling”. I highly recommend this, as it is a pain in the butt painting in between each of the vertical boards. BTW-make sure your walls are clean and any holes and indentations are spackled before painting.
The biggest issue that I thought I would have were the baseboards. I didn’t want to take them all out and replace them with 1×6’s (too lazy), but I knew that they were not beefy enough, plus the tops of them are only about 3/8″ wide. I wanted these vertical boards to be able to sit on top of the base board without any gaps, and without having to trim the ends at a slant to meet up with the existing baseboard.
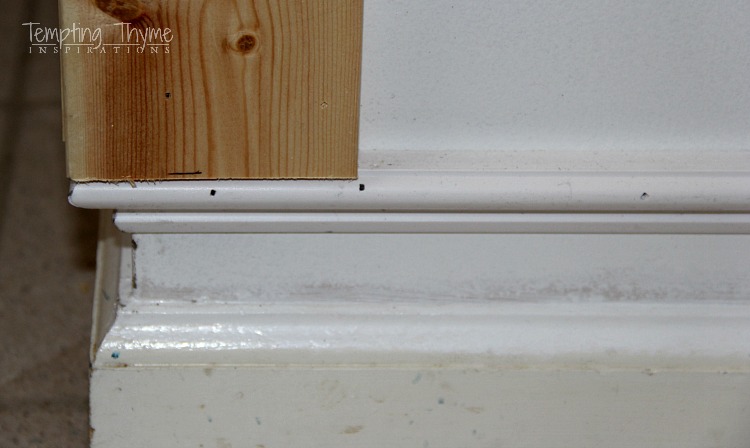
My solution was to layer some base cap molding above our existing baseboard. You will notice that I left about a 1 1/2″ gap between the baseboard and the base cap molding. This is the same treatment I did in our dining room, and once everything is painted it really does make it look like it is all one piece of molding. Obviously, this is a before shot, and I have cleaned and painted the baseboards!!
By building up the baseboard I not only was able to let the vertical boards sit on them easily, but when we eventually change up the flooring the baseboards won’t look wimpy when the flooring is butted up against them.
The second issue that had to be figured out was the spacing of the 1×4 vertical boards. I literally started placing tape on the walls to see what might look good. Standard board and batten is spaced 12″ apart, but I thought that would look too congested in this small space. I initially was going for 17-18″ apart, but that created aesthetic issues around and under the window. I ended up switching up the tape for leftover 1×4 boards that I propped up on the wall….moving them around until I was happy with the layout.
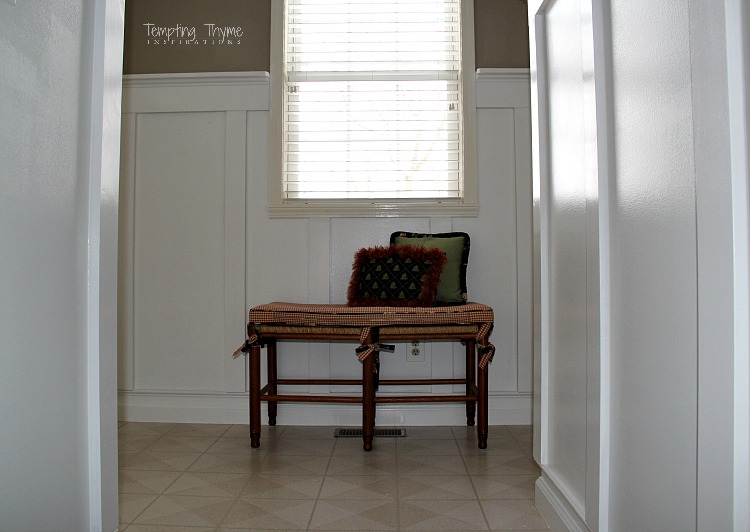
I centered the boards underneath the window with a spacing of 16″. The two boards on either side of the window only have a spacing of 10 1/2″, with the rest of the wall going back to the original 16″ spacing.
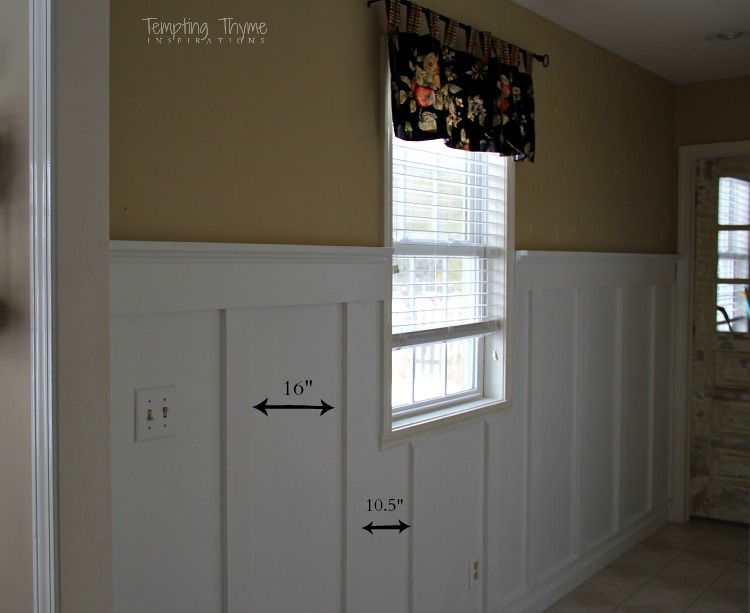
On the smaller walls I started the boards on the outer wall and worked my way towards the doors. On the really small sections of wall, I had to play around with the placement, one not even having a vertical board…..just the glossy white paint.
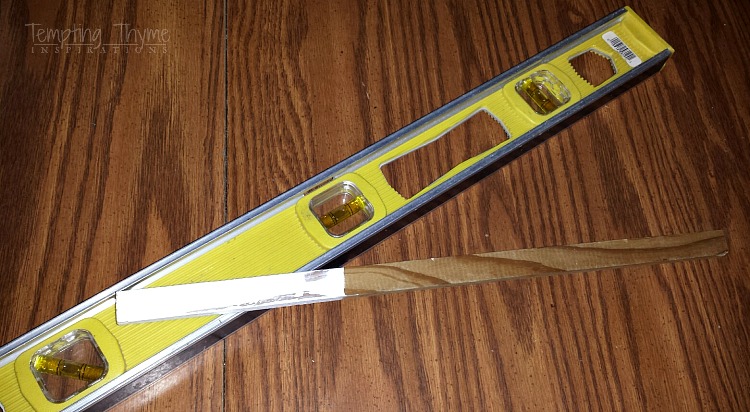
This level and stick were my best friends during the installation. Well……these and K that is. He was my helper holding the base cap molding while I used the nail gun to anchor it to the wall. I cut this stick down to 16″ so that it would be easy to space out the 1×4’s. K also used a ruler to help keep the base cap molding straight.
After getting the baseboards beefed up, I turned my attention to the final height I wanted the board and batten to be. I wanted it to be higher than chair rail, but not too high that when we propped pictures on the ledge you would have to crane your head to look at them. I was thinking a little under 2/3’rds of the wall and settled on lining the top with the closures in the center of the window. I also didn’t want it too close to the light switches.
Final height: top ledge is 59″ from the floor and 53 3/4″ from the top of the baseboard.
The 1×6’s went up fairly quickly with the nail gun, trying to hit as many studs as I could. **I had marked off the studs with a pencil mark**
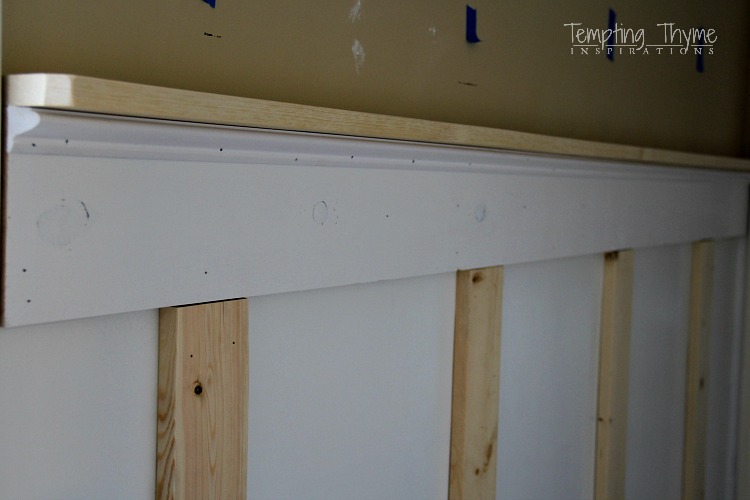
The vertical boards followed next (47 1/2″ tall), not all of them being nailed into studs 🙁 Some people have used liquid glue for their boards that didn’t hit a stud, but I just increased the number of nails that are holding it to the wall. Between that and the caulk that would eventually hide any gaps and create a smooth seem I figured we would be okay.
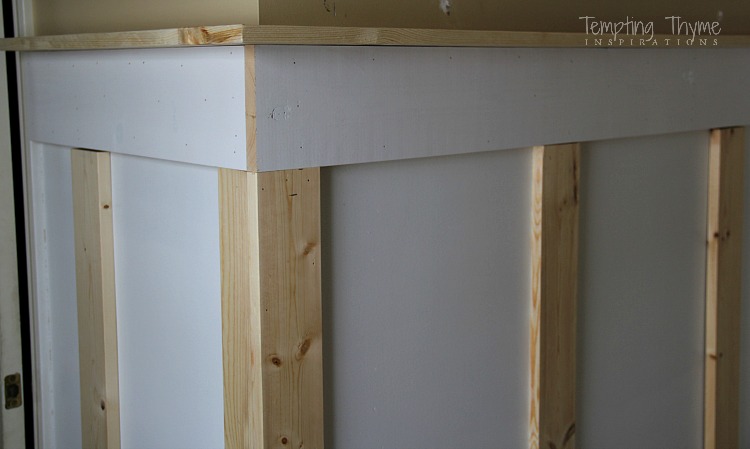
I wanted the outer corners to wrap around, and was able to compensate for the inch thickness of the 1×4 by having one of the sides be 1×3. Once I butted up the 2 boards together they were each 1×4 from either side.
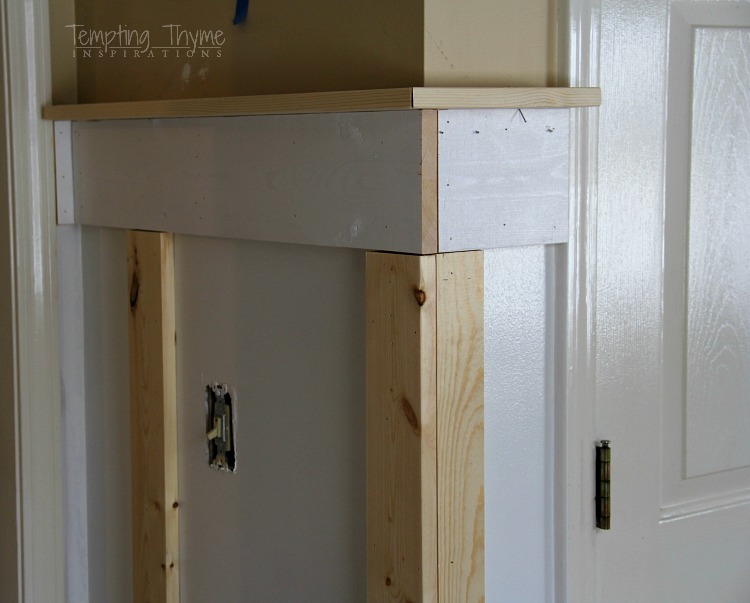
Yes….lots of spackle and caulk was used…….
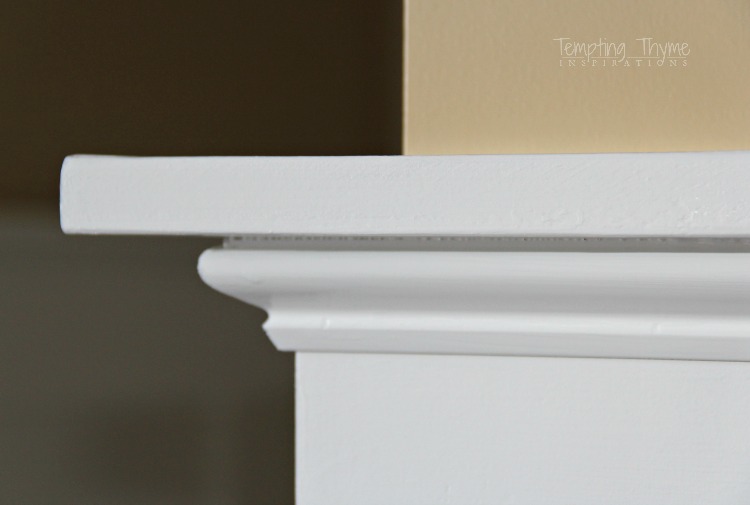
I used the 1×3 boards to act as the top ledge. I had been looking for cap molding that had one end curved, but was too impatient and gave up after going into two stores. I also did not want to pay much, and I found alternative molding upwards of $16 for an 8 foot section. No……..can………do! I settled for using the 1×3 pine boards and just used my electric sander to round out the edges some so that they wouldn’t be so sharp if you accidentally ran into it.
I used the same molding that I used to beef up the baseboards and placed it under the ledge. Not necessary, but I thought it would pretty it up and add a little more dimension to the walls.
I am over the moon happy with the finished product!!!
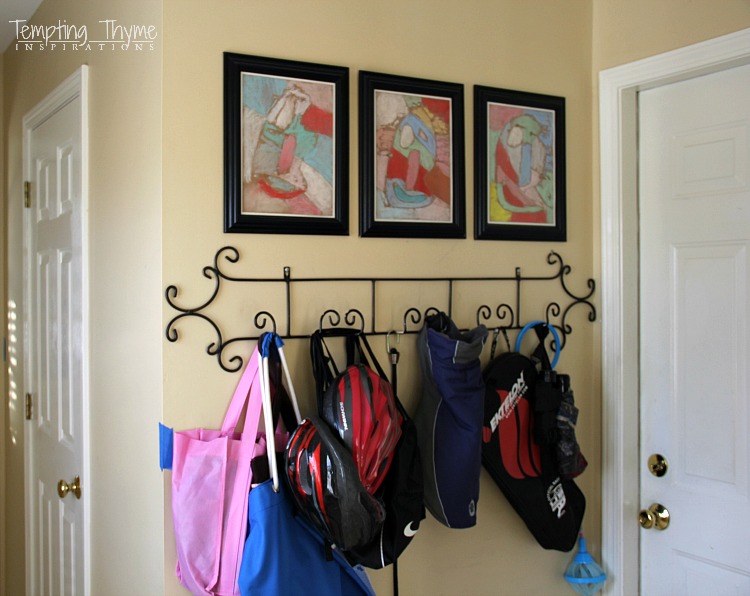
I was able to paint the top section this past weekend with some leftover paint from the foyer, and am looking for some hooks to install which will take the place of the plate rack that we had been using for a coat rack. I also need to decide what to do with all of the old pictures that used to hang on these walls, as well as, the 2 baskets that used to hold our mail. I am really digging the minimalist look, but these pictures the boys did in school are treasured and I don’t just want to hide them away or get rid of them.
Since it is all about the before and afters………..


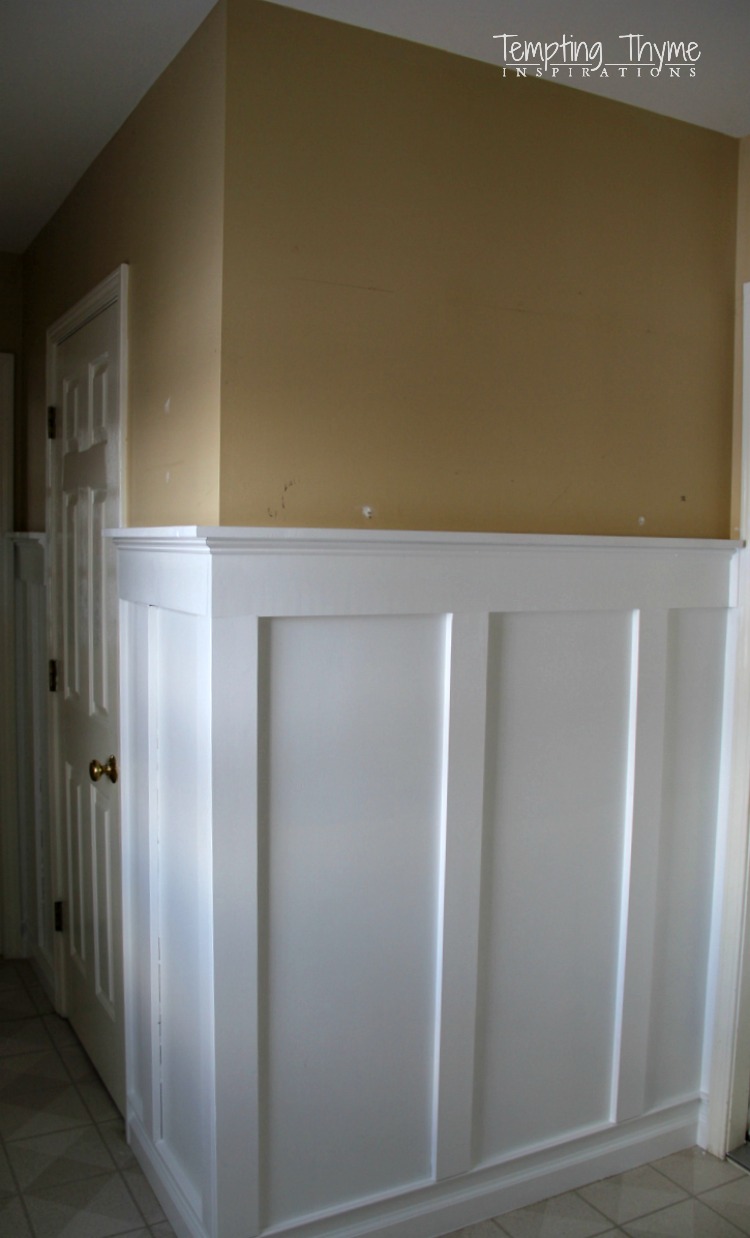
This was taken just prior to starting the huge task of caulking….

Have you tackled board and batten in your home? Any tips or tricks that made the installation easier??

Thank you for posting this. I have been looking at a lot of tutorials on how to do board and batten on the internet and I think yours is very thorough and easy to follow. I am going to try it in my tiny bathroom first and hope it is as successful as your mud room. I especially appreciate your showing the measurements around the windows and how things were made to fit. 🙂
Thank you, I am so glad it helped you make the decision to do this project in your home. I do not think you will be disappointed. In fact, we have a very small half bath off our mudroom and I was thinking about continuing this look in there also. Before you buy your wood, just cut out some paper in the width of the wood that you are going to use, and tape them around the bathroom. This way you can see how it will look, and you will know exactly how much wood you need. Would love to see before and after pictures of your bathroom!! 😉
Love your board and batten walls!!! Have you finished the laundry room door yet, or are you keeping it the way it is?
Thanks Holly. I have done a test run of a creamy white….but I am not very thrilled with it. More than likely it will get painted the same color as the board and batten and I will get it done when the rest of the doors and window trim get completed. One of these days that is!! 😉
Great job! I have been wanting to do this in our home for ages, just haven’t been able to talk my husband into it yet.
Thank you Andi!!!
Pingback: DIY Board and Batten | anahikristian