Have you seen the Industrial looking furniture in the stores and online? I think it is the coolest looking stuff around!!
Totally reminds me of what I would find in a big, airy loft in New York City. Have I told you how much I drool over NYC? I was fortunate to live there (if you could call living in a hotel “living” there…. 😉 ) for a few months after I graduated from Purdue. I was helping Marriott open up their Wall Street Hotel, and I fell madly in love! There is something so vibrant and calming about this city! LOL, total contradiction I know!! {SHRUG} If you have ever lived there….or visited….I think you are shaking your head in agreement!
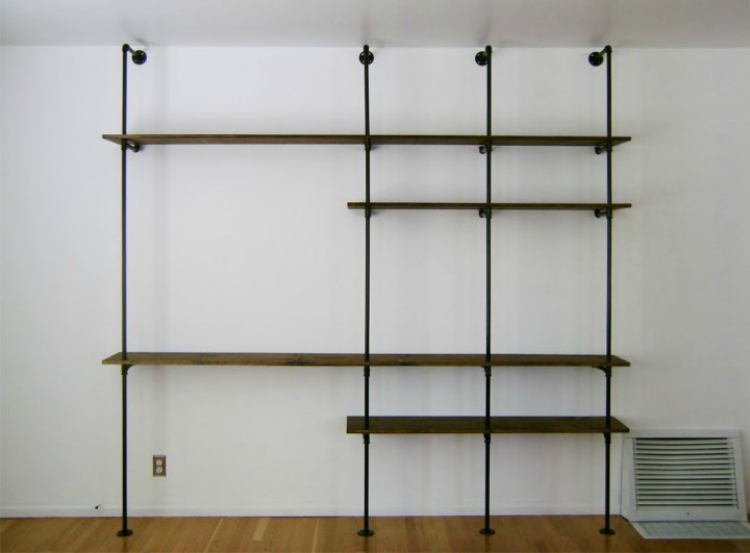 Source: Brick House
Ever since seeing the picture above I have been wanting to build my own industrial furniture. Seriously….it is so cool. Don’t you think? All of that metal and wood. Makes me swoon!!!
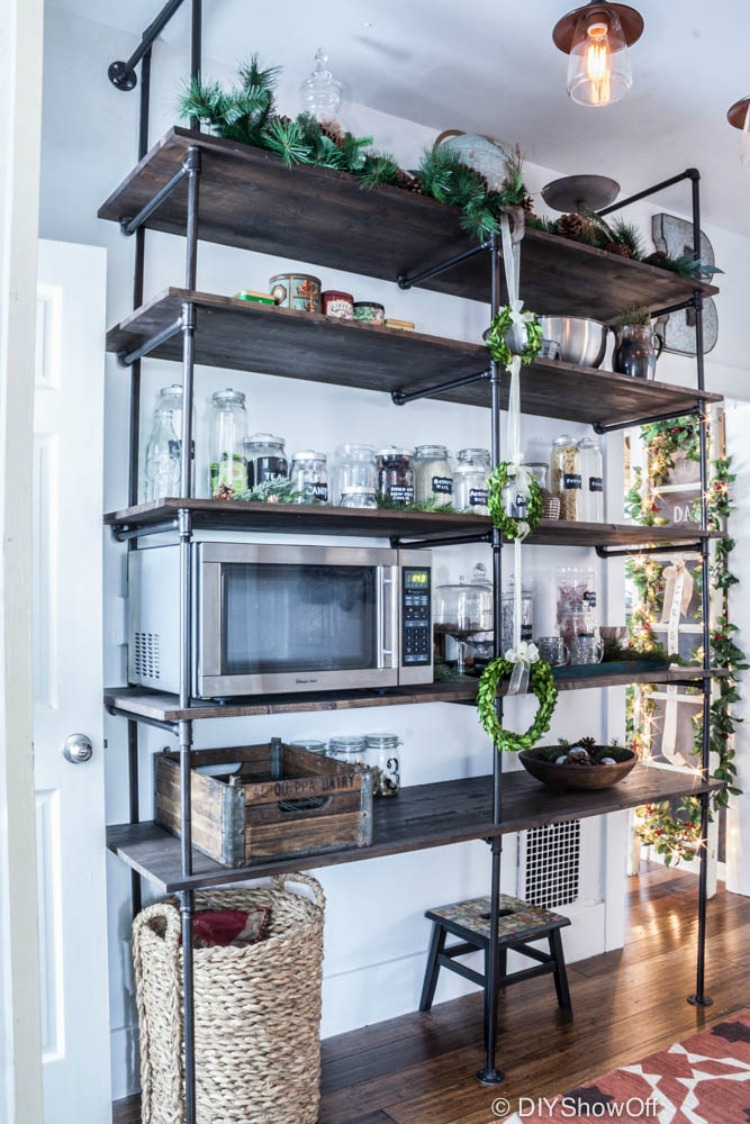 Source: DIY Showoff
This pantry renovation sent me over the edge, making me crave some galvanized piping in my own home. But there is no way, know how, that my pantry would ever look this “put together” and organized! 😉
So here is what I came up as a trial run……..
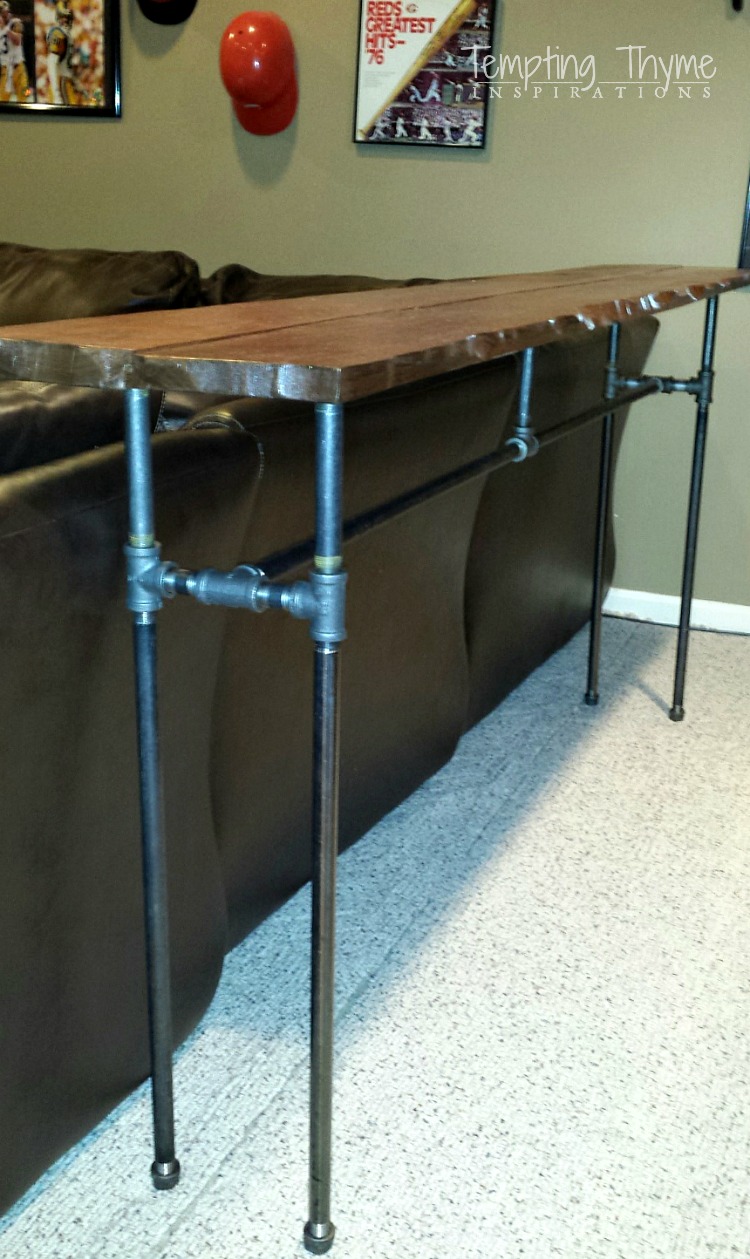
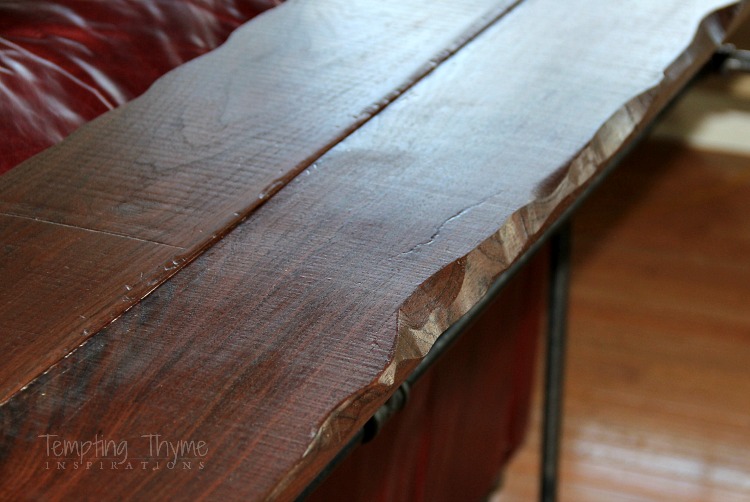
Excuse the shot taken with my phone a few minutes ago. What I really want is a HUGE desk for the craft room, but was seriously nervous about screwing it up. I thought why not do a practice run on something else that wouldn’t use up much wood!!? Did we need a sofa table??
Well…….noooooo, but I had to practice with something……and this was the first thing that I could think of. Certainly spontaneous, and in this case spontaneity created a winner! I am LOVING this table!!
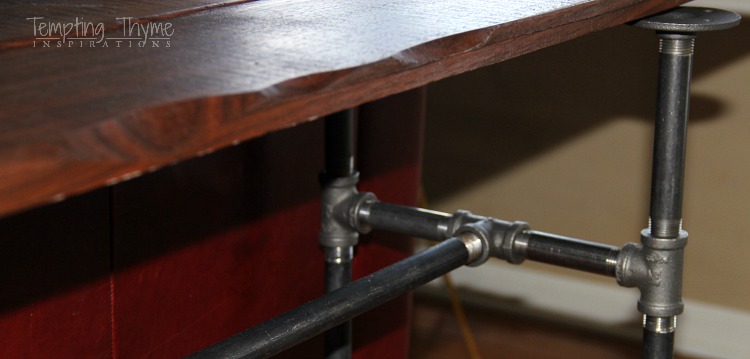
The only other table pictures that I could find online showed the black pipes crossing from one end to the other. I didn’t want that, as I wanted to be able to put some large baskets under this table to hold blankets, and other odds and ends like board games and puzzles. I didn’t know where this table would end up…..either in our family room or in the basement, I played it safe and took measurements of both sofa’s and knew that the table couldn’t be any longer than 78″ long and 15″ wide. Here is what I came up with as a design for the table legs…..
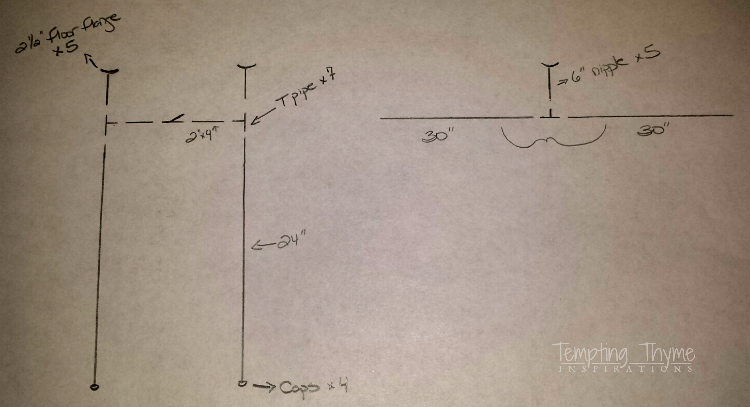
The figure on the left is what each supporting set of legs would look like, and the one on the right are the bars that will run from one end to the other. This is what I took to the store to find the pipes I needed. FYI: 90% of the fittings I used are the “black pipe”. Totally cheaper than galvanized or copper piping, and if you know me….then you know that I would have spray painted the other pipes black anyway. So why not save a little money and just buy the black stuff to begin with?? I bought most of my pipe fittings at Lowe’s, but I did buy the floor flanges and 2# nipples at our local Ace Hardware store. More on that later.
The hardware stores can cut and thread the pipes to your specific measurements, but I didn’t want to mess with that and really worked on my design/placement so that I could just buy everything “off the shelf” with zero adjustments needed.
Shopping List
2– 1/2″x 30″ black pipe $6.44
4– 1/2″x24″ black pipe $5.15
5– 1/2″x6″ nipple $2.07/each
7– 1/2″ Black Tee $1.97/each
4– 1/2″x2″ nipple $1.29/each
5 – 1/2″ Floor Flange $3.99/each
4 – 1/2″ Black Caps $1.34/each
Wood Screws: I needed mine to be 3/4″ in length, as the depth of the wood was less than an inch.
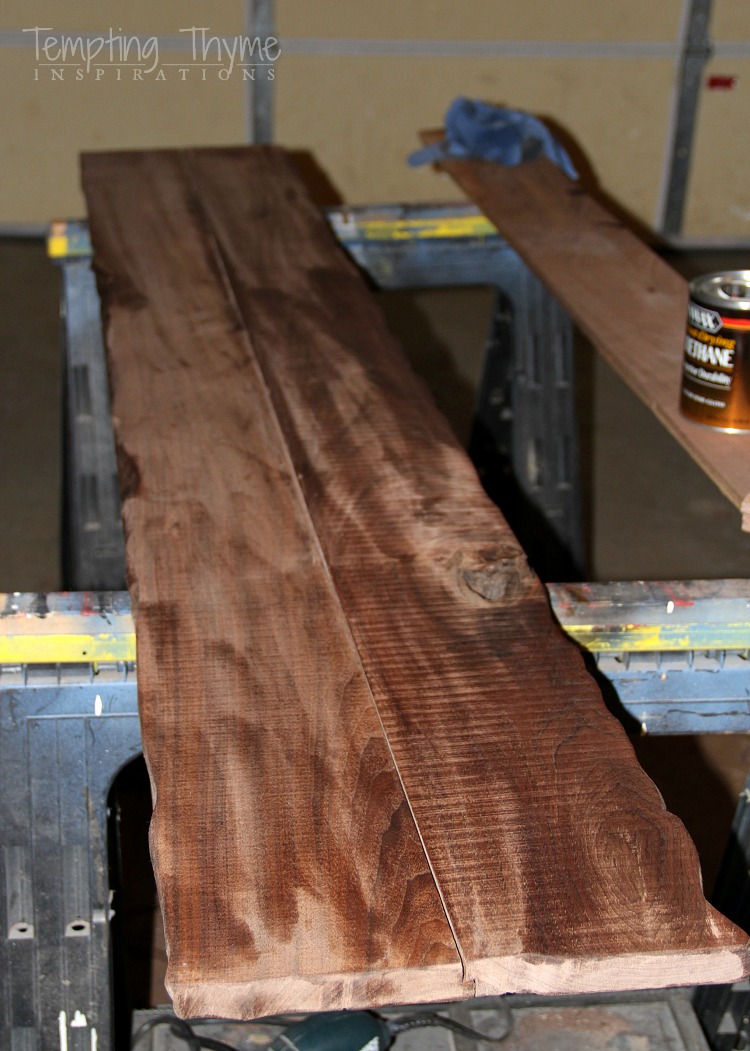
2 – 74″ x 6″ Walnut Planks. A friend let me raid her surplus wood from her plank wall project. Can we say Woo Hoo and a big shout out & thank you to Kris!!!
I consider myself fortunate that I was able to make it work using the standard off the shelf products….and, if you happened to be in the Middletown Lowe’s a few Friday nights ago, you would have found me piecing the entire table together on the floor! 😉
I was able to get everything I needed but the floor flanges that night. I was not about to pay $10.59 per flange. UH UH! These only came as galvanized pipe, not black pipe and were triple the cost. The sales associate looked this product up online and advised me to go to my local True Value or Ace Hardware. To save about $30, I would certainly go elsewhere for the floor flanges.
I couldn’t wait to get it started the next morning, and figured that I could get it done before having to leave for a hockey game that afternoon.
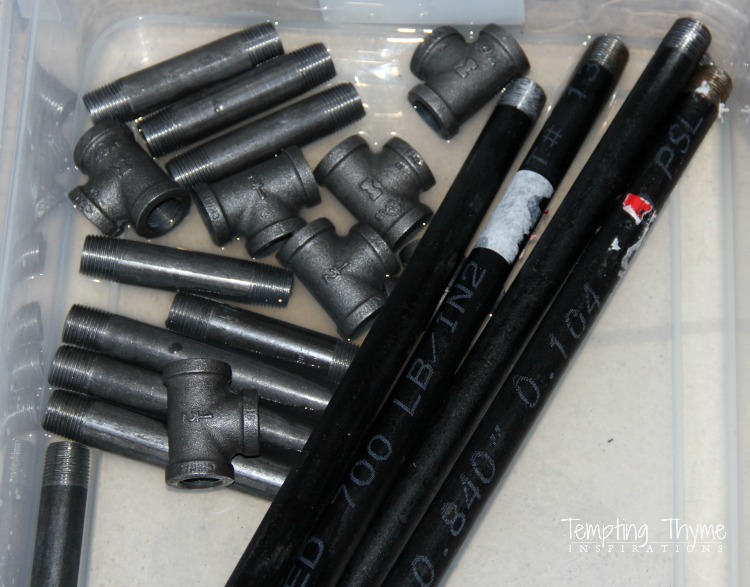
If you are going to bring the Industrial look into your home I suggest you give all of the pipe fittings a good bath with dish soap, TSP and maybe a few SOS pads before beginning the building process. There were a lot of stickers, tape, and a lot of gunk on the pipes; some even having sharp little pieces (kind of like thorns or burrs) suggesting the use of protective gloves and eye wear. Once again, do as I say…..not what I do!!

**Warning: pipe fittings are greasy and they are grimy….wear grubby clothing**
I repeated the process that I did on the store floor, following my generic drawing and assembled one side of the table legs from the bottom up, excluding the pipe caps (feet).
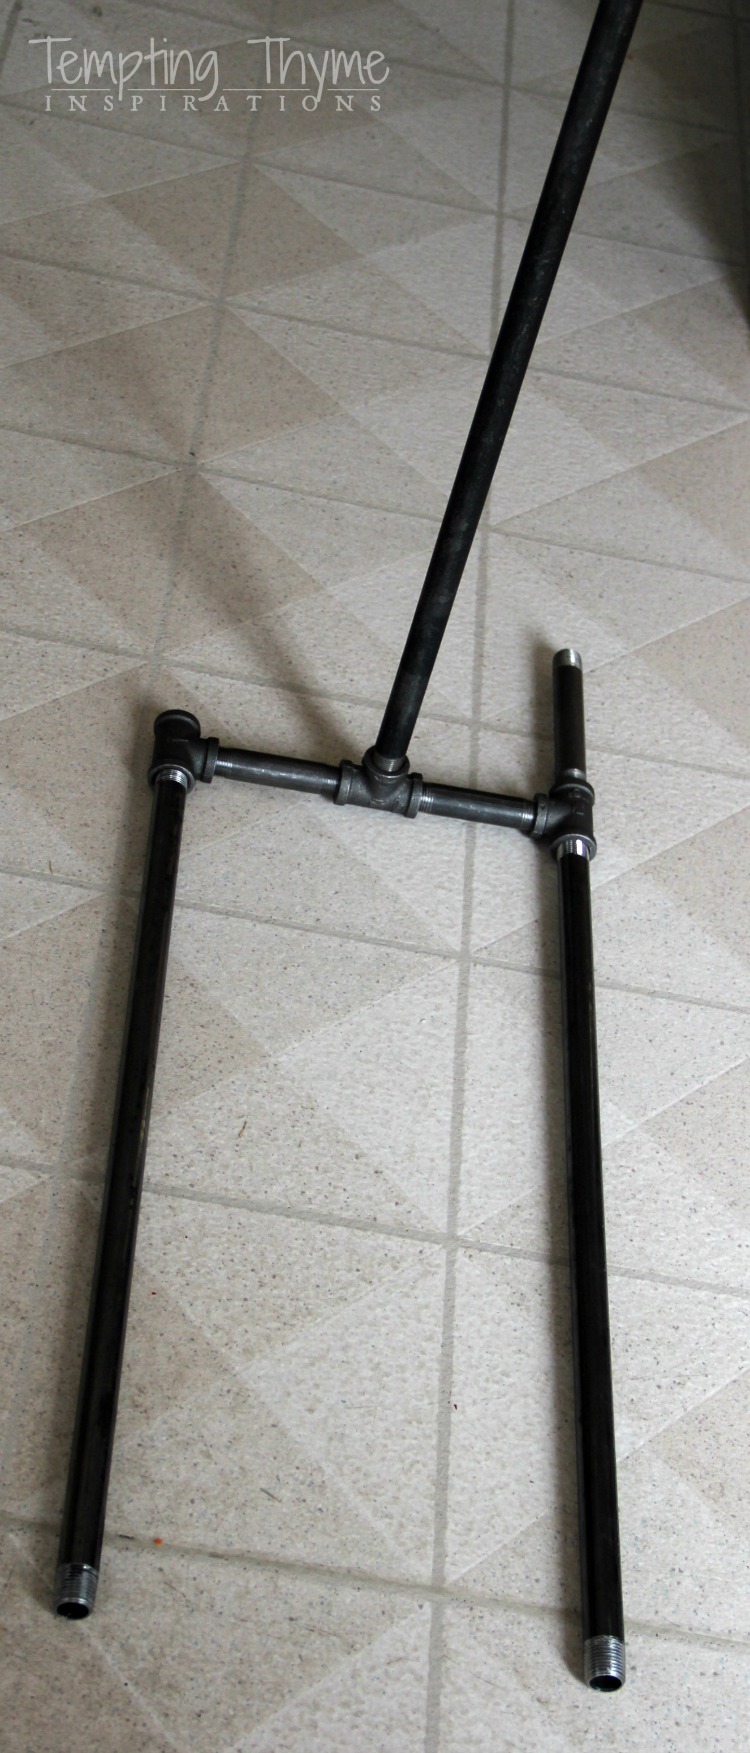
Once I had one entire side down I screwed in the 30” supporting pipe, followed by the middle tee bar and the 2nd 30” pipe. At this point you can either finish it up one of two ways; 1) assemble the other side starting in the middle and attaching another tee bar, followed by the nipples on either side, more tee bars before finally attaching the 24” inch poles and 6” nipples that will support the table top……or 2) assemble the other side in its entirety and then have a friend or family member help support the other end while you screw the legs into what you have already built.
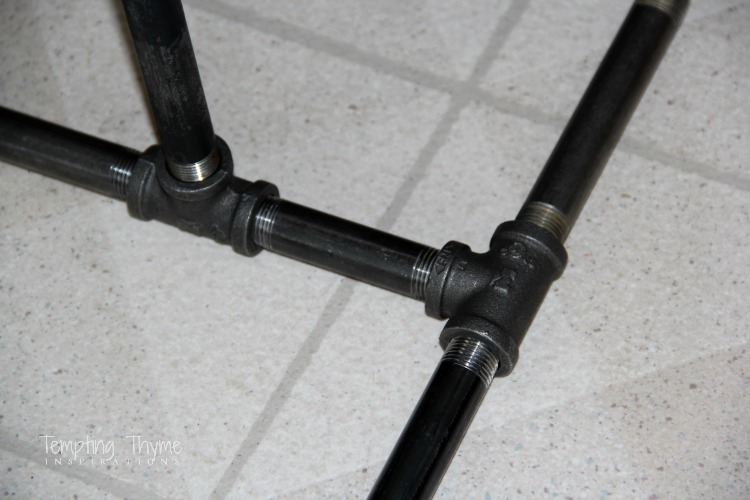
I chose option #1, as I wasn’t convinced that anyone would be awake when I was finishing it up. I also thought it would be a little easier than trying to juggle the awkward and slightly heavy piece and get it “just so” into the tee bar, swiveling it around to tighten it up.
But as I always say…..what works best for me, might not be the best avenue for you to take!!
The finishing touch was to add in the floor flanges…….
The one thing I didn’t count on was that although you can get a pretty tight fit, you will never be able to completely tighten it to hide all the threads. No problem….except that it alters your dimensions of the finished product! LOL!!

I didn’t realize this until I placed my finished wood top onto the flanges to do a dry run on the placement. Big OOPS!
Maybe I should clarify and say that a big strong person with amazing strength might be able to get it to fully tighten….or someone with a handy dandy specialty tool (maybe I should investigate if there is such a tool), but little ole’ me….no way it was happening!
For me it was a trip back to Ace to see if they had some 2” nipples. They only had 2 in stock in the black pipe so I had to bite the bullet and buy galvanized for the other two. Thankfully there was only a $.50 cent difference.
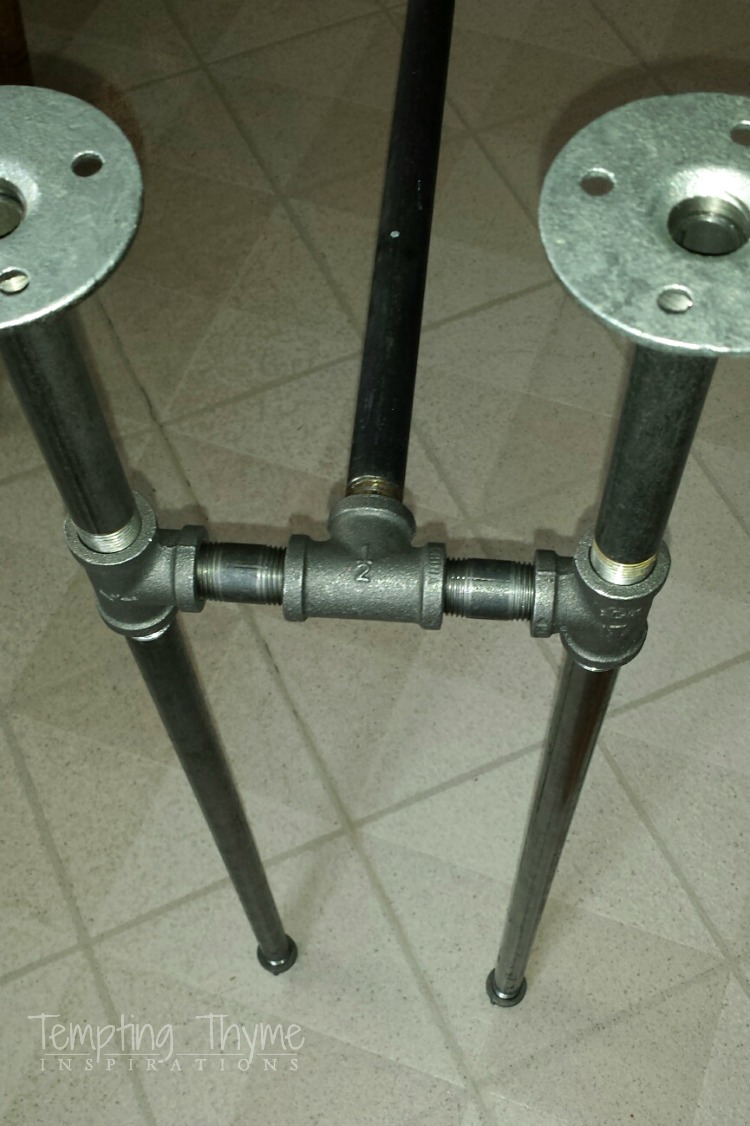
BTW- I love having the convenience of having an Ace literally a mile and a half from my house, but for items like this they are very limited in their variety/styles of merchandise AND the quantity of each is lacking big time!! This is why I had to mix up my products in the 2” nipple and in the floor flanges. Good thing I always have black spray paint on hand. 😉
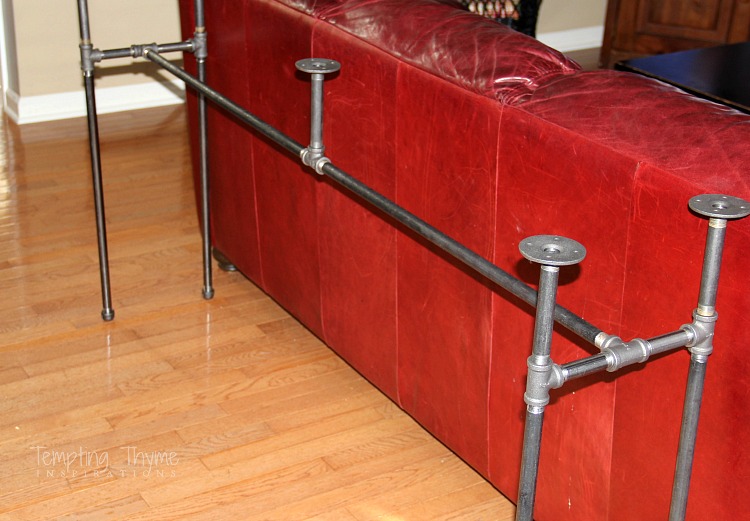
I placed the wood face side down and flipped the pipe base over to attach the two. Let me clarify, I had help flipping the base over. There is no way that I could flip that beast all by myself! 😉 I used 3/4″ wood screws to attach the 5 floor flanges to my top, and then once again had help flipping it back over. All done except for…….
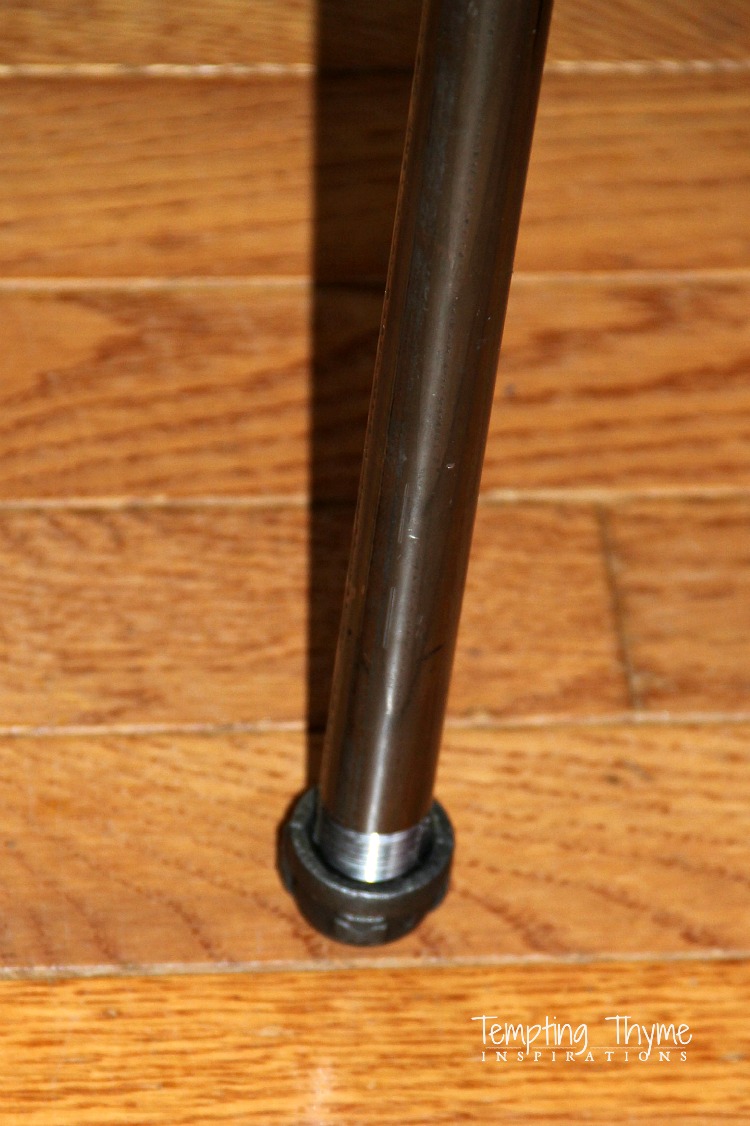
……..the feet! I think these metal caps are a lot nicer than using additional floor flanges. Little bit daintier than the heavy-looking flanges. If this table stays in the basement I will not add any felt pads, as we have carpet down there. But if I can somehow wrangle our furniture around in our family room so that it doesn’t look so congested, I will definitely be adding felt circles to the bottom bringing it back up to the family room!

I obviously got lazy in my measurements; height, width and depth turned out perfect for the family room, but our couch in the basement isn’t as tall, so the table is a little too tall for this space. If we keep it down here, I will have to swap out the 6″ nipples for 4″. Good thing I have them leftover from my width “mistake”! 😉
Just a few thoughts:
* I plan on using more industrial pipe in our house (in small doses)…….. I loved working with it! Even with all the struggles I had trying to unscrew the tees from the 4″ pipes when I realized I had screwed up on the width. The more I worked on it the tighter the two connections seemed to become. I happened to bring 2 sections with me to the Goggin and a friend got them undone by running hot water down the pipe and threads. He did such a great job I gave him the other 2 to do later that evening. If I listen to the rumors, he not only ran hot water over the threads, but then finished it off by wracking them against a wall. LOL! I have no idea if it is true, but I love a good story!!
Hint: The pipe and tee combo would be a great weapon for ladies traveling alone! Just saying!!
* A huge plus to using pipes is that if you have uneven floors….. or table top like I did….you can unscrew certain sections to even it out so that the table doesn’t wobble. For the 6” nipples that are attached to the floor flange (which is attached to the wood) I have two that are barely tightened to make up the difference in the depth of the two wood planks that I used!
* Who in the heck came up with the name “nipple” for these shorter pipe’s??? Seriously! Who??? Why? Other than being funny, what is the purpose? I really hope someone can give me the answer……
Have you caught on to the Industrial fever? How have you used it in your home?




Pingback: Pipe Furniture Plans – DIY Woodworking Projects
Moving can be a such a pain, but congratulations on the move! Nice to know that things went well.
Pingback: Wood Plans End Table – Tips Seputar Blogging Untuk Pemula – Teknologi dan Tips Sukses Bisnis Online
Pingback: Utilize the Space Behind the Sofa with 15 DIY Sofa Tables - Ritely
We are having trouble with wobbling side to side,
Any suggestions?
I had this problem also Loretta. I just played around with each cap….some might be a little looser than the others. If this doesn’t work, then switch out the caps for floor flanges. These would give you a sturdier base!
I looooove industrial home accents and furniture. Your side table is fantastic! This construction is fun to do too… kinda like Tinker Toys for grown ups… bigger, better! lol! I can’t wait for your desk!
Robin @ Redo It Yourself Inspirations recently posted…The Inspiration Tribe February Blog Hop
Thank you Robin! You nailed it by saying they are Tinker Toys for grown ups! Love that analogy!!
Pingback: DIY Industrial Pipe Table! | anahikristian