I have to admit that I was a mad woman before the Holidays, trying to get projects wrapped up before hosting some of my family members for Christmas.
I can’t complain, or even gripe in the slightest, as I caused all my issues by getting distracted and starting new projects before wrapping up the old.
{SIGH} I still have some projects that are not 100% completed from last year.
That is one of my challenges this year…finish what I start BEFORE starting something new. I don’t know if I can do it, BUT I am certainly going to give it a “go”!
One of the area’s that I was trying to finish up was our master bathroom. It won’t be totally done until I paint the cabinet and swap out the mirror and counter top, but it does look a whole lot better now that we have gotten rid of the Hollywood lighting. You know what I am talking about!! That long strip of chrome (or brass) that has the 6 – 8 light bulbs screwed into it. I think all builder grade homes have at least one of these hanging around their bathrooms. Especially if you have a long vanity like we do.
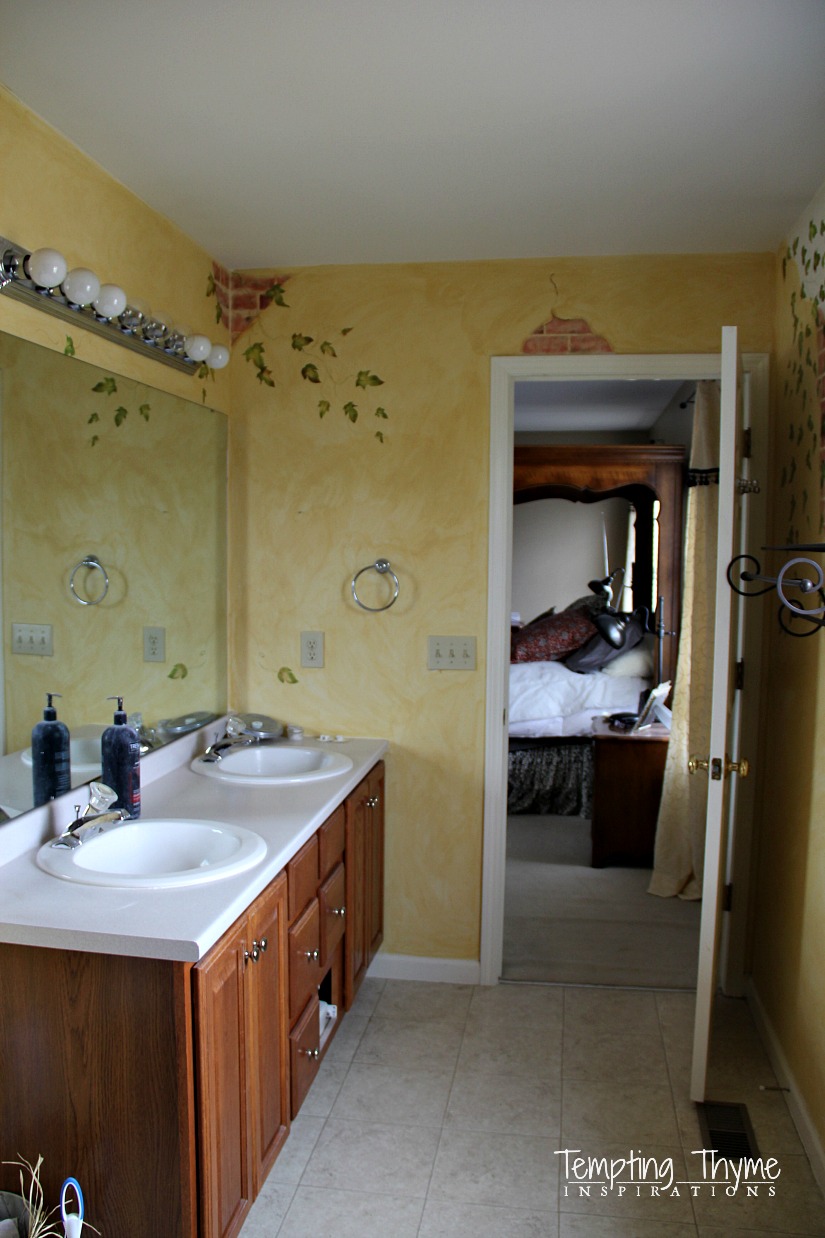
I think the only reason we kept onto ours as long as we did was that no one sees it but myself and PT. Oh, and for the simple fact that I couldn’t figure out how to get it down.
That was a problem too!
I told myself that when the light bulbs all burned out I would swap it out. After living with two varieties of bulbs……half of them were even burned out…….it was time to take action. Plus, our Hollywood light strip was not looking good with our new shower tile!!
After spending some time pulling on the chrome strip (no pictures of this), envisioning myself creating huge holes in the wall, I headed to Lowe’s to find an instruction manual. I found a light that resembled mine and opened the box to read the manual. I am so glad that I did this, as this light is actually composed of 2 strips. The first is anchored to the wall with screws, with the second strip clipping onto the first. I also think that the light bulbs help to hold it all together when they are screwed into place.
Very crazy set-up, but easy peasy to get down once I read the directions. For anyone wondering, I had a lot of people staring at me while reading those instructions. Wasn’t the first time, and certainly won’t be the last!! I do have to say that the person who buys that box will have the instructions neatly folded on top, versus having to pull everything out to find them. I am all about public service….. making it easy for people!!!! 
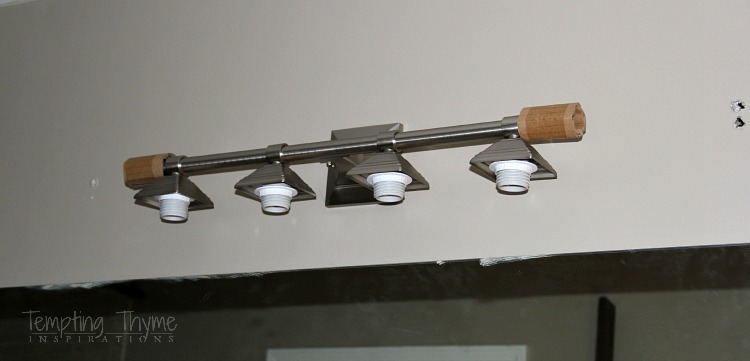
It still took a little finagling, but the cover did snap off pretty easily and then it was a simple act of getting the screws out on either end of the strip, unhooking all the wires (make sure you switch off the electric to the area that you are working on), and pulling it down. I held onto the cover for a bit, trying to think of what I could do with it….only to have PT throw it in the trash after I voiced the possibilities to him!!! Can’t say that I blame him!
What I was left with was a gaping hole with wires coming out! No light box! What contractor doesn’t use a light box? After exchanging a few text messages with B ……. who swears that I am wrong and that I just can’t see the light box (yep, you heard that right)……I headed back to Lowe’s to discuss my options on installing the proper light box. What B failed to tell me (after the light bulb went off in his head), is that electricians don’t like to put light box’s in bathroom’s with our size vanity as they don’t know if the contractor will hang 2 lights or just one in the center. They leave a hole with enough wire that can be moved around depending on the placement of the lighting, and can easily be “split” if 2 vanity lights are chosen.
After listening to the Lowe’s guy (who confirmed everything that B said), I started to think that I would split the wire and install 2 lights instead of one. Wouldn’t 2 smaller lights above each sink be better than 1 big one?
I headed home and got creative with a solution until I could wrap my head around how to “split the wires”, and the steps needed to get the 2 lights that I thought we needed.
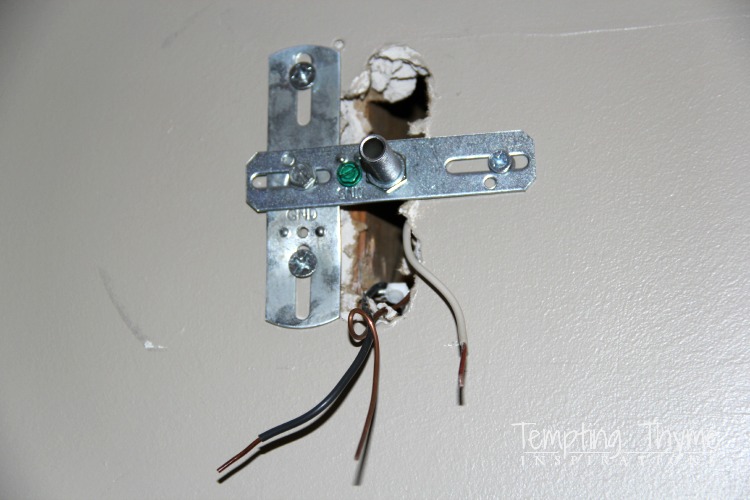
Thankfully there was a stud to the left of the hole. The light came with 2 metal strips that were to get anchored to the light box. I said a little prayer and came up with a cross pattern with the metal strips, getting 3 screws into the stud to secure the light.
I don’t know if I should come clean and admit to you that I “lost” the original metal strip behind the mirror! Yep…….there is enough of an opening behind the mirror that when the strip slipped out of my hands it went straight down behind the mirror. Now that was a bummer!!!! I thought for sure I was going to be heading back to Lowe’s to find a similar metal strip!!
After a few choice words, I ran to the garage to check out the leftover light from the foyer. Remember, I told you about swapping it out over here! It had the exact same bar, and I was thanking my lucky stars that I had not given it away yet!
Back on track…..with cardboard added to the mirror gaps….I finally got the mirror installed!

Only to realize that it wasn’t going to work out once the globes were screwed into place. I don’t have a picture of it so you will just have to trust me when I say that they hung too far down the mirror. If I kept this light then I wouldn’t be able to add the framing around the mirror like I did in the boys bathroom. I was seriously taking this as my sign that I needed to figure out how to split the wire and install 2 different lights. The options are endless when you only need a light with 2-3 bulbs!!
That is how the light stayed (light bulbs added, with no globes) for about 2 weeks while I tracked down another one that would be better suited for the space. During that time, my friend Dan talked me out of switching to 2 vanity lights. Can’t say that I am disappointed, as it would have added yet another stress into my life.
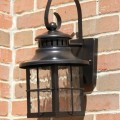
I was a little hesitant about this light that I found at Home Depot, but thought it was definitely worth a try. It is by Hampton Bay and is part of their Architecture collection. The screw in the center of the faceplate was bothering me…..
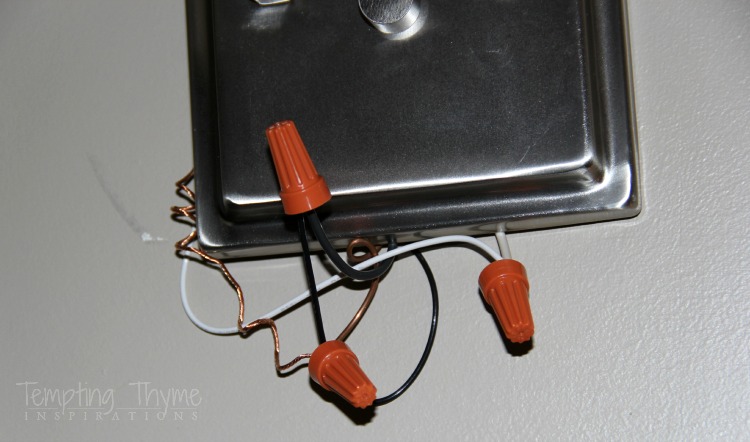
This is me getting the wires connected properly and playing around with the length that the screw needed to be at for the knob to have a tight fit against the plate. Wow, what a long sentence!! I have no better way of describing the pole that the light fits into, so just scroll up a few pictures and have a look. I will wait!! =)
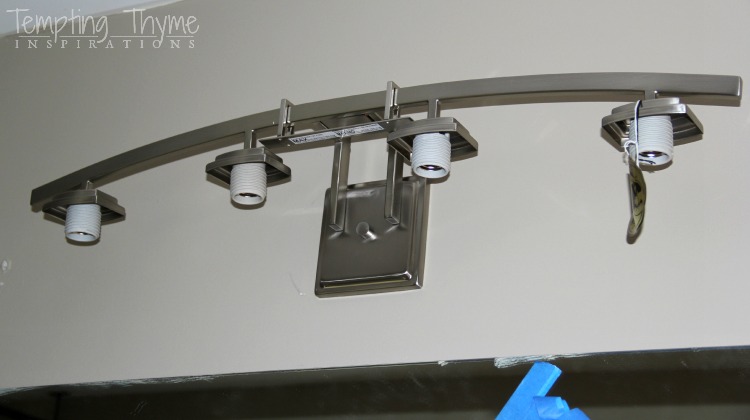
I am starting to like the light at this point, and tested out one of the globes to make sure that I can still frame the mirror at a later point in time. I shoved the wires back into the hole and tightened up the knob to secure the light, and added the light bulbs and globes to finish it all up.
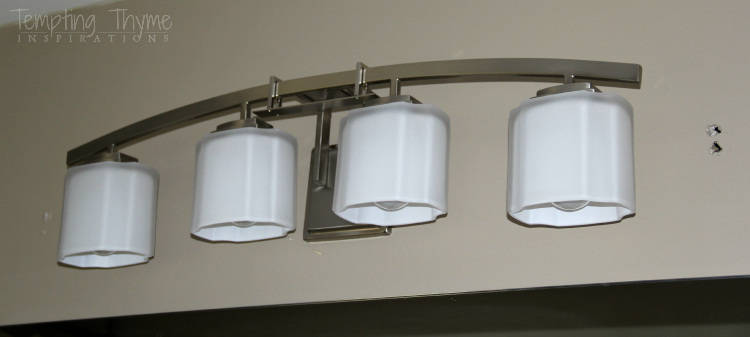
I am really liking this light fixture. Very clean……modern…..and provides more light than the original Hollywood light that had 8 bulbs!! I have already filled in the holes on either side of the light, and have touched up the paint on the side and bottom of the face plate. Now that is a funny story! The globes on both light fixtures were so heavy that when I was screwing them in….. the two middle ones going in first and then “swoosh”……as soon as the sides were lopsided the entire fixture did a nose dive to the right…..taking the fresh paint with it. You would have thought I was smart enough the second go round, but NO……it did it to me again!
Oh well, it gave me a chuckle and I have already fixed it up, so no one is the wiser!
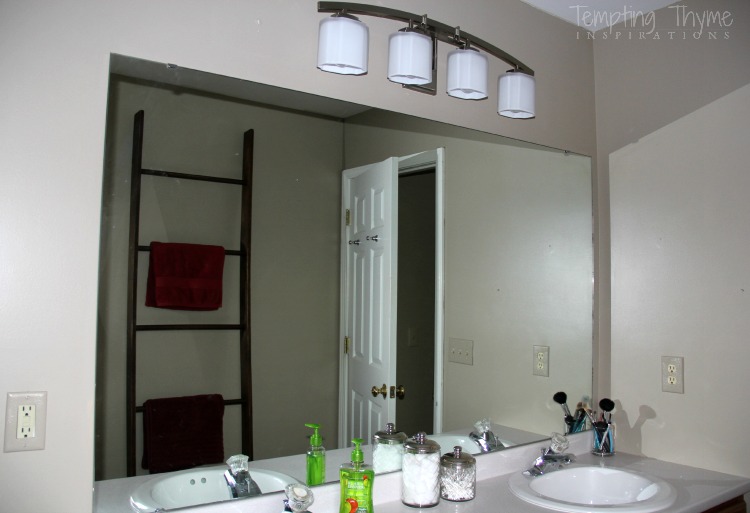
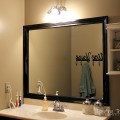
Remember what it looked like when Hollywood was invading my bathroom……

………and now that Hollywood has been thrown to the curb. Literally, as PT was not happy to hear about my intentions on upcycling it! LOL!
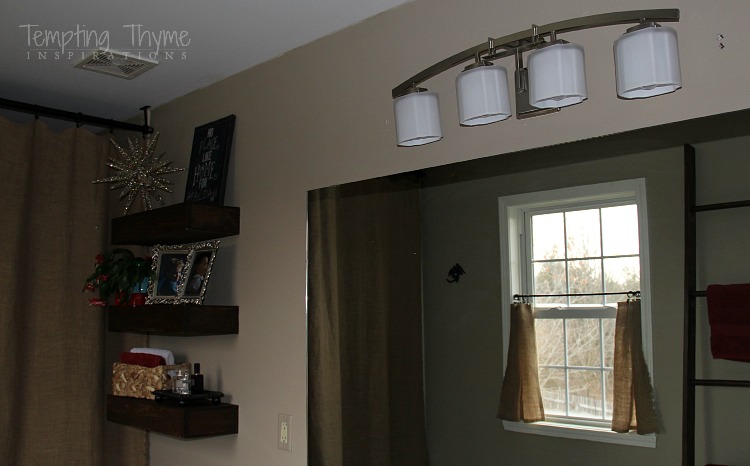
What kind of lighting do you have in your bathroom? Love it or hate it?
Have a great weekend!!!!

I love it! But, then, I HAVE to love it–because we just did the very same thing! Hollywood lights gone, very similar new lighting (2 smaller ones) put up. We also took down the big mirror…..so much nicer! Next on the list is replacing the tub/shower…..someday. Sigh*. Enjoy your “new” bathroom. It’s amazing how much the little things can make everything look better!
Yes, I want our mirror gone too! I am thinking of layering 2 smaller ‘vertical’ mirrors over the existing to see if that would improve it a little. Something I saw ions ago in a magazine and it struck me as kind of cool. Picture please on the 2 smaller lights you swapped the Hollywood strip for. Was it difficult to do on your own?
Pingback: Running away from Hollywood! | anahikristian