I hope you are not tired of seeing Apothecary Jars, as I am going to quickly show you how to make them. Can I tell you a little secret? I still can’t pronounce apothecary correctly, and I really have to break it down to spell it…… apo-the-cary! LOL!
Can’t take me anywhere, and I am well aware of that fact!! 😉
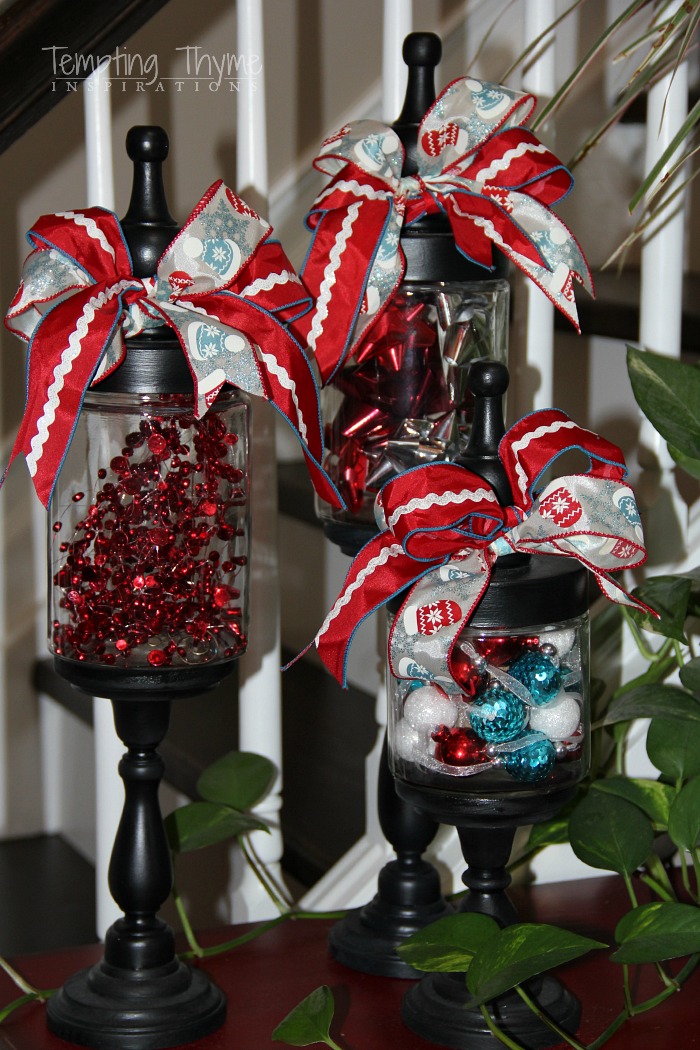
Doesn’t matter if I can pronounce or spell it, these are the cutest little jars you will ever see!
I first saw these jars over at Uncommon Designs, and knew that I was going to have to make them. Mind you….I had no place to put them, but they were so stinking cute I had to make them.
Here was my inspiration…….
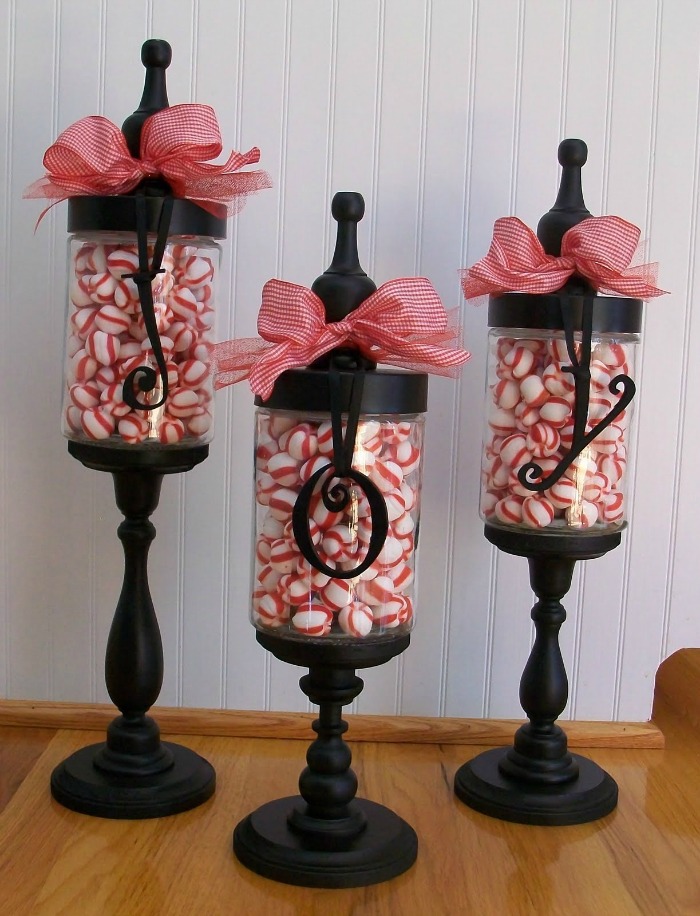
Now you can see why I had to make them!!
Here is everything I used to make them, plus black paint……
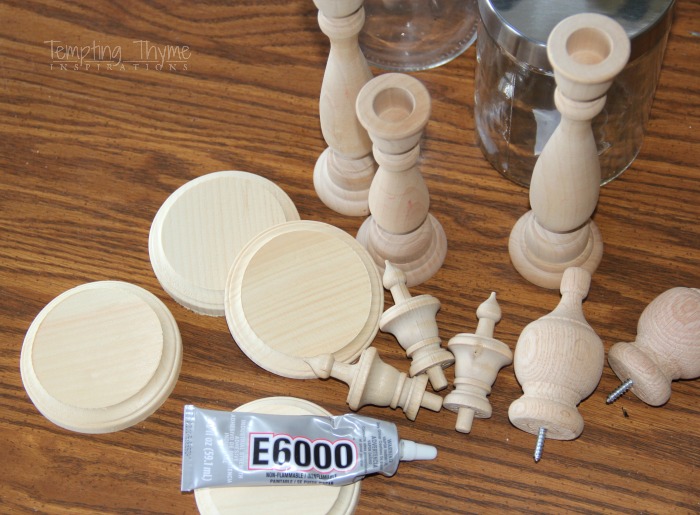
I had a hard time finding the candlesticks at the local craft stores, so I ended up ordering them from Casey’s Wood Products! I thought that they had fair prices, and it was free delivery when I ordered them last year.
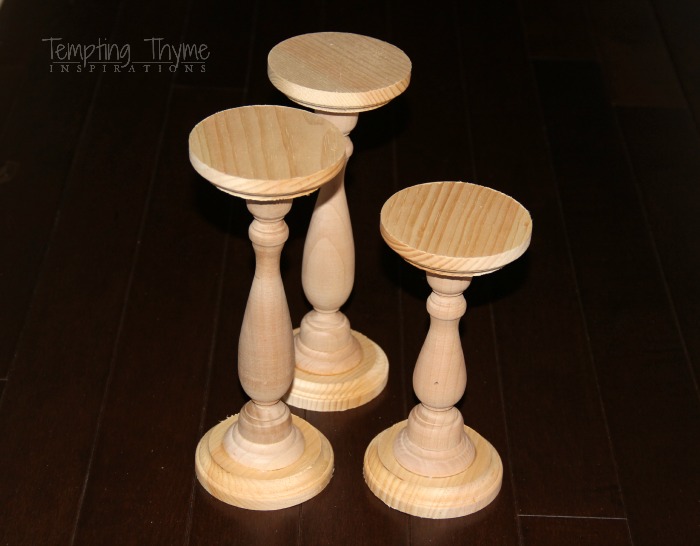
I used E6000 and glued a candlestick to a wooden plaque (small section upwards), and then glued another wooden plaque to the top of the candlestick; this time flipping the plaque over so that the broad side would be facing up. Not everyone does this, as I have seen plenty of photos online that show the glass being glued directly to the candlestick. I didn’t want this! I wanted more support for the heavy glass jar, and I thought it was visually “heavy” when the top plaque was missing. I am all about proportions and scaling! If only my personal scale reflected my visions! 😉
I sanded the plaques to get rid of the grit you can see in the picture above, and then spray painted 3 coats of black onto the candlesticks, finials, and the top lid of the glass jar. Make sure you sand the lid a little, and if the paint doesn’t have a primer built-in, you might want to add this step prior to spraying the lid. With the lid being so slick and shiny you will need to give the paint something to grab onto. You can glue the finial to the lid before or after you paint the lid. I have done it both ways.
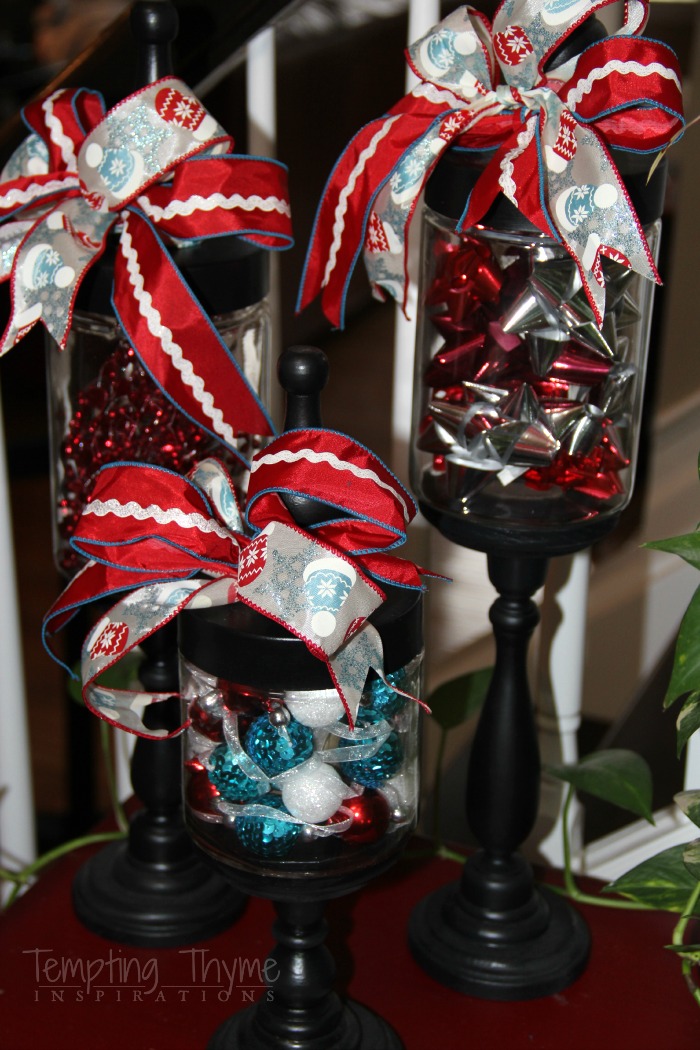
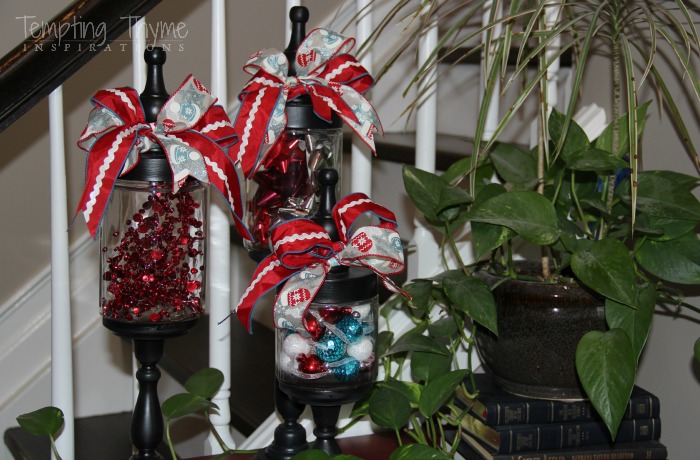
Here are my jars decorated for Christmas. I didn’t want candy in them (hello…..I haven’t had a piece since Labor Day!!), so I filled them in with some bows and decorations left over from a wreath that I will show you soon. I also used 2 different bows to decorate the top! I didn’t make the fancy ones that I showed you over here……these are tied just like you tie your shoelaces!
Even though I made them last year, they basically sat in our guest room for the year. Told you I really didn’t have room for them in our decor, but I made room for them after Halloween, thinking they would be perfect for holding all of the leftover candy……
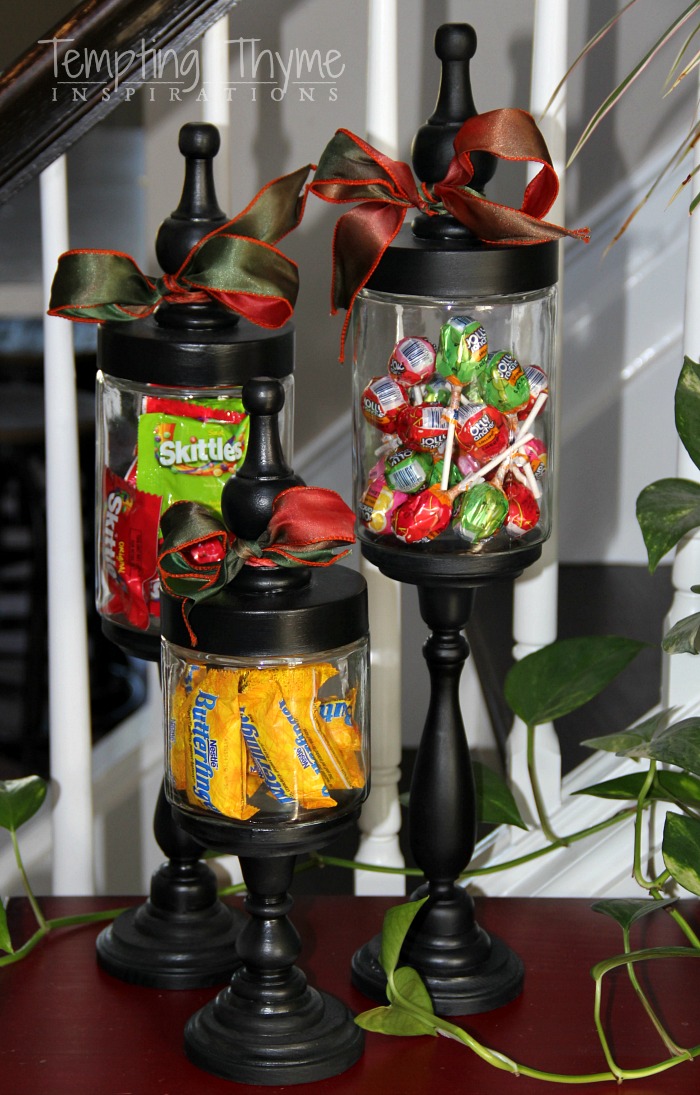
I held it together and didn’t snag any of these, even though Butterfinger’s and Skittles are some of my favorites (behind Mike and Ike’s and Swedish Fish)! Yeah me!
I made three different sets of these last year for Christmas. I told you that I kept 1 set hidden away for the year {GASP}, but I split up the other 2 and gave them away as Christmas gifts……
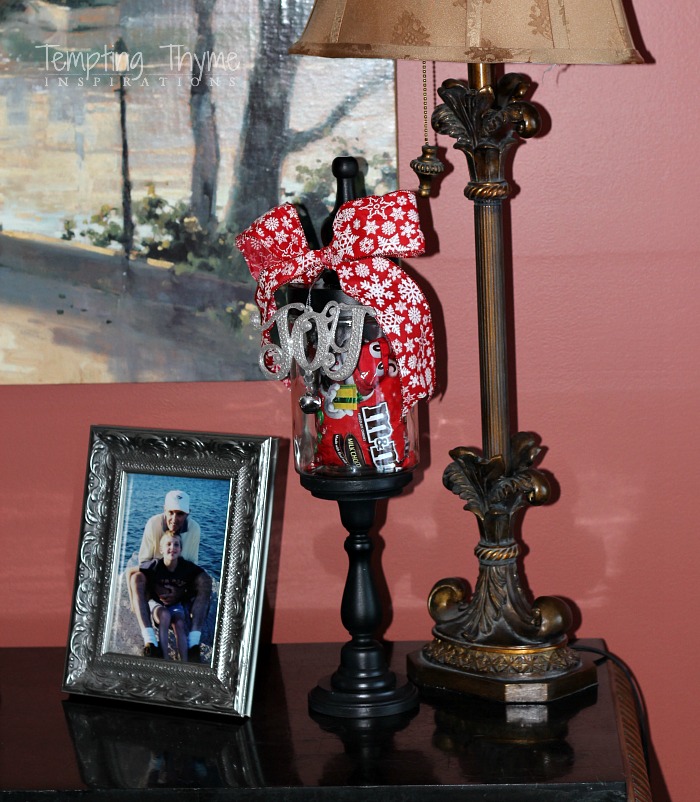
I wrapped each one with red snowflake ribbon, tying a silver “Joy” ornament to each. I filled each of them with an unopened bag of M&M’s! I loved the idea that they would not only be a great homemade gift to give, but that the recipient could use them after the Holidays…..tying various colored ribbon at the top and filling it with potpourri, Q tips, cotton balls…..the possibilities are endless!
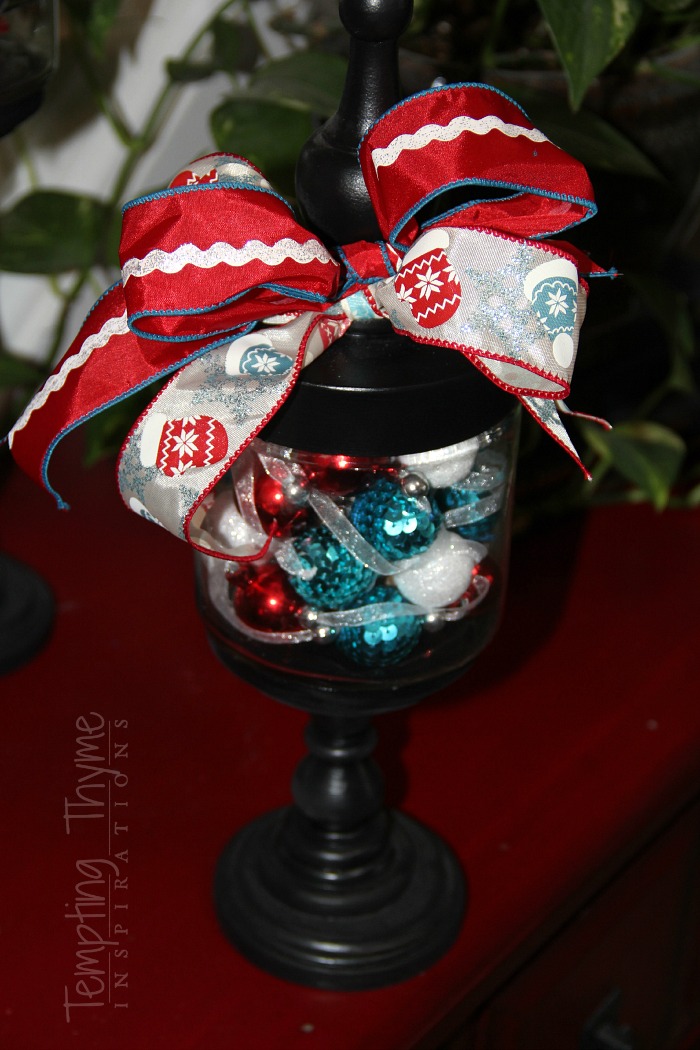
Isn’t it stinking CUTE?????? Your friends would love to receive one of these for Christmas, Birthday……or “just because”!!
You have to make some, right???!!!
Here is where I purchased all of my supplies:
- Wooden Candlesticks and Finials: Casey’s Wood Products
- Round Wooden Plaques: Hobby Lobby
- E6000 glue: Lowe’s (but you can pick it up just about anywhere)
- Black Spray Paint: I already had it on hand, but any local hardware store will carry it. Look for some that already has primer built into it
- Glass Jar with Lid: Hobby Lobby (buy them when they are 50% off)
- Fine Grit Sandpaper: I already had on hand….can pick it up anywhere
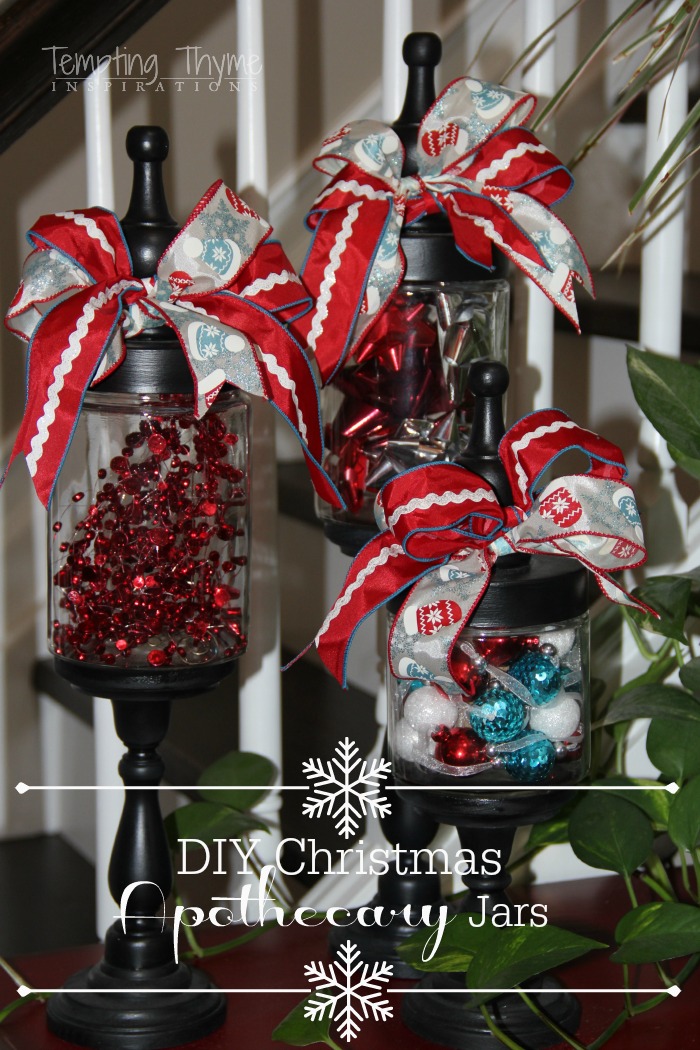
What would/do you fill your Apothecary Jars with?
Shaunna
These DIY Apothecary Jars {for every Season} may be linked up to these great linky parties!

I am one of those people who starts planning for Christmas in July (eeekkk), and just found this tutorial. I think they are adorable, don’t listen to the negativity. I will be making a set for myself and some as gifts. Thanks for sharing. Patty
“Doesn’t matter if I can pronounce or spell it, these are the cutest little jars you will ever see!”
I don’t agree!
Deloris
That’s what makes the world go around…..people with different opinions! 😉