I hope all of you had a wonderful, relaxing weekend!
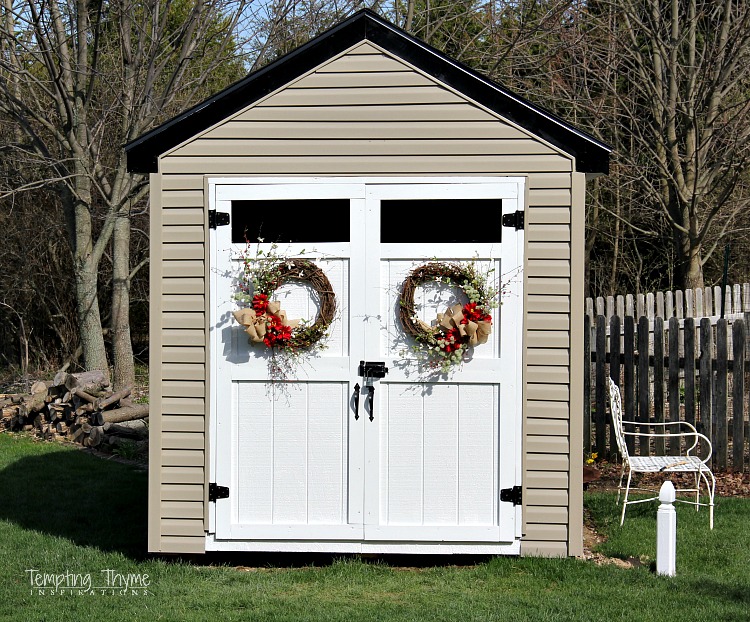
Much to PT’s dismay I keep trying to make our backyard shed “cute”. If you follow along on Facebook, you will remember that I asked you to help me decide on white or black doors (same for the trim). The resounding answer was keep the black trim, but make the doors white so that the black hardware would ‘pop’! Aren’t you happy…….. I actually listened!!
The shed still looked like an outhouse plopped onto the edge of our property. Bottom line…. B O R I N G!!
I figured wreaths would be a quick and easy way to give it a little personality without breaking the bank. I have a lot of silk floral stems in the storage room, and thought I could get away without buying anything but the grapevine wreaths. I could’ve, but stupidly had a gander around the flower shop while picking up the grapevine at Hobby Lobby. Bad idea …… as I came home with some white and red wild flower stems. LOL! Never fails, that is why I try and stay away.
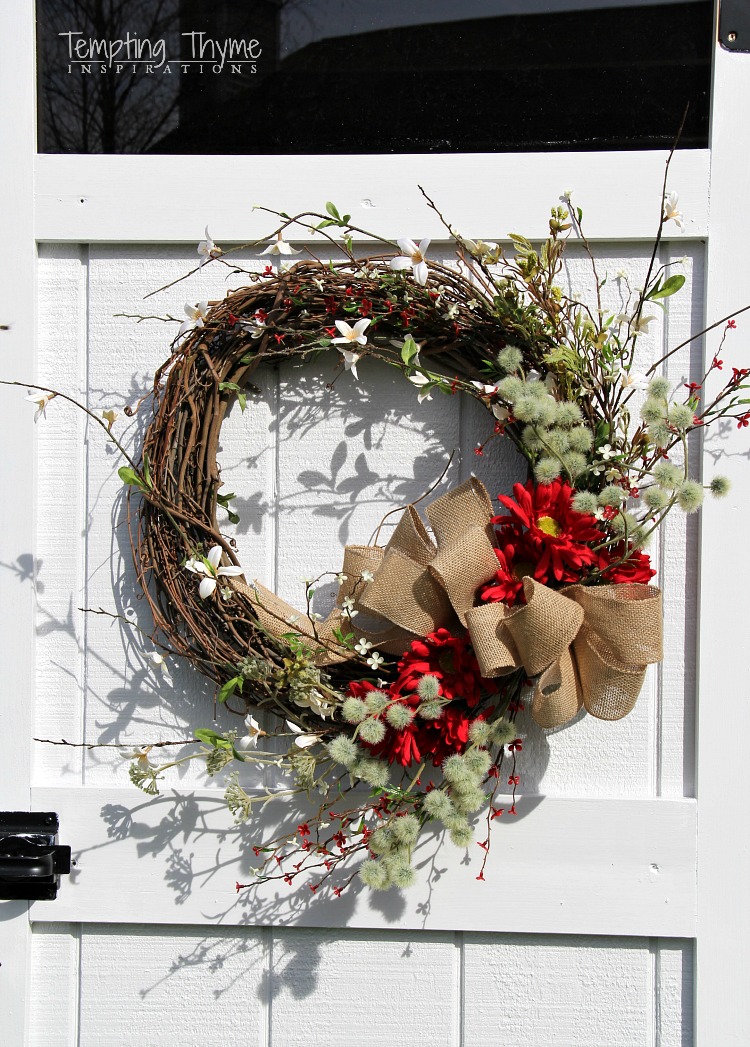
Part of me says it is too much……the other part enjoys seeing them from the kitchen window. Definitely better than seeing 2 plain white doors, right?
- 2 18″ Grapevine Wreaths (Hobby Lobby-using 40% off coupon).
- Green Floral wire (I have this on hand).
- 6 Floral stems (Hobby Lobby 50% off). Mixture of white wildflowers and red tiny flowers.
- Mixture of background and filler greenery (I had all of it on hand).
- 1 bunch red flowers (Hobby Lobby 50% off-I think they are Gerber Daisies, but I honestly don’t have a clue 😉 )
- 30 feet Burlap Wired Ribbon
I don’t make as many floral arrangements as I have in the past, but I have switched up my approach a bit. I want things to be interchangeable and not ‘fixed’ into any one setting. I want to change out the base at a moments notice. What do I mean by this? Instead of building the arrangement into the container, base or wreath……. I assemble the arrangement first and then anchor it into its base with floral wire!
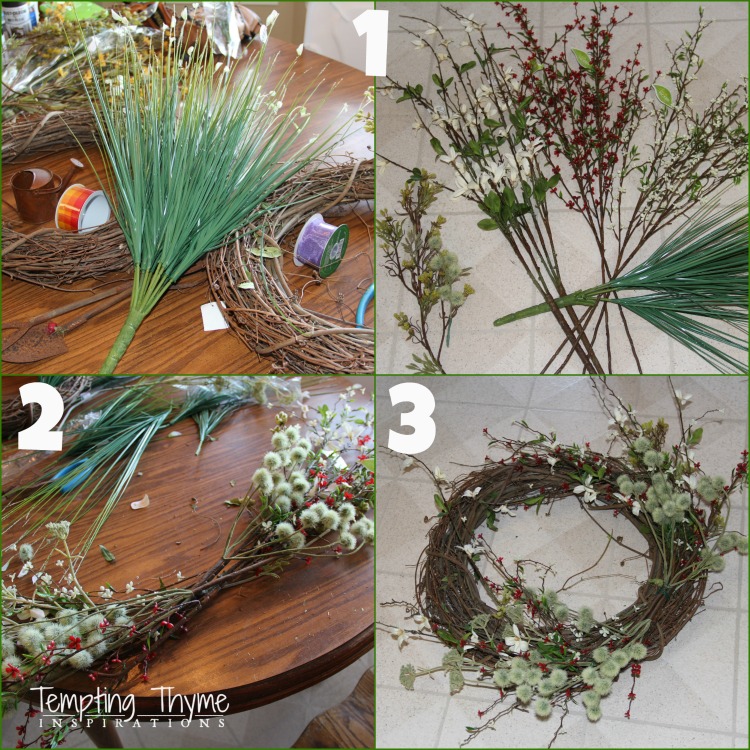
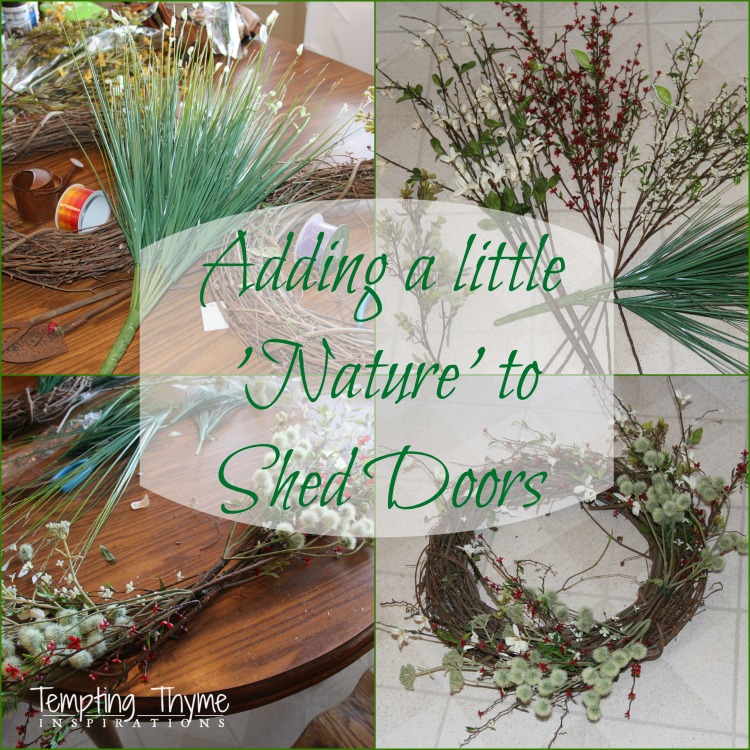
For these wreaths, I didn’t cut any of the floral stems. Step 1 – I just laid everything out trying to determine the look that I wanted. I even asked PT’s opinion on color scheme’s as I had a few combo’s laying around. Step 2 – I wanted the ‘body’ to be on the lower side of each wreath. Like I said, I didn’t cut any of the stems……I just bent some of the stems down so that I could have them going in either direction. I started with the greenery and built my way up with the floral stems. Nothing is wired together…..still playing around. Step 3- Shows how I am trying to adjust the stems around the grapevine wreath. Once I am happy with the placement, I will wire around the center of the floral stems. I think you can see it in the bottom right photo. I added in the daisies and then wrapped more wire around the center AND the wreath….making sure it is tight and not going anywhere in a windstorm! I don’t have a picture of me making the bow, but I do have a step by step that I will post shortly.
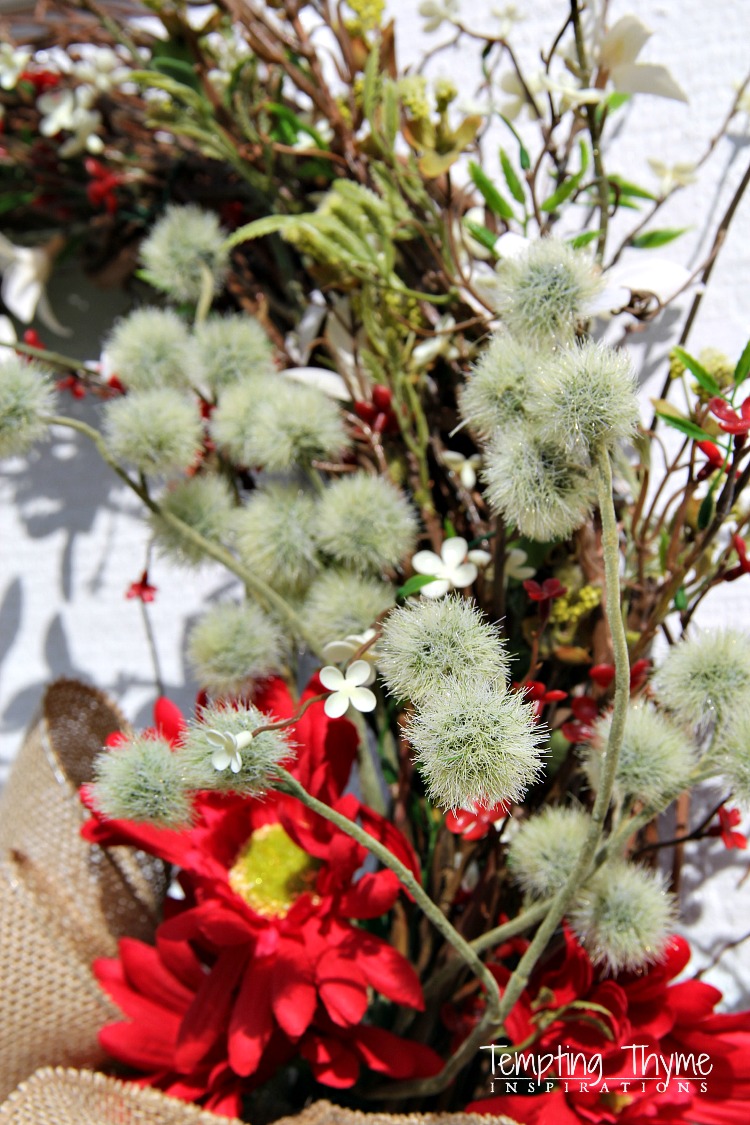
If I get tired of it, or want to change the texture up a bit, it is super easy to cut the wire and separate the arrangement from its ‘base’.
I know that these wreaths are a bit much for the shed, but I certainly do smile when I look outside the back window and catch a glimpse of them. So refreshing as our surroundings are just now starting to come awake from a long Winter’s sleep.
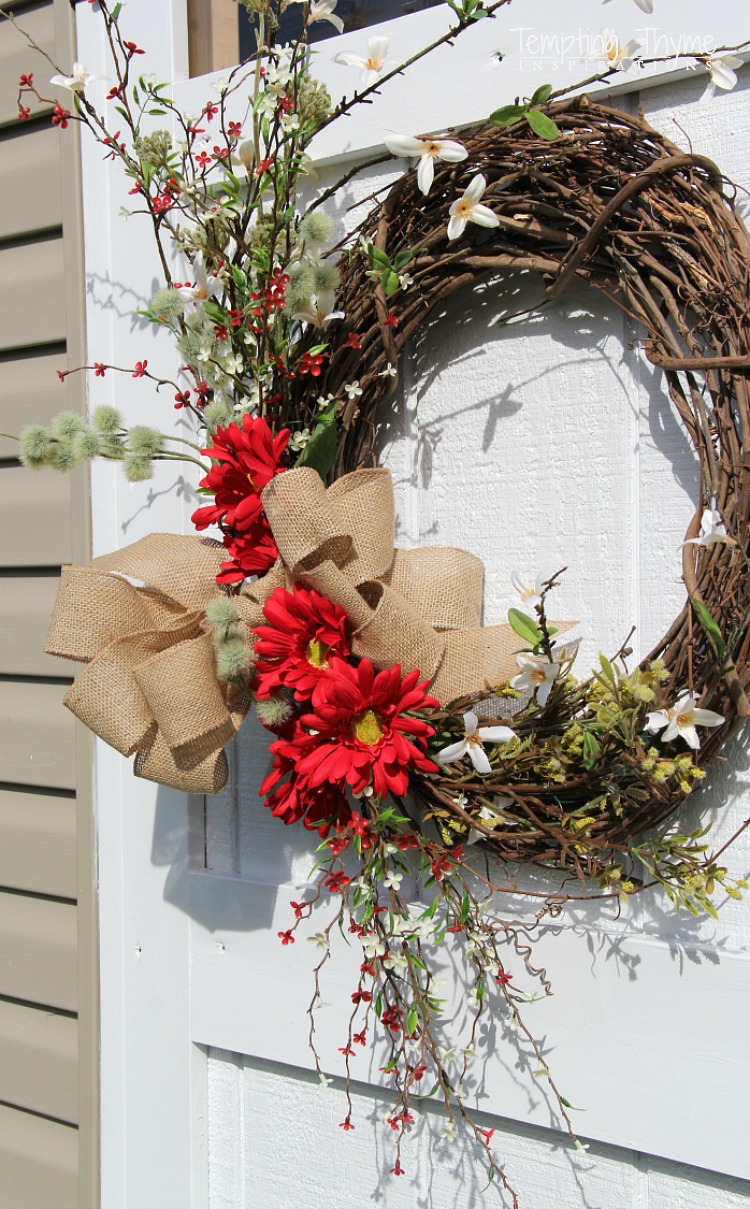
Thanks for stopping by today…..I hope to see you around sometime soon!

Do you love them or hate them? What would you change about the wreaths on our shed door?
Shaunna


