
I hope you all had a good weekend! We went to K’s hockey games Friday night and Sunday afternoon, but took a detour to the Dayton area Saturday night by attending the Trans Siberian Orchestra at the Nutter Center. Kind of spontaneous, as the show was at 8PM and we bought the tickets at 3PM……should have been xmas shopping as originally planned (still have not bought a single gift)…..but sometimes you need spontaneity in your life!!!
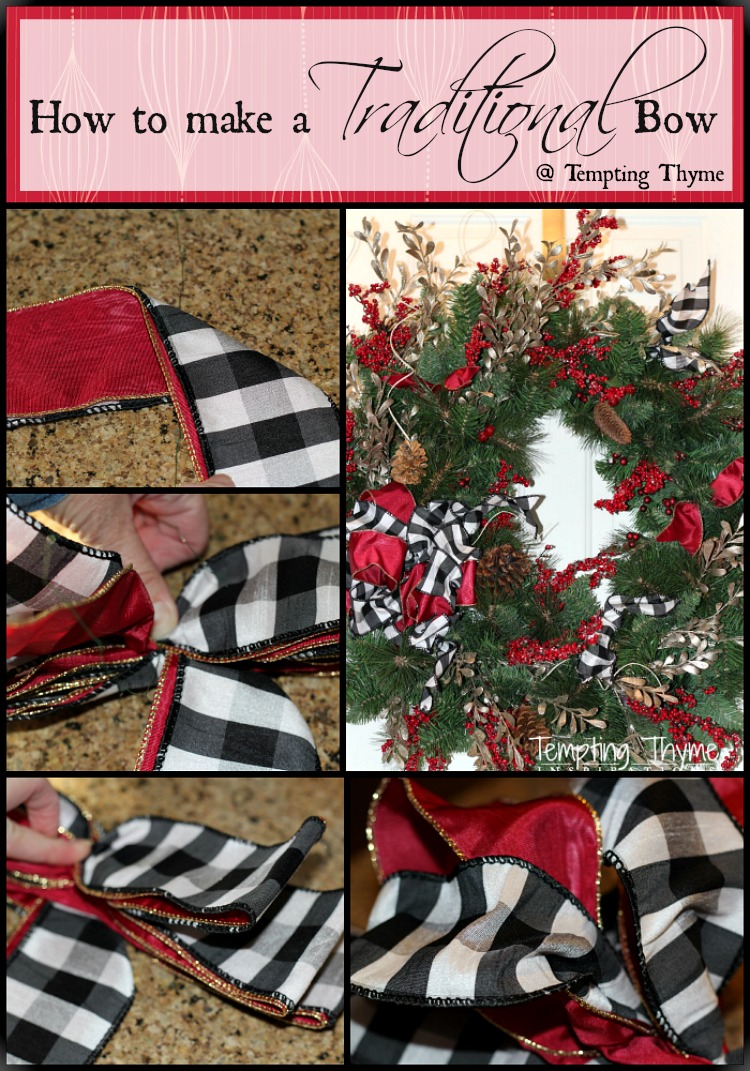
Today I am going to help you create bows…..very exciting I know!
This is the time of year where bows are EVERYWHERE! They are so versatile and can upscale just about anything! Not just during the holday months but year round!!
They are not just for wreaths and floral arrangements. You can use an elaborate one to pretty up a plain wrapped package or gift bag…….add it to the handle of a gift basket….tie your napkin and silverware with a small bow…..use a big one as your tree topper! Look around, the possibilities are endless!
Why limit yourself to the ones that are already assembled in the craft store?
Not only can they be expensive, but you are stuck with the colors and widths that they produce! With these easy steps you will be able to choose the ribbon that YOU want, and save some money if you can buy the ribbon when it is 50% off!
There is no excuse not finding it on sale…..ribbon is on sale at least every other week at Hobby Lobby, and starting in July the aisles are flooded with the Holiday ribbon!
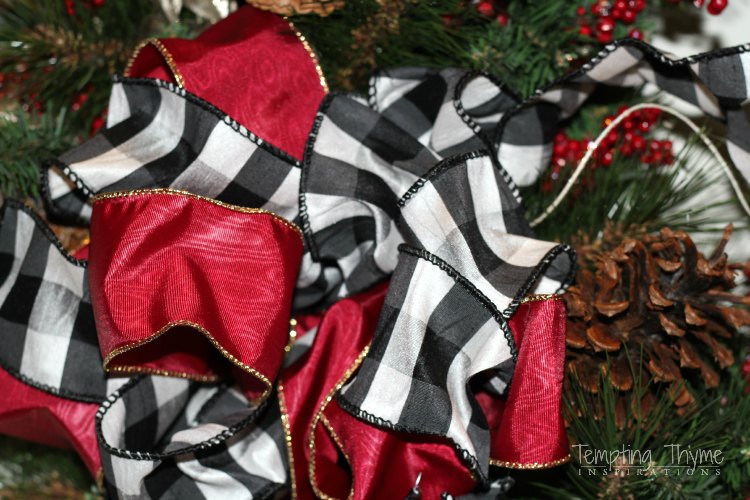
I made this bow and wreath for my Mom last year, and instantly fell in love with the black and white checked and ruby red ribbon. She asked if I wanted to use her elongated wooden contraption to make the perfect bow, and although there is nothing wrong with using them (as they do work)…… I prefer just winging it by hand with these simple steps:

You will have to excuse some of the photos as I was making it and taking the photos with one hand! You don’t need to use two ribbons, but I did for this project. Steps are the same with one or two ribbons. I recommend using wired ribbon…….they are amazing and so forgiving!!
I don’t pre-cut the ribbon, as I don’t want to be short a foot or so. It is easier for me to just use the ribbon straight from the spool. Between the bow and the ribbon that I weave in and around the wreath I will use about 10 feet of ribbon. Obviously you will not need that amount if you are just doing a decorative one for gift bags and packages.
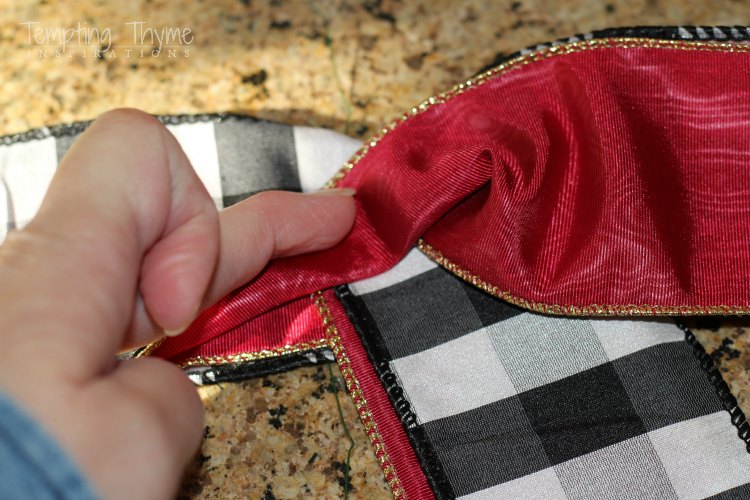
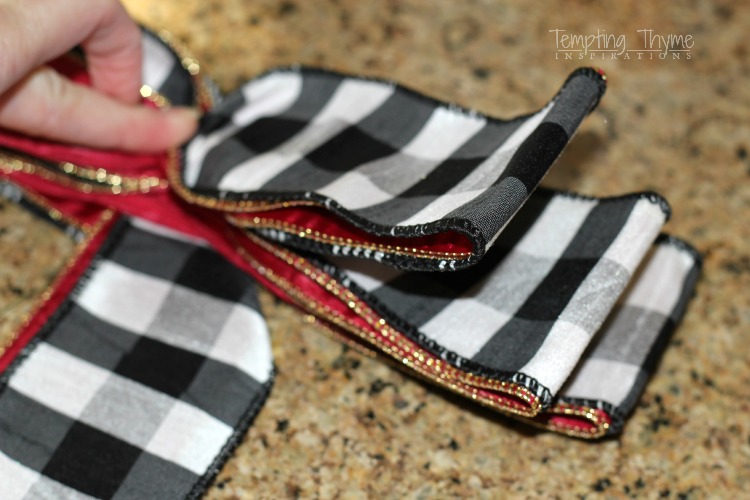
Place your ribbon right side down. Fold your ribbon down about 8″ – 12″ from the end (picture above). This is going to be one of your tails, and is also the center of the bow.
You will see a piece of floral (22 or 24 gauge) wire underneath. I use this to wrap around the bow, holding it all together when it is complete, AND it is used to attach the bow to my wreath.
You will be starting your bow on the left. Make the adjustments….. and do the opposite….. if you are left-handed and it is easier for you. I tend to have big bows on my wreaths so the beginning loop will be between 8-10″. I have even gone as high as 12″, but for an average sized wreath I would stick to the 8-10″. This length is for each loop on either side of the center point
Fold the loop towards the opposite side, twisting the ribbon in your center so that the right side of the ribbon will always be down (when you form the loop on each side the ribbon will be right side up).
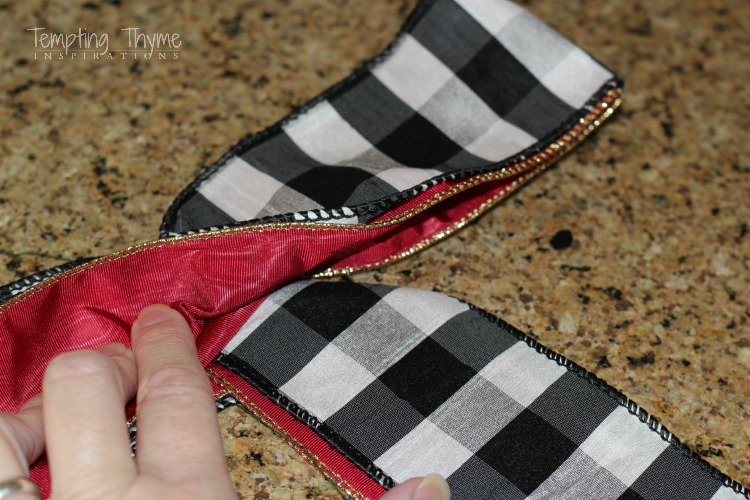
If the ribbon doesn’t have a right/wrong side, then you will not need to twist it in the center…..just pinch the bow in the center to keep it all together. Keep forming your loops, graduating the length down with each row. If you like your loops all the same length, go for it. I just prefer mine to be a little smaller with each row that I make.
For this bow I did 3 different rows of loops on each side. If I wasn’t going to use some of this ribbon as “filler”, I would have done a fourth row on each side.
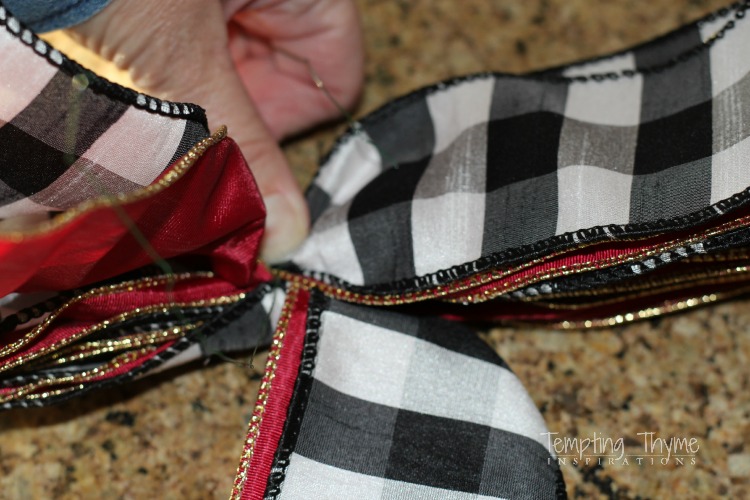
Once you have all the rows of loops you want, wrap the pinched center with the wire and twist the wire around itself….just like a twist tie on a bread or bagel bag…… pulling tight to secure it. After twisting and securing it tight you should have about 4 inches of wire left over.
Cut the ribbon 8″-12″ as this will be your second tail. I like to wrap this second tail up and over the center to hide the wire, and to get the tail on the bottom of the bow……same as the first tail.
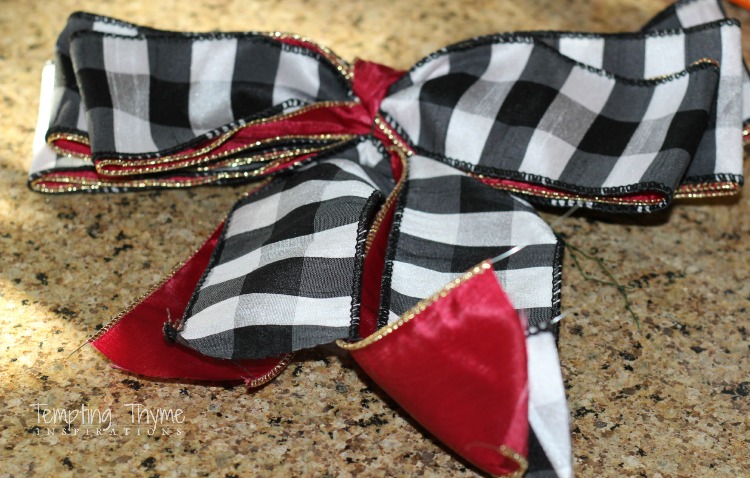
Here is the finished bow before anchoring it to anything. Now all that is left to do is fluff your bow. You can do this before anchoring it to your wreath or decorative item, or do it after…..totally your choice. Since I have 2 ribbons making up each loop, I took a hold of the bottom loops and pulled the black and white check in one direction and the ruby red in the other directions. Simple process of separating the loops and fanning them out!
I did this for each set of loops, trying to go in the opposite direction each time so that the black and white check were not all on the same side, and ruby red on the other. I wanted the colors all mixed up and jumbled. The wire in the ribbon makes this part so easy peasy!!
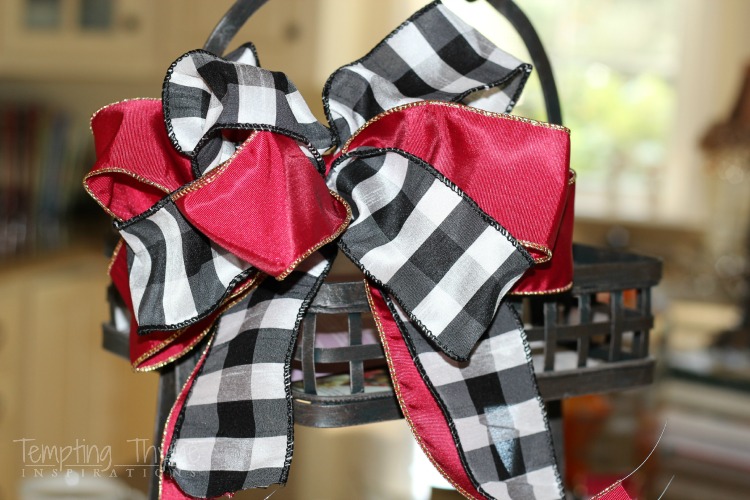
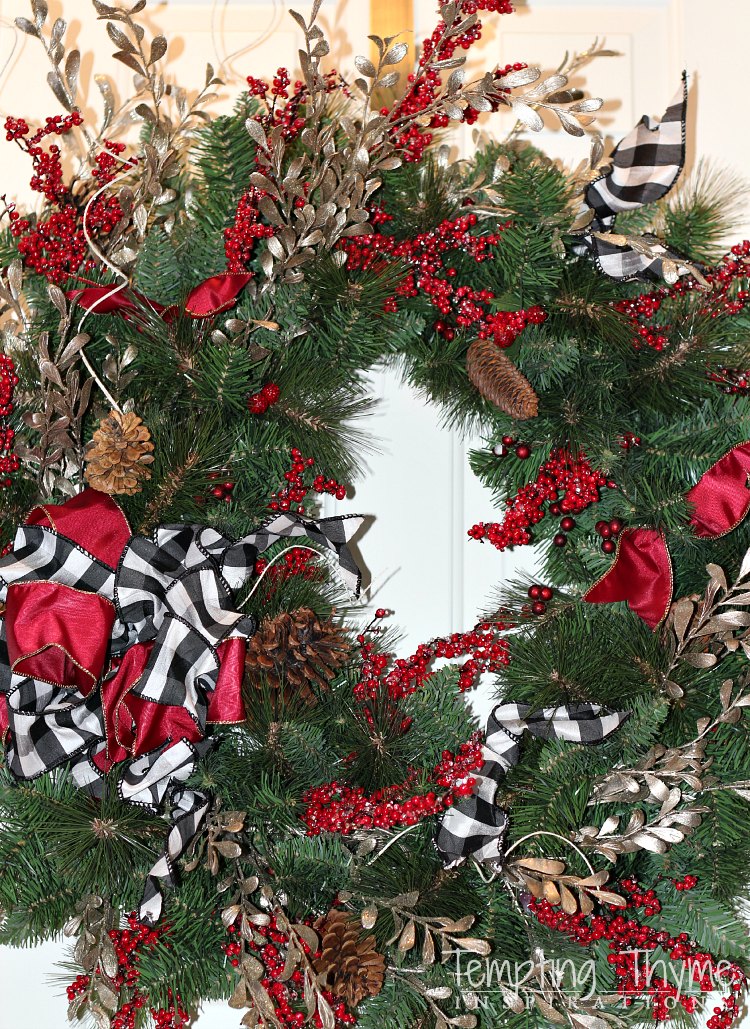
I tied the bow to her iron basket in the kitchen to check things out and see if it was going to be full enough before adding it to her wreath. She could have kept the bow on here and just added in some greenery and ball ornaments, but her goal was a new wreath for the front door.

I used filler that she already had in her storage room, and do not have a step by step for this. Just played around with sprays, pine cones and red berries.
Play around with the wired loops. You will not hurt them by pulling and twisting them around to find the best arrangement. Once you are happy, take the wire that is in the center of the bow and wrap it around the wreath, twisting it to firmly anchor it.
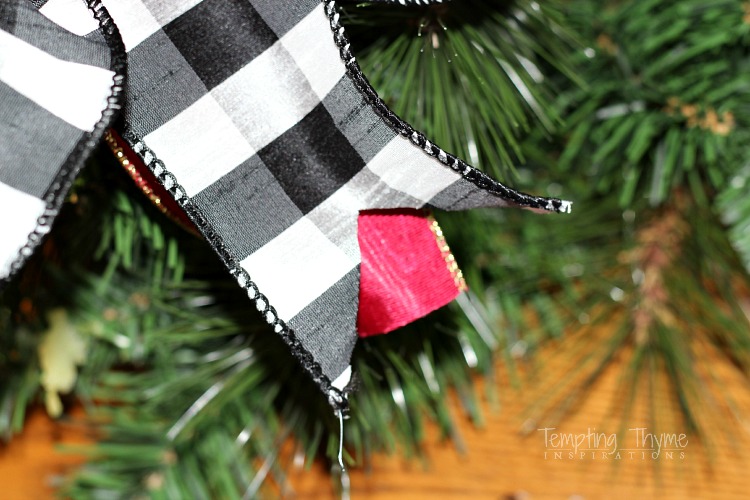
The last thing to do is cut the tails to polish up the ends, and to stop them from unraveling. Fold the ribbon in half, wired edges touching each other and cut from the wired edge upwards at a diagonal, creating a notch.
Here is what you need when making your own bows…..
Material:
- Scissors
- Wired Ribbon (I like them to be about 2 1/2 inches in width). You will need on average 10 feet/3 yards
- Floral wire or chenille to secure the bow and anchor it to your item of choice
- Ruler
I hope you found this tutorial helpful and now know that it is so easy to make your own bows. The best part…..if you don’t like how it turned out….take it apart and redo it! This is why I always use wired ribbon these days. Very forgiving!!
Have you ever made your own bows? Do you make them the same way, or any different tips for us???

Love, love, love the black plaid ribbon. I wouldn’t have thought that the color combo would look good together, but it does. Want to come make a wreath for me? LOL! Patty