
Have you ever been so fed up with your light fixtures, that you just want to run screaming from the room?
I am way past that point and have slowly been changing out the lights over the years! Anything would be better than the shiny brass gleaming down at me the past 12 years! Right? If only I had the budget to get rid of them all at once! Since that is not my reality, I just had to practice a little patience.
Patience took a long vacation, and I hit the wall a few months ago, and thought what the hell I have nothing to lose….. and everything to gain by just taking a chance. The only thing it would cost me was my time and a can of spray paint! Creativity in a can! Unfortunately, this simple little project took on a life of its own. Learn from me……do as I say…..not what I did, and you will have some revitalized light fixtures for just pennies on the dollar! Another bonus, you will save the land-fill from another discarded ‘builders grade’ product!
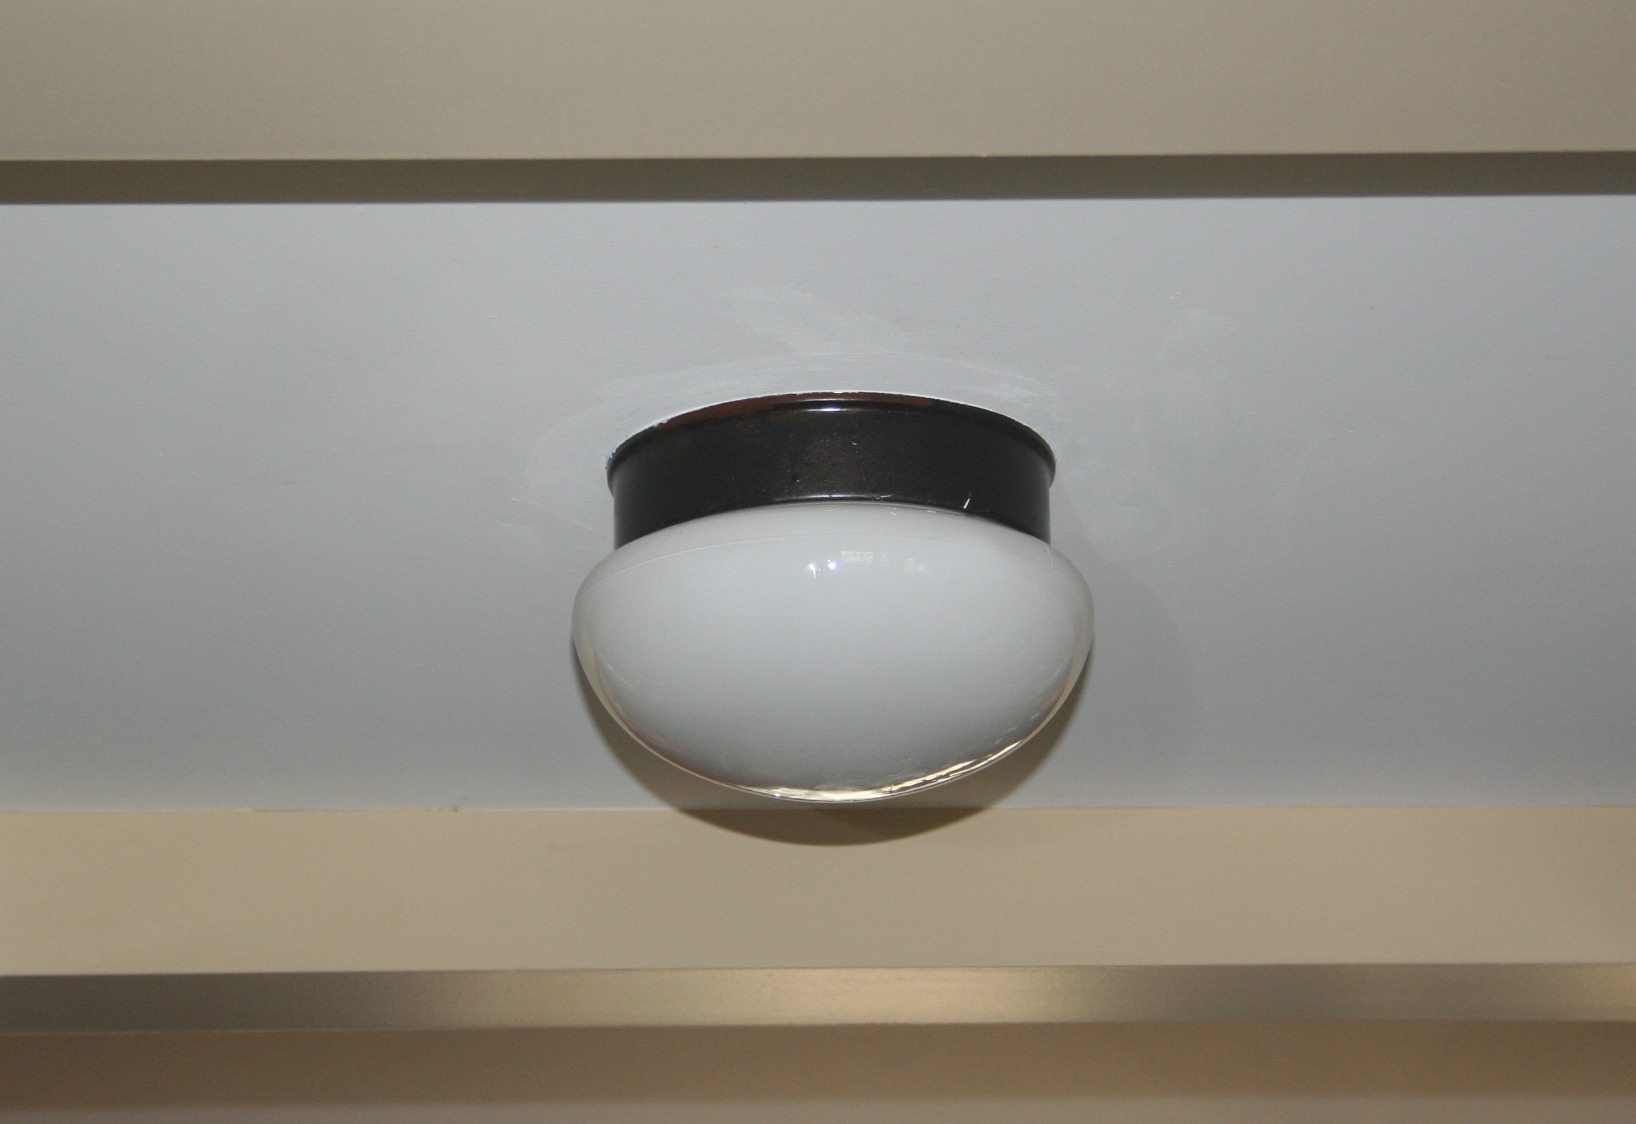
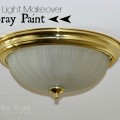
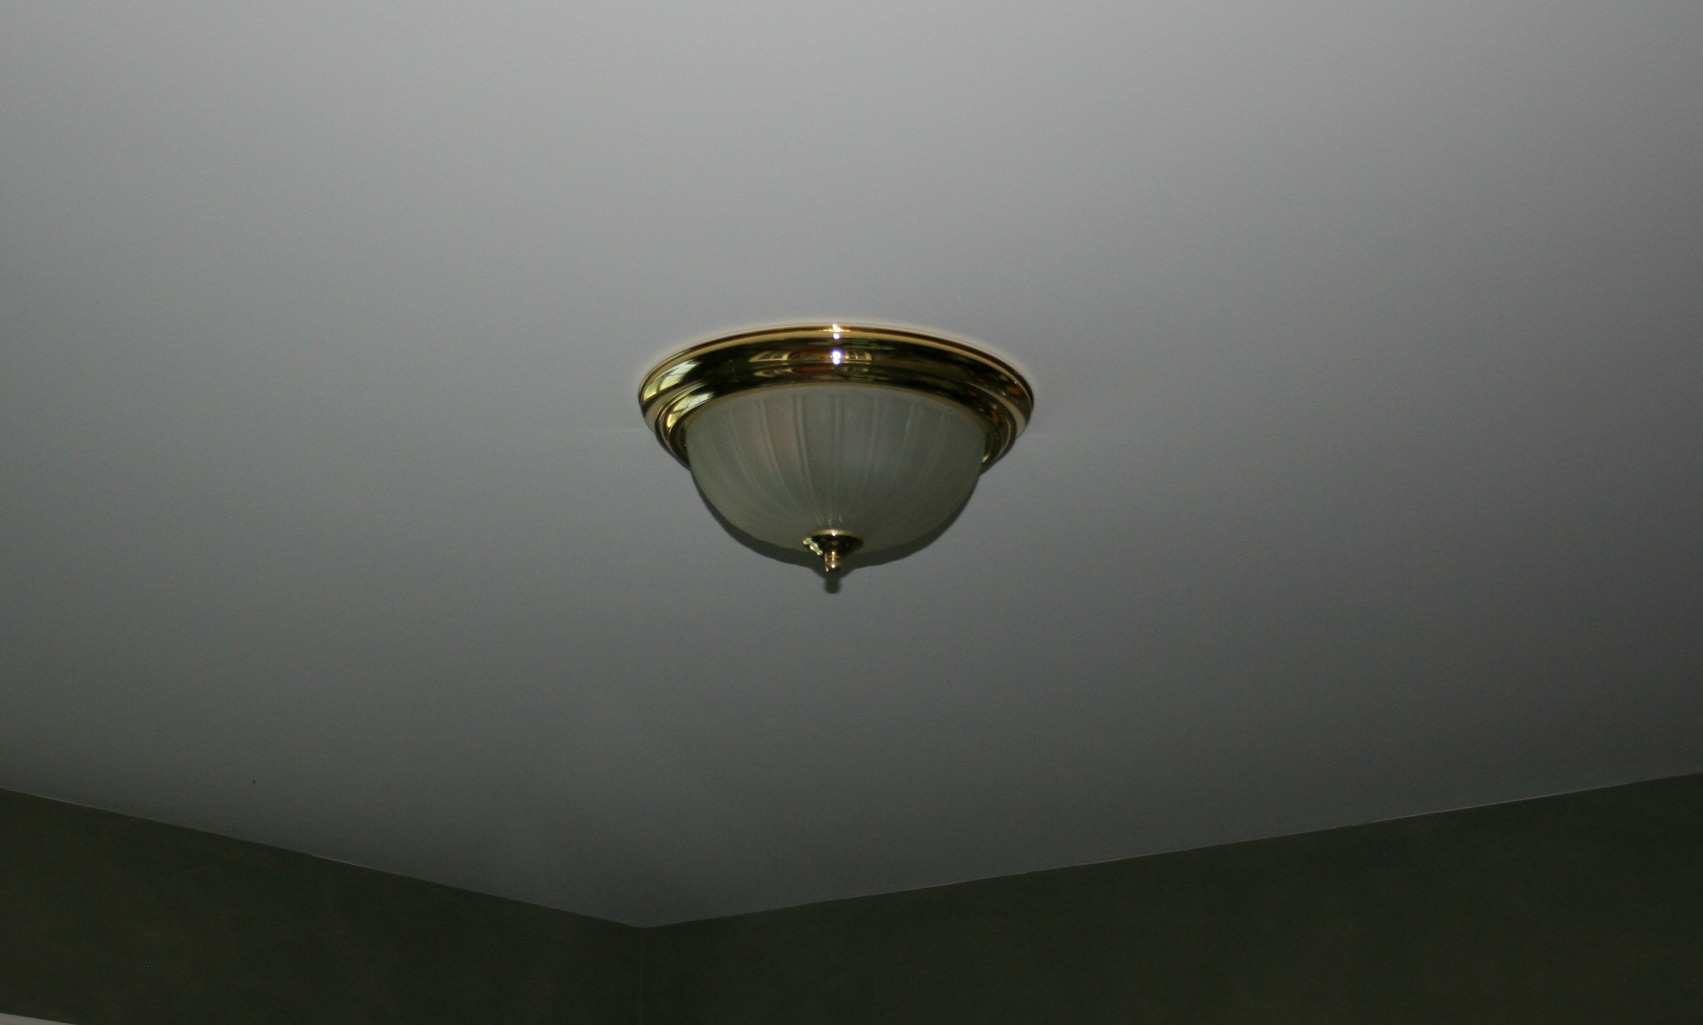 Here is the offensive light fixture! Happens to be in the den…….which I am slowly trying to convert into an awesome office!
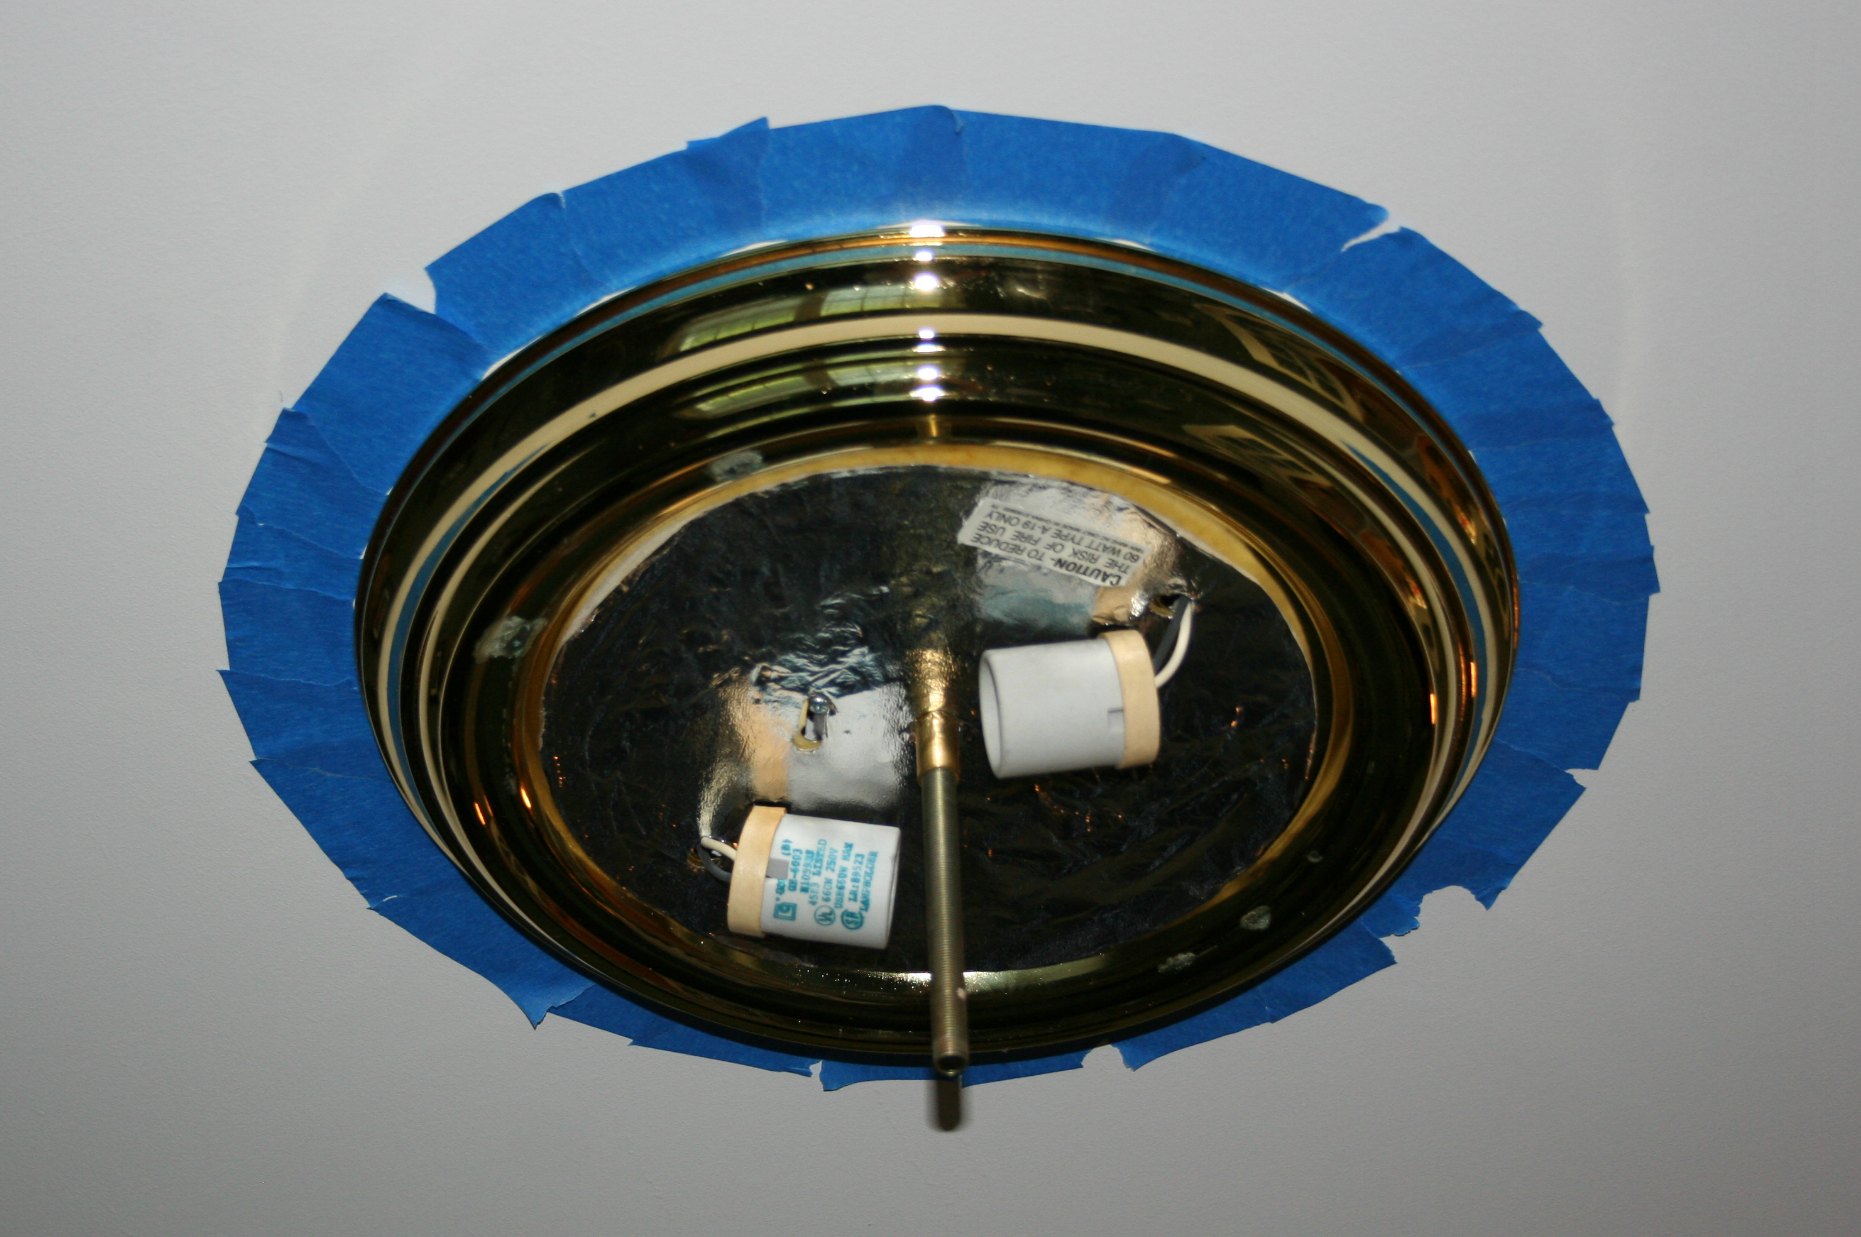
I first ran into trouble taking the light down. After unscrewing the bottom ‘nut’ and taking the globe off, I found that the base was NOT coming free from the ceiling. Did I give up? Nah……after a few choice words (okay, a lot of choice words and door slams), I decided to just do it anyway! Everyone get out of my way, I was rummaging through the recycling for newspapers, and rounding up some painter’s tape.
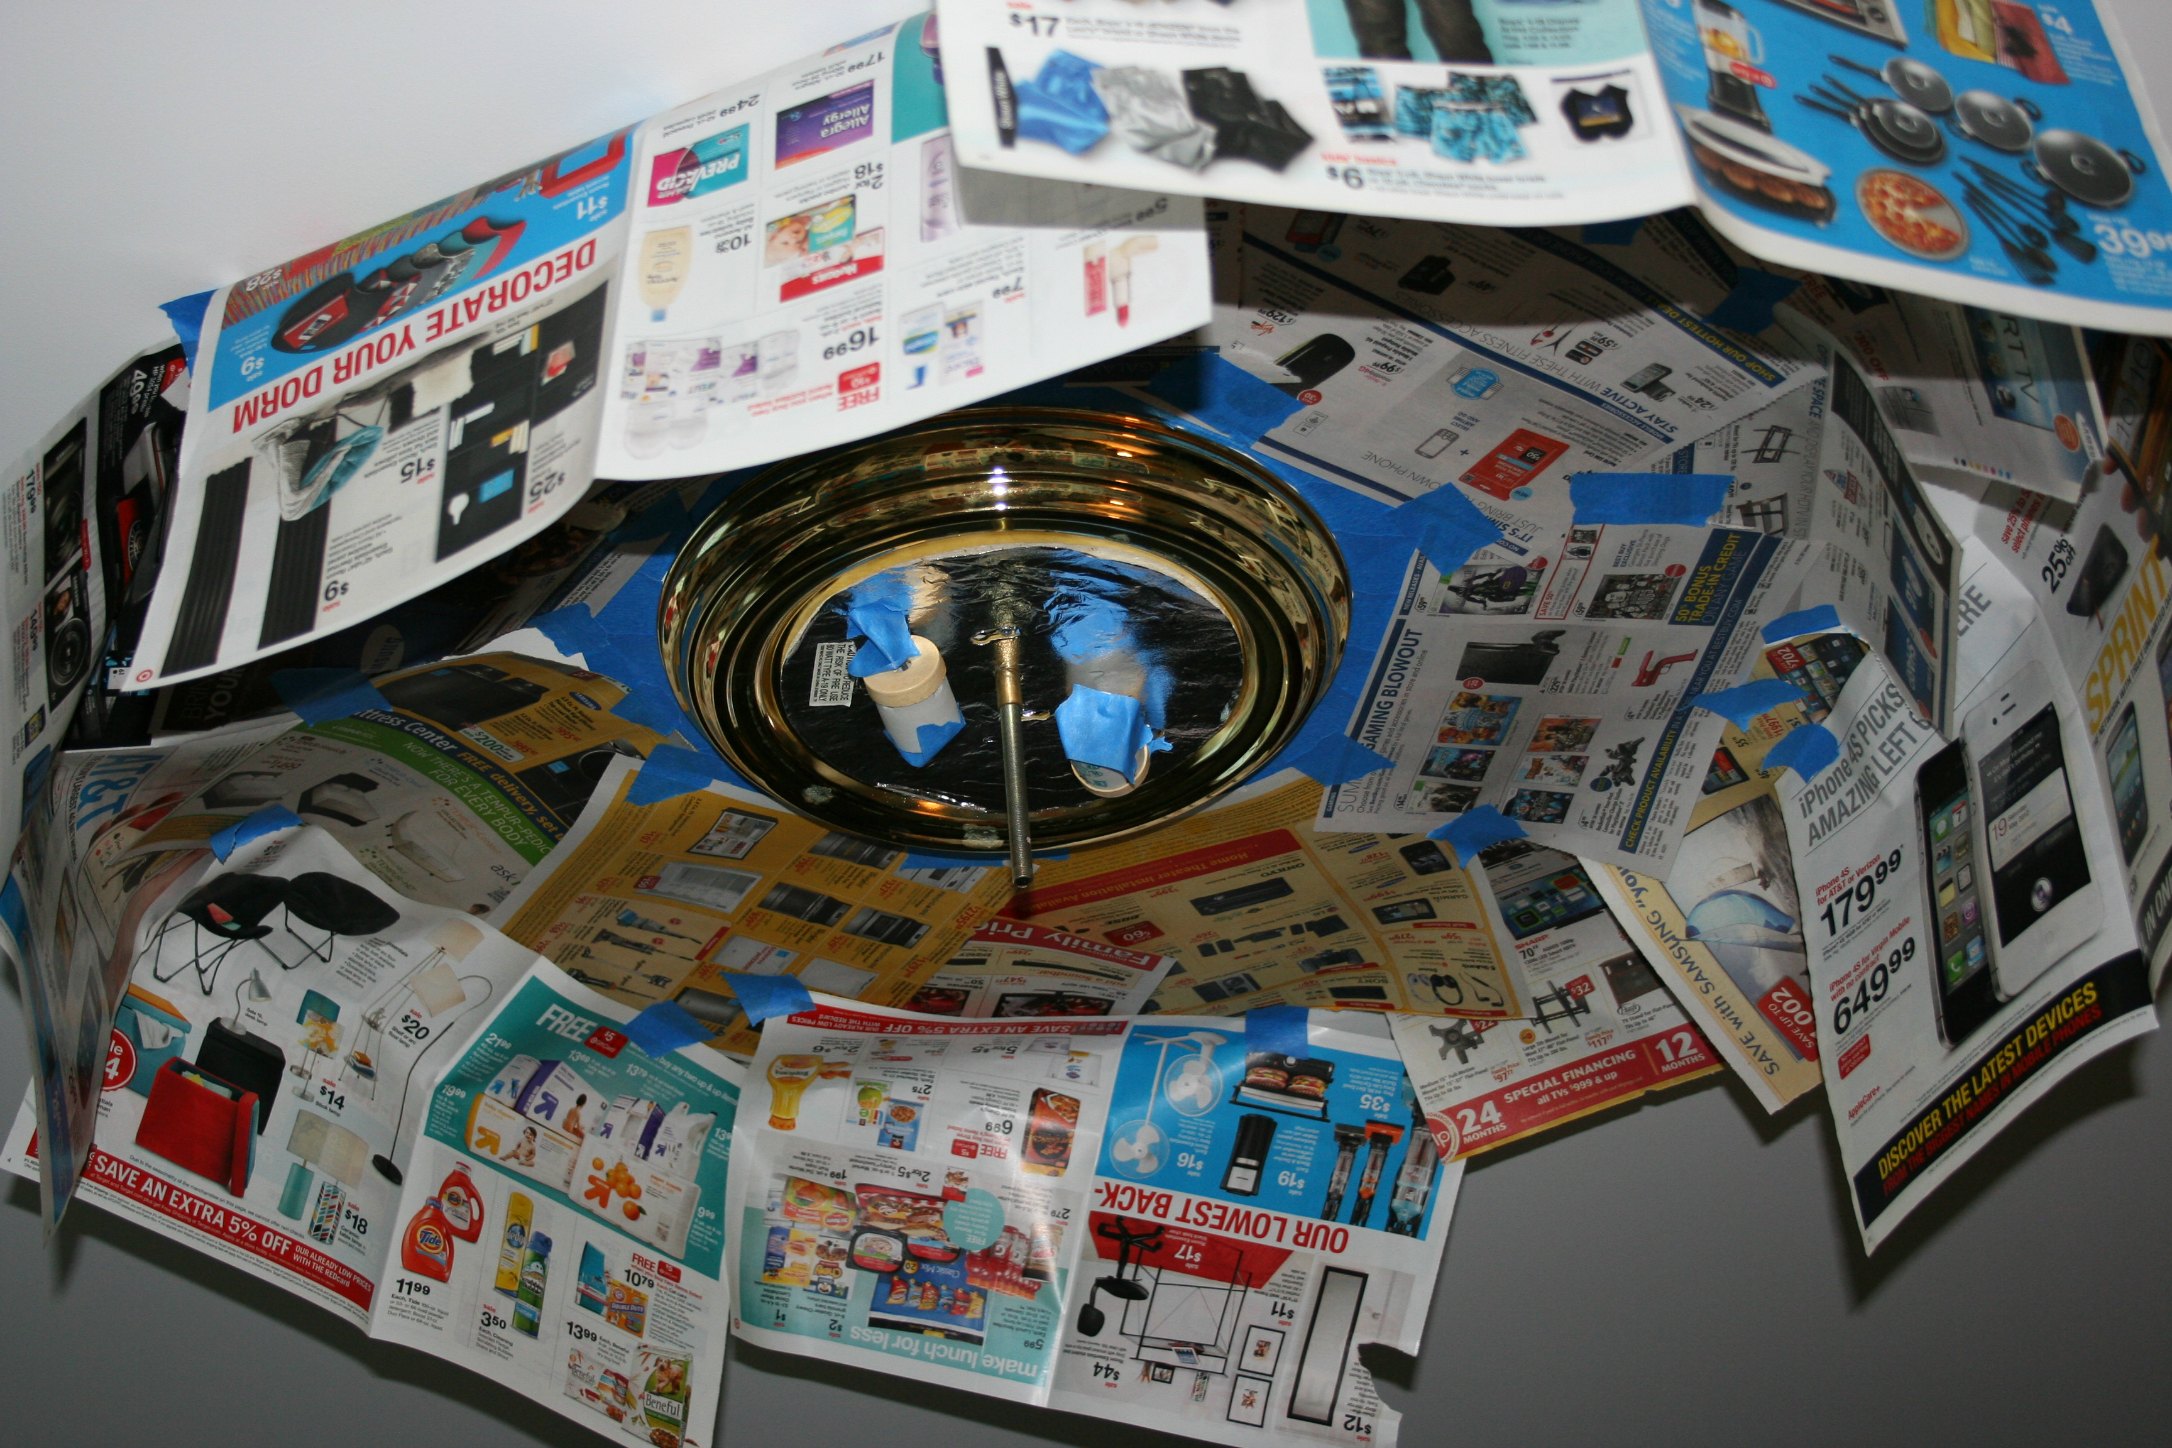
 I taped off the ceiling with painter’s tape, and then taped up some newspaper. Looks like a globe, or even a mushroom, but the goal was to protect the ceiling and walls at all costs……even if it does look very dorky!!
 As you can see, I also taped off the openings to the light sockets…I was already being insane….didn’t want to add any problems down the road.
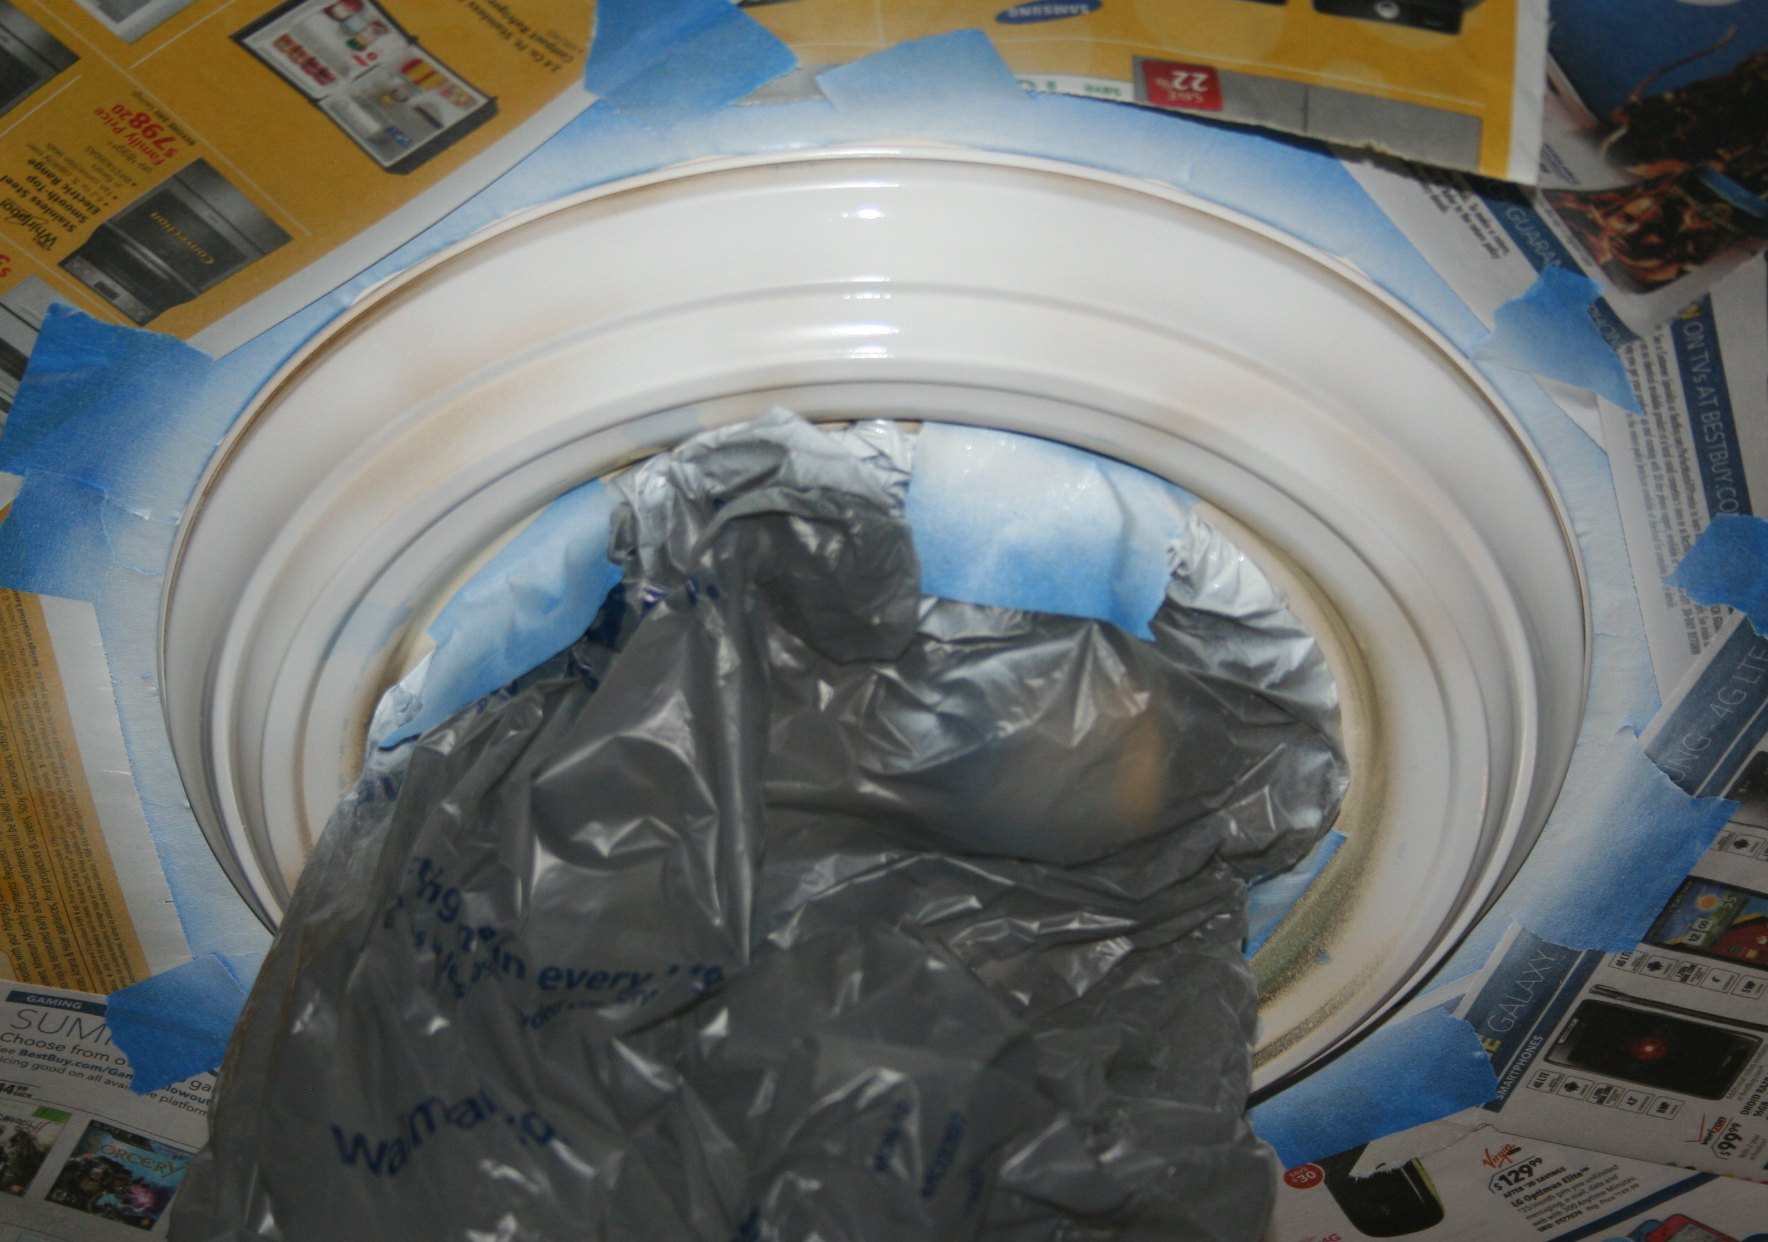 I also put a grocery bag over the light sockets for additional protection. I sprayed 2 coats of primer onto the ceiling fixture. Let each coat dry according to the instructions on the can.
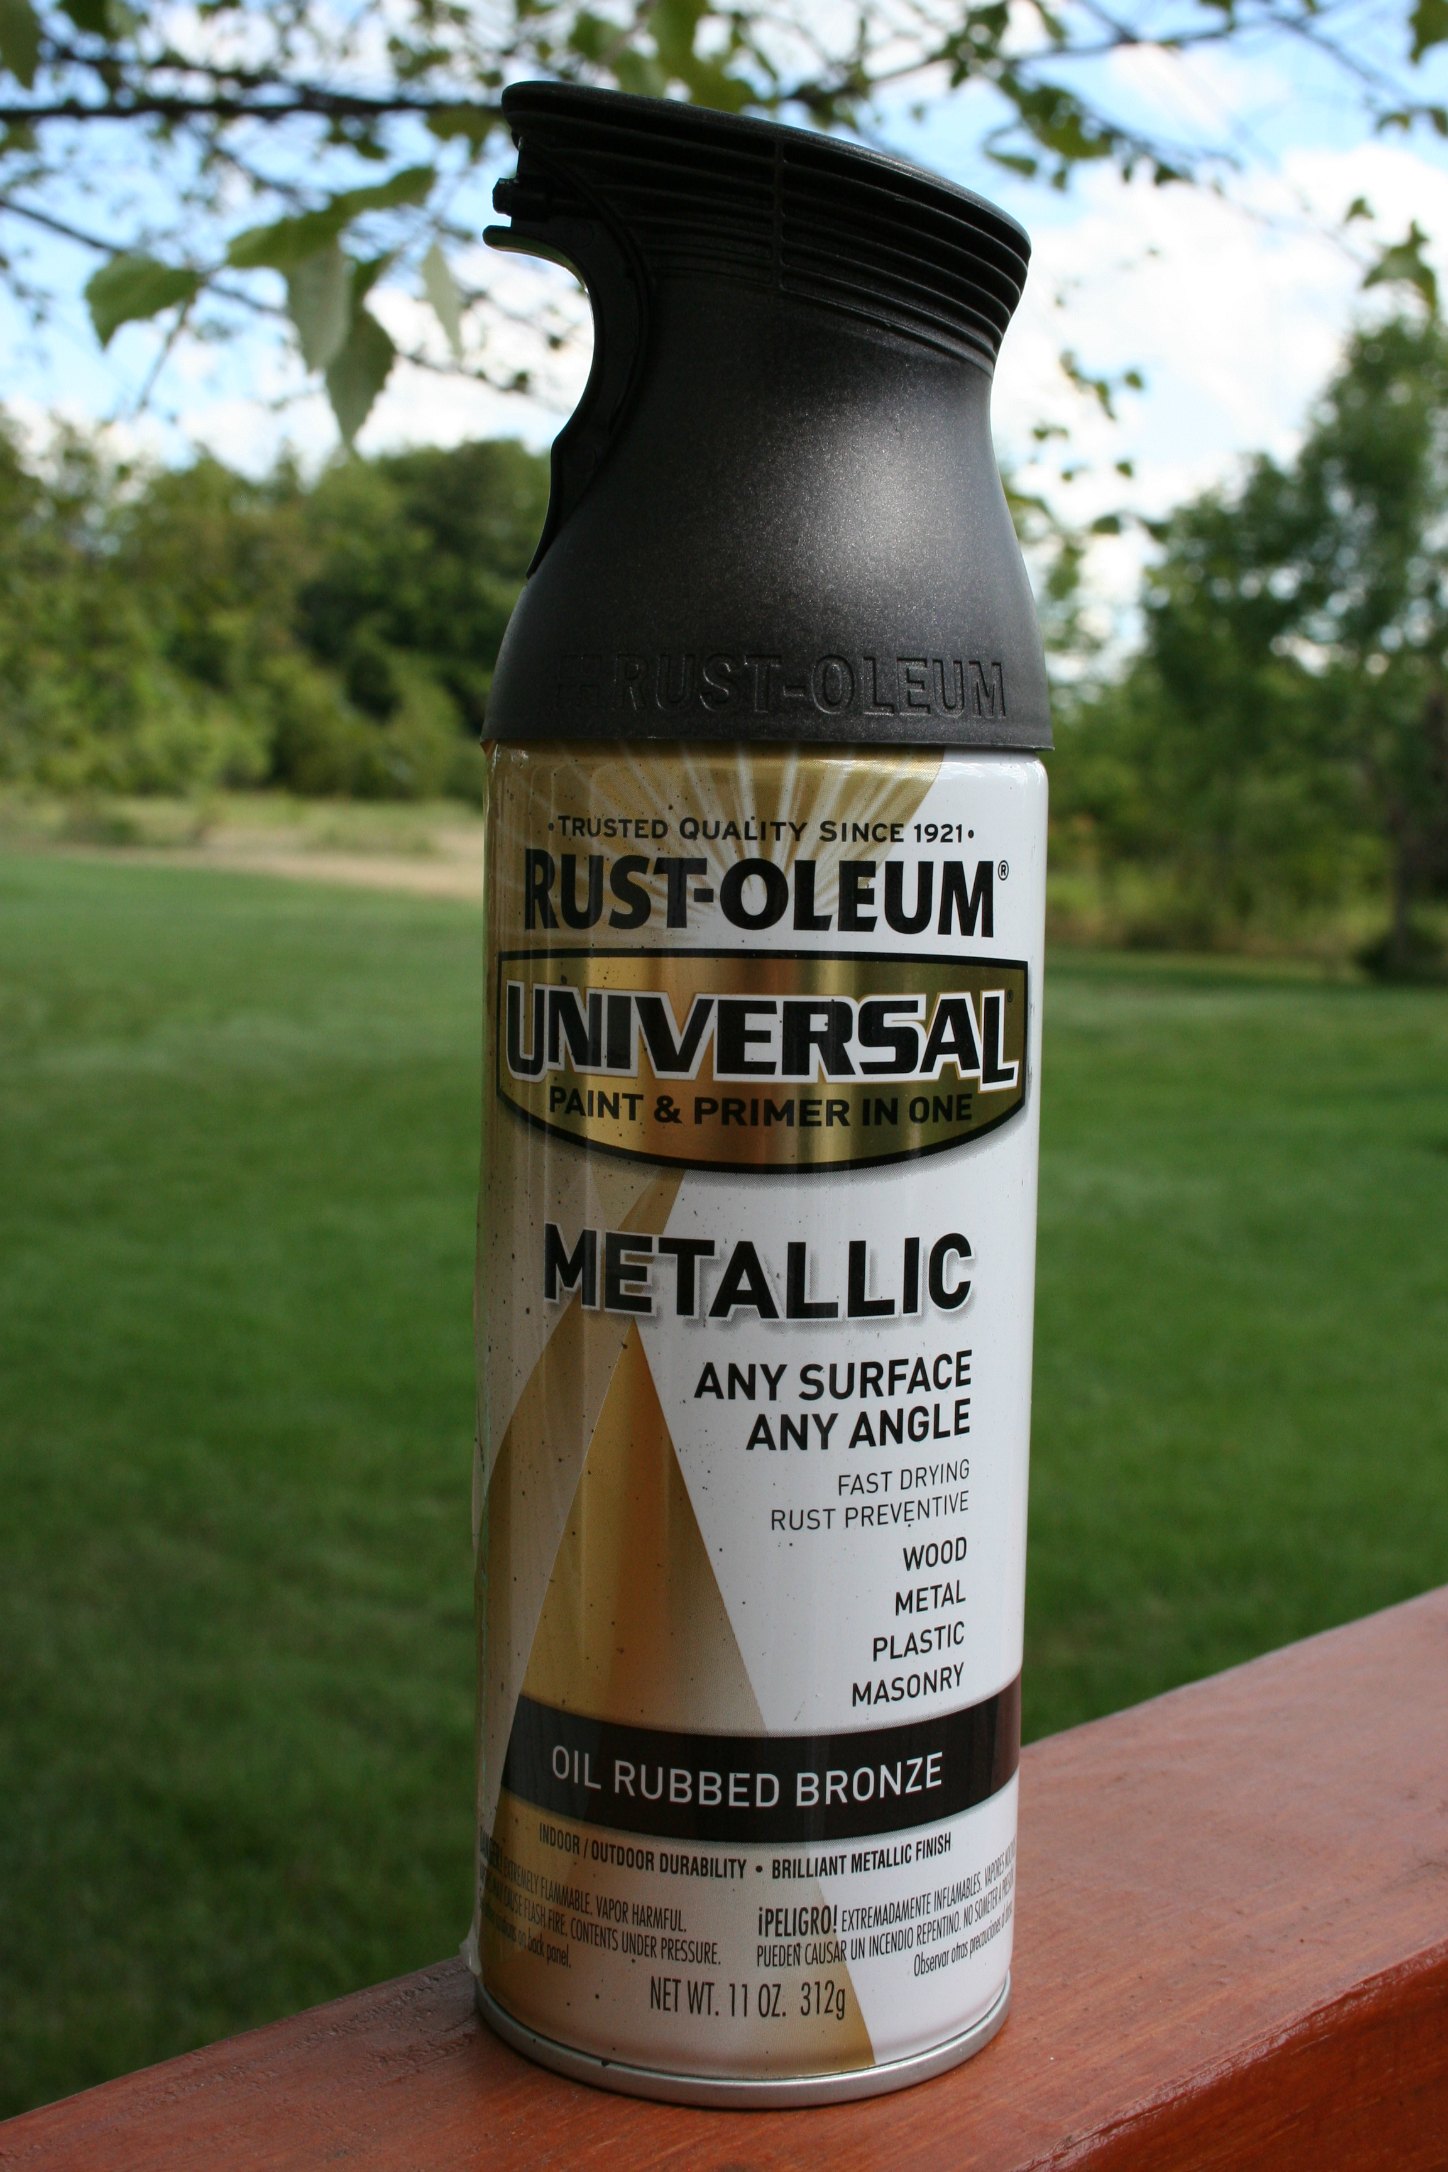 Gotta love spray paint. You can literally spray any surface your little heart desires!! I am a huge fan of Oil Rubbed Bronze, and Rust-Oleum has never failed me in the past. I sprayed an additional 2 coats, dry thoroughly between each coat.
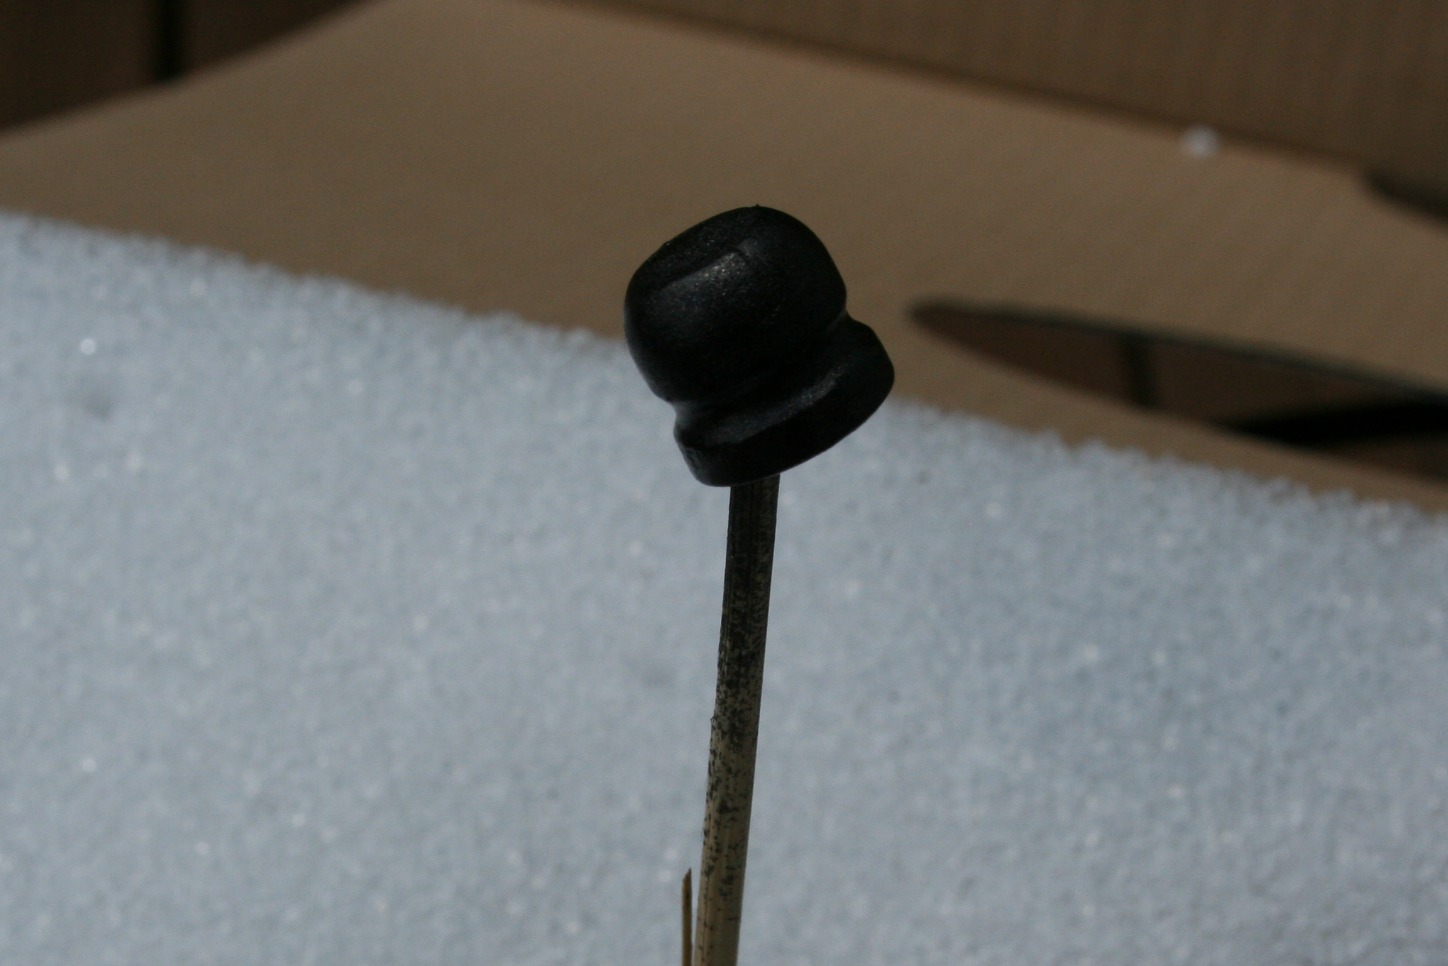 Don’t forget to spray the round cap and screw.
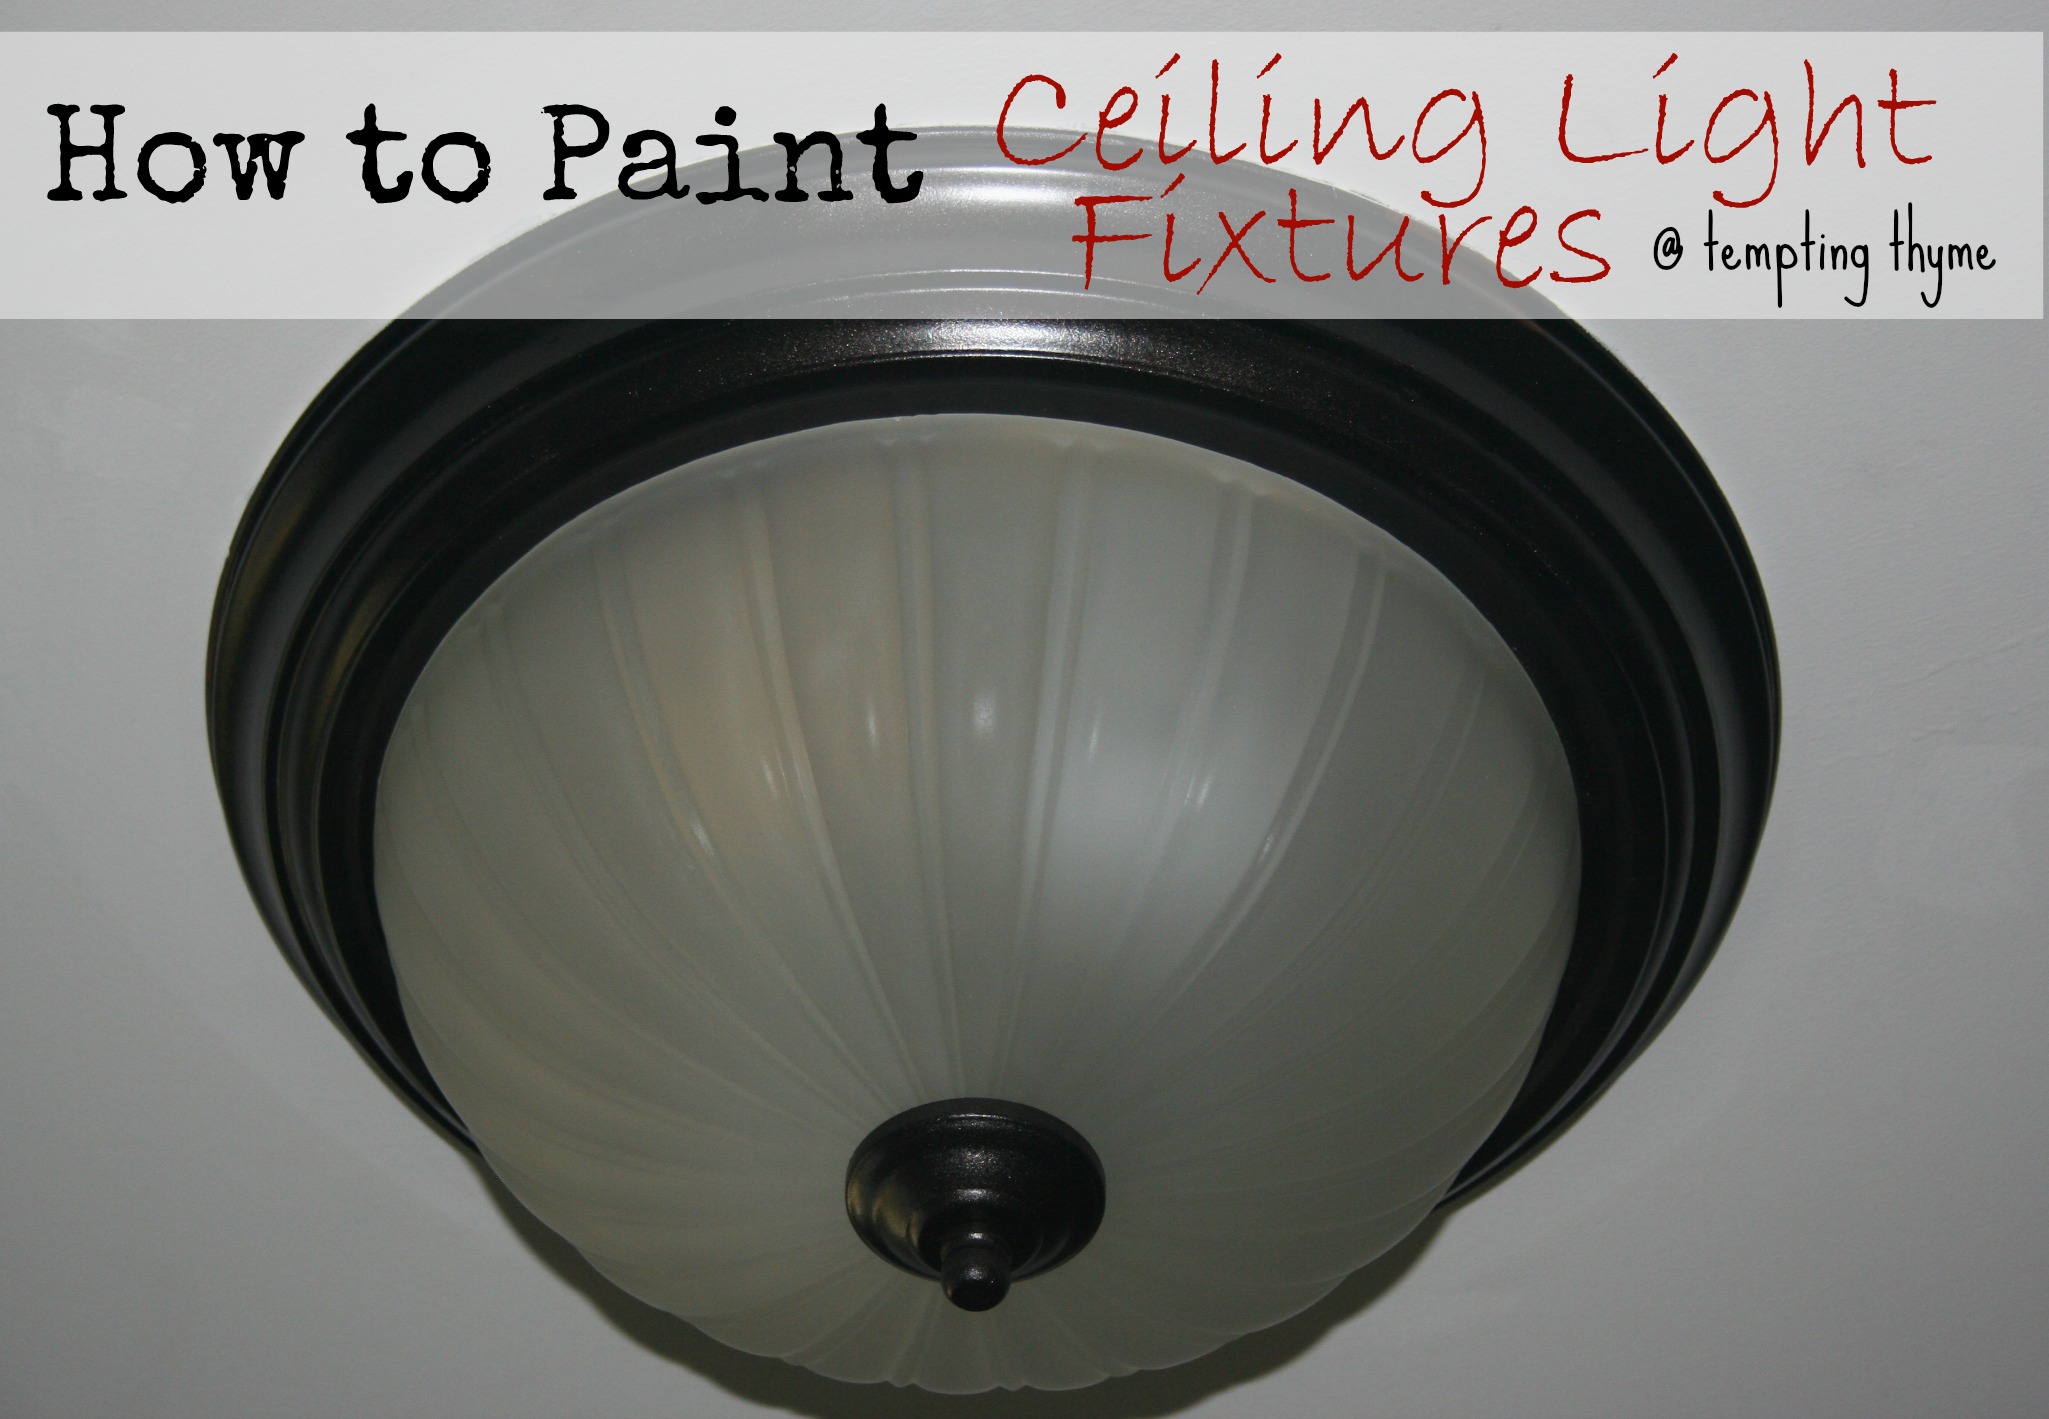
Now I am going to be honest, and tell you that this is where I screwed up. I was in such a hurry to see the final product, and pulled down all the newspaper and tape BEFORE making sure that the paint covered 100% of the surface! OMG…..major crapolla!!!! I was so not in the mood to tape everything off again to redo it. In hind sight, I would have saved myself a few months aggravation if I had just strapped up my big girl pants and taped up more newspaper!! Time got away from me, a few 2 oz craft bottles later (who knew that all oil rubbed bronze were NOT the same color), touch up ceiling paint being the last step and presto….it was finally done!
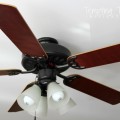
 I liked it so much, I did the ‘eyeball’ at the top of our basement stairs…….woo hoo!!
Pretty great, eh????
So, like I said…..do as I say, not as I did, and you will revitalize your ugly light fixtures with just a little bit of paint. Easy Peasy!
Materials Needed:
- Ugly Light Fixture
- Sandpaper
- Rust-Oleum Spray Paint- Primer
- Rust-Oleum Spray Paint- I used Oil Rubbed Bronze
- Paint Tape, only if you cannot get the light fixture off the ceiling (LOL)
- Newspapers, to protect your surrounding area (especially if it is the ceiling)
Directions:
1. Take down the ceiling light fixture, making sure you turn off the power source first.
2. Scuff up the fixture with some sandpaper. With a damp rag clean the light fixture, removing any oil, dust and finger smudges.
3. In a well-ventilated area, prime the light fixture. Let dry completely.
4. Spray the primed light fixture with the paint of your choice, light even coats work best. Let paint dry (according to the instructions on the back of the can). Repeat until desired color is reached and light fixture is completely covered.
5. Assemble the fixture back onto the ceiling. Sit back! Smile! Pat yourself on the back! Job well done!
Have you ever painted an ugly light fixture?
Shaunna♥
1 Month Ago: “Flat Out” Crazy 5 minute Pizza
3 Months Ago: Salted Caramel Peanut Butter Blossom
6 Months Ago: Sun-Drenched Chopped Salad
How to Paint an Old {Ugly} Light Fixture may be linked up to these great parties….
Pingback: Paint This! 30+ Lamp & Light Fixture Makeovers - It All Started With Paint
Love the job you did here, it looks so much better–antique almost! Yes my husband and I are resident managers in an old turn of the century building and we are trying to put in fixtures in apartments that match their old beauty instead of the hideous 70s fixtures put in in some apartments. Just did one chandelier that had beautiful “bones” but was painted an ugly dull green. I used gold paint and a sponge to paint over everything. Once the paint semi-dried I went over it with a cloth to dull the shine. The result was a gold and green that looked antique and when it was put up, looked like it had always been in the suite. I had a similar fixture to what you had painted a turqoise on the base and screw. I did a rim of gold at the top, bottom and the screw and put it in. Both look like they have always been there so it was a good choice!
Will be doing a lot more with the fixtures in our building as the suites come open if they have ugly fixtures in them!
I would love to see a picture of them!! The turquoise fixture has me intrigued. I have a few more ceiling fixtures to get done, and then I might even tackle a couple of ceiling fans. Why get rid of something that still works if they can be revamped, right? I did a trial run on painting a doorknob in the kids bathroom, and 3 months later it is still holding strong. If you get a chance, send me a photo of two….maybe I could even post them!!
Reblogged this on Two Friends Boutique.
Great idea! We have a couple rental properties with lights I should paint! I have a new Pinterest Party and would love to have you share this and any other projects you have!!
http://www.thetaylor-house.com/2013/01/24/pinterest-power-party-3.html
Thanks!
Chrissy