Little girls dream of the perfect wedding, and collect picture after picture of bridal gowns and ideas. Grown woman dream of the perfect home to encircle their loved ones, and collect countless decorating pictures.
I currently have three binders full of ideas and dreams. One gets frequent use, as I am forever changing up our landscape and trying out new things. PT doesn’t understand my obsession with the yard, and thinks the grass should be allowed to grow up to our house without any decorative beds or garden-scaping. Phooey on him I say!
The other two are overflowing with remodeling pictures, how=to’s, floor plans and decorating ideas. I have far too many ideas and thoughts, and never enough time or money to accomplish most of them. But it won’t stop me from dreaming!
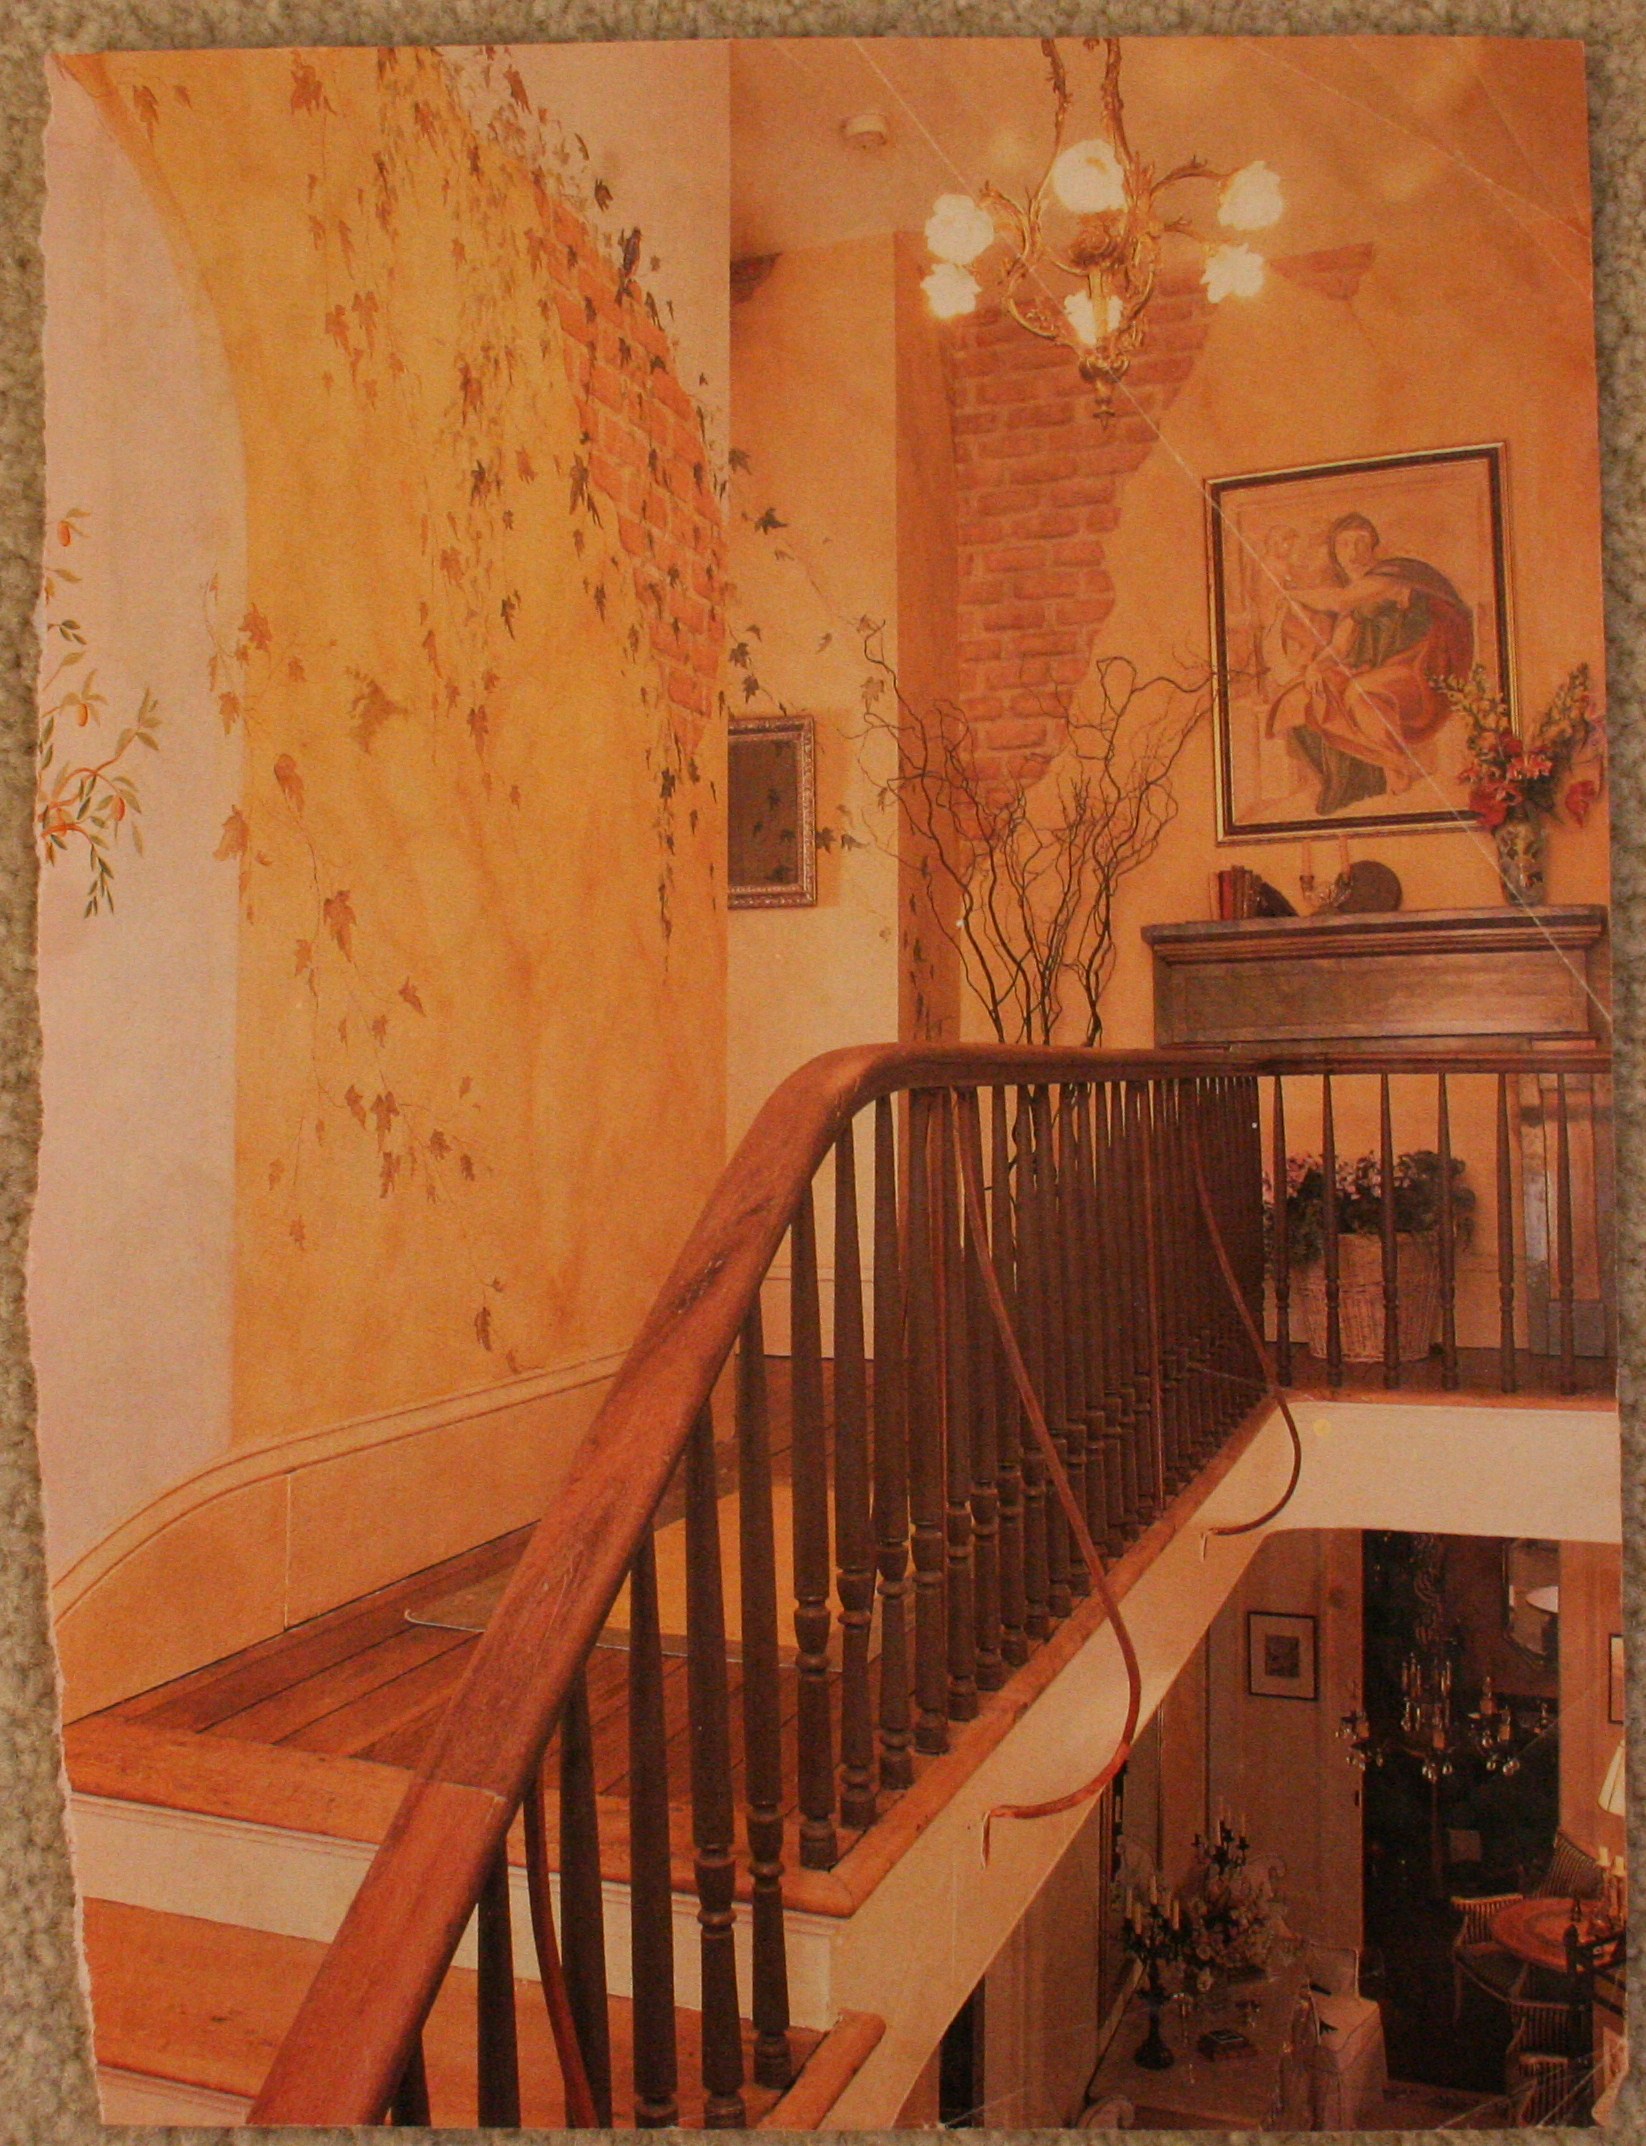
I originally found this painting idea in a Southern Living Idea magazine. Fell in love with it, tore it out and tucked it away for a rainy day project! Every time I went thru the dream binder, either to add something new or weed out ideas that had unfortunately become stale, this idea would tickle my fancy and beg me to replicate it.

It finally came to life when we moved into our 2nd house twelve years ago. We have an open staircase with an abundance of wall space. Exactly like the picture…..without the gorgeous iron railings and we have carpet on the stair treads, not hardwood….oh well, I will keep reminding myself that someday it might happen!
Since the house was brand new, we were surrounded by boring white walls, and even worse, contractor grade paint. I planned and plotted out how it was going to look. Coming off the full length of the second story wall and flowing down the stairwell. I could imagine the ooh’s and ah’s as friends and family came into the house for the first time. If only I could have sold PT on my vision.
He thought the full frontal impact would be an overload of visual sensory! I would tire of the design too quickly! What…..me …get tired of something to soon? I ranted, I raved but finally gave in. Plus, I think he does know me just a smidgen…..boredom does set in fast around me.
But if at first we don’t succeed, try…try again!
Second story/stairwell OUT……Master Bathroom IN!
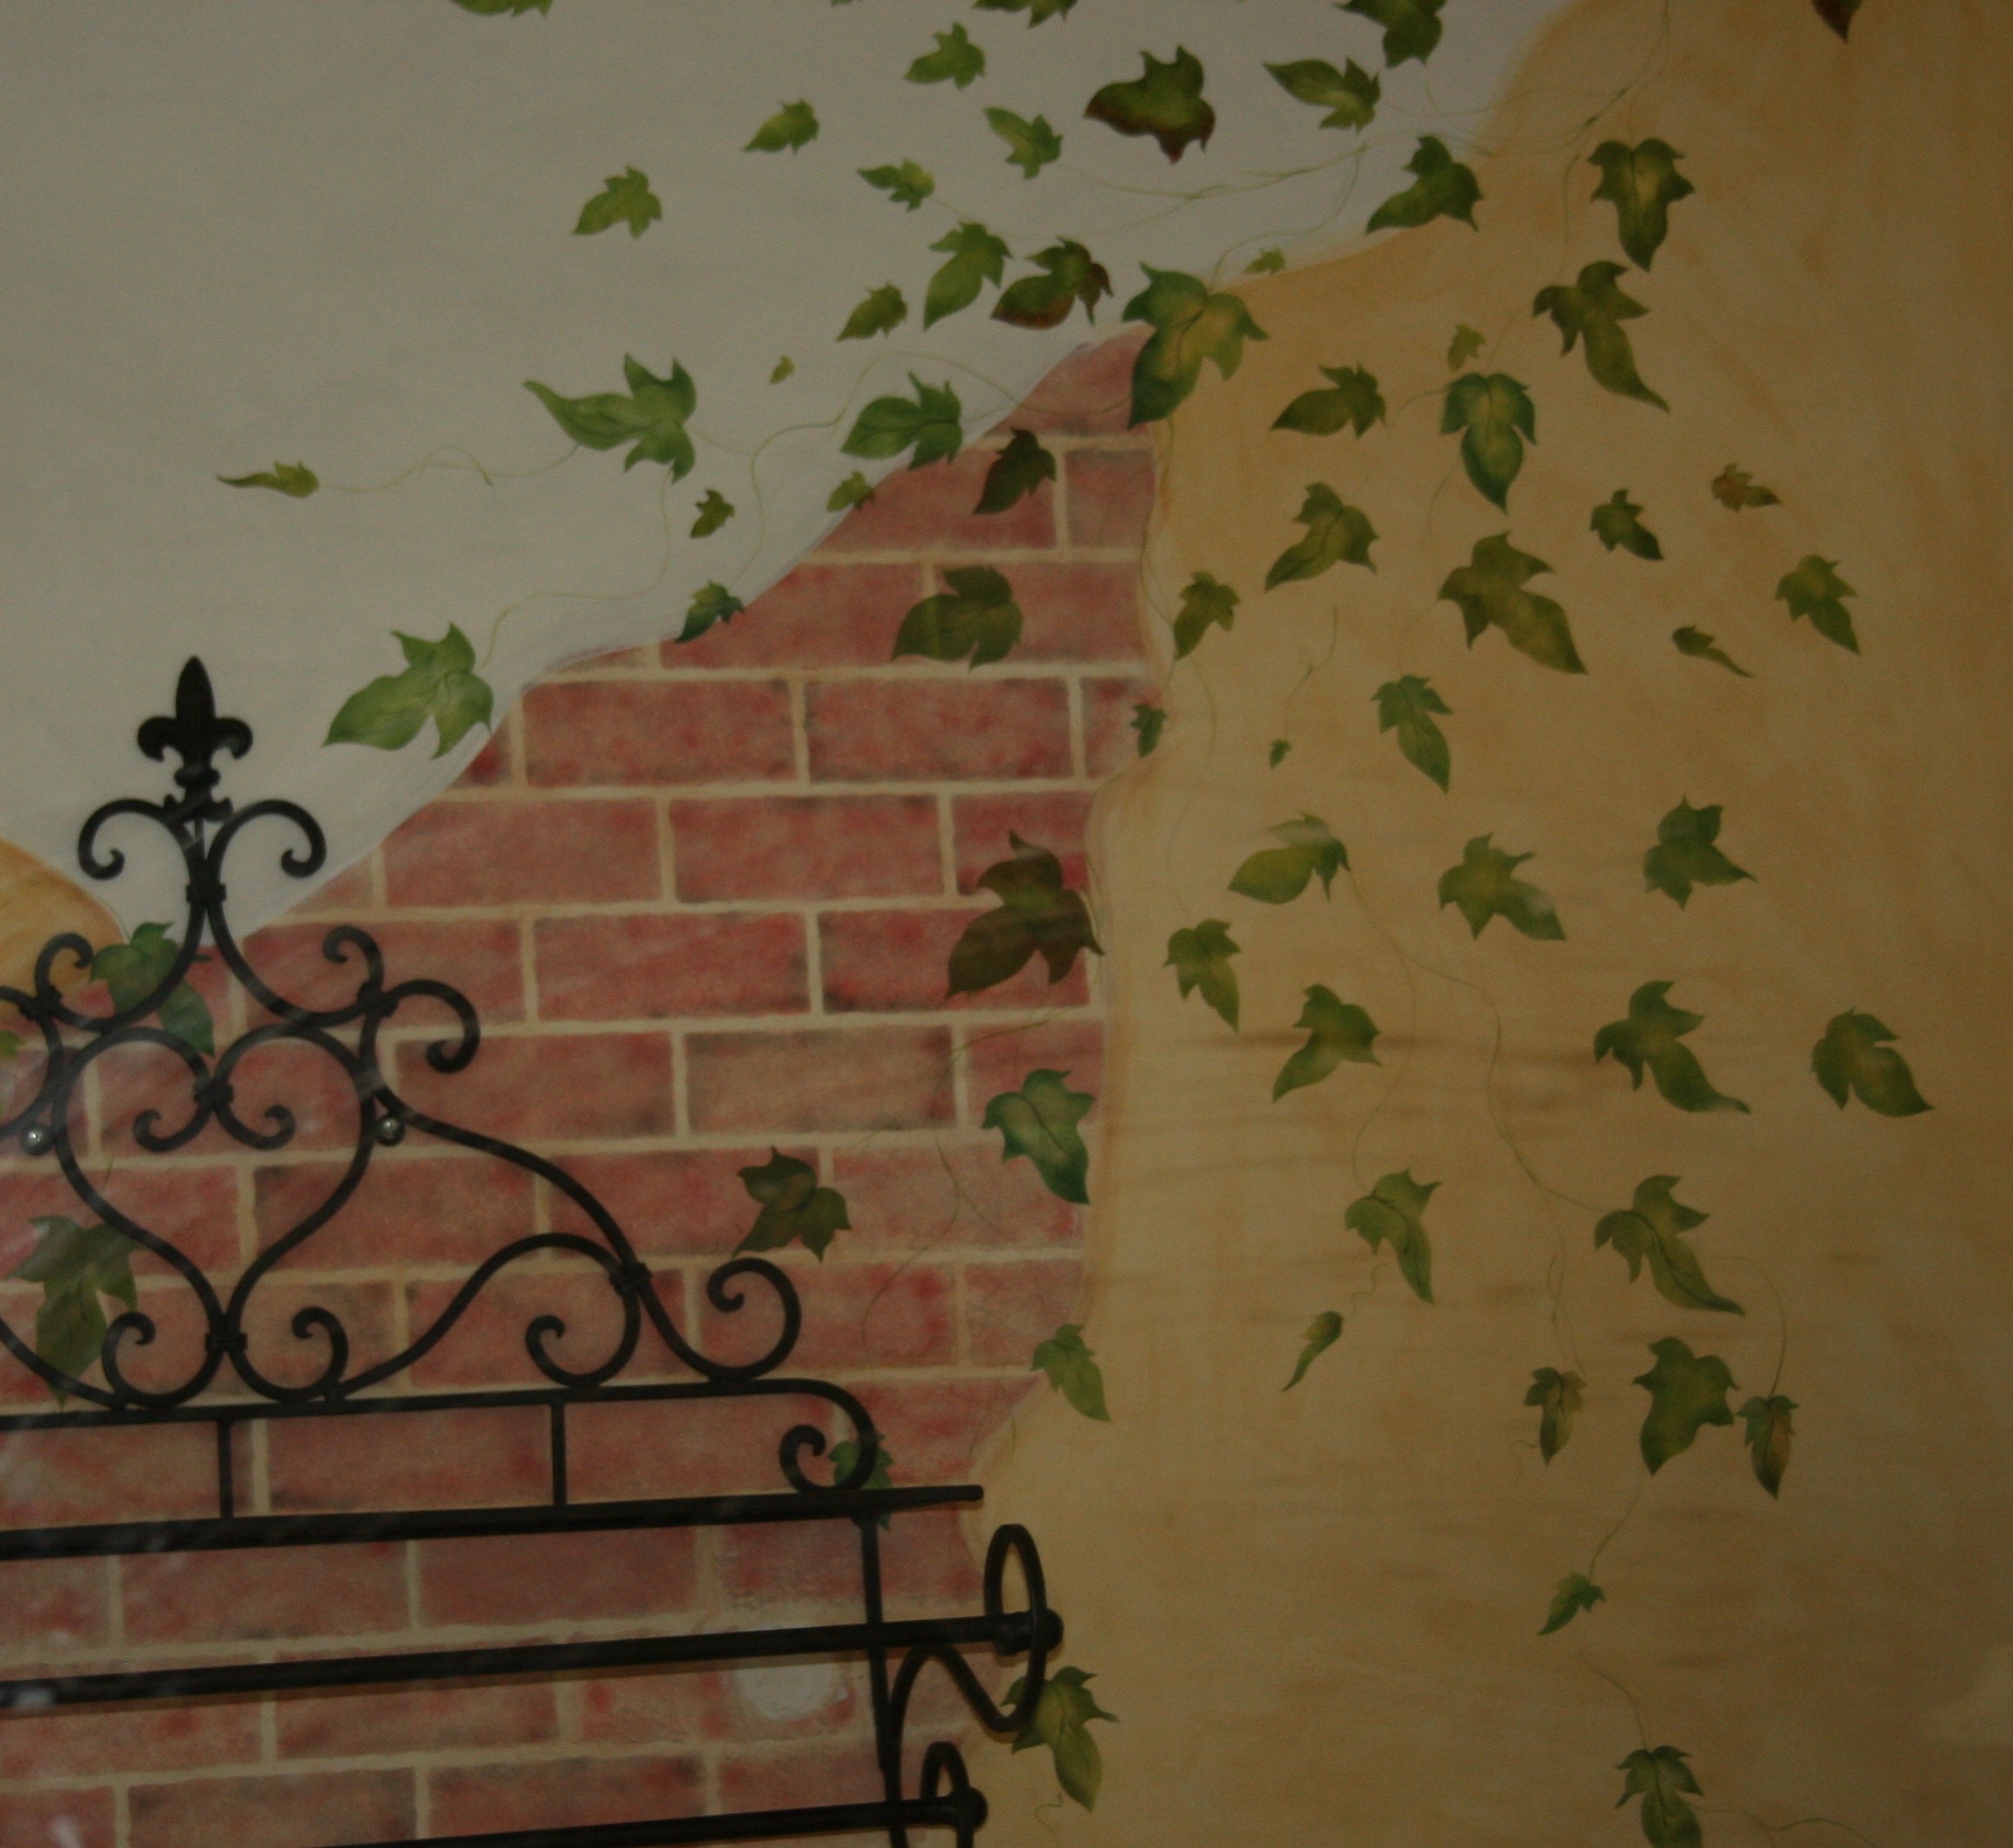
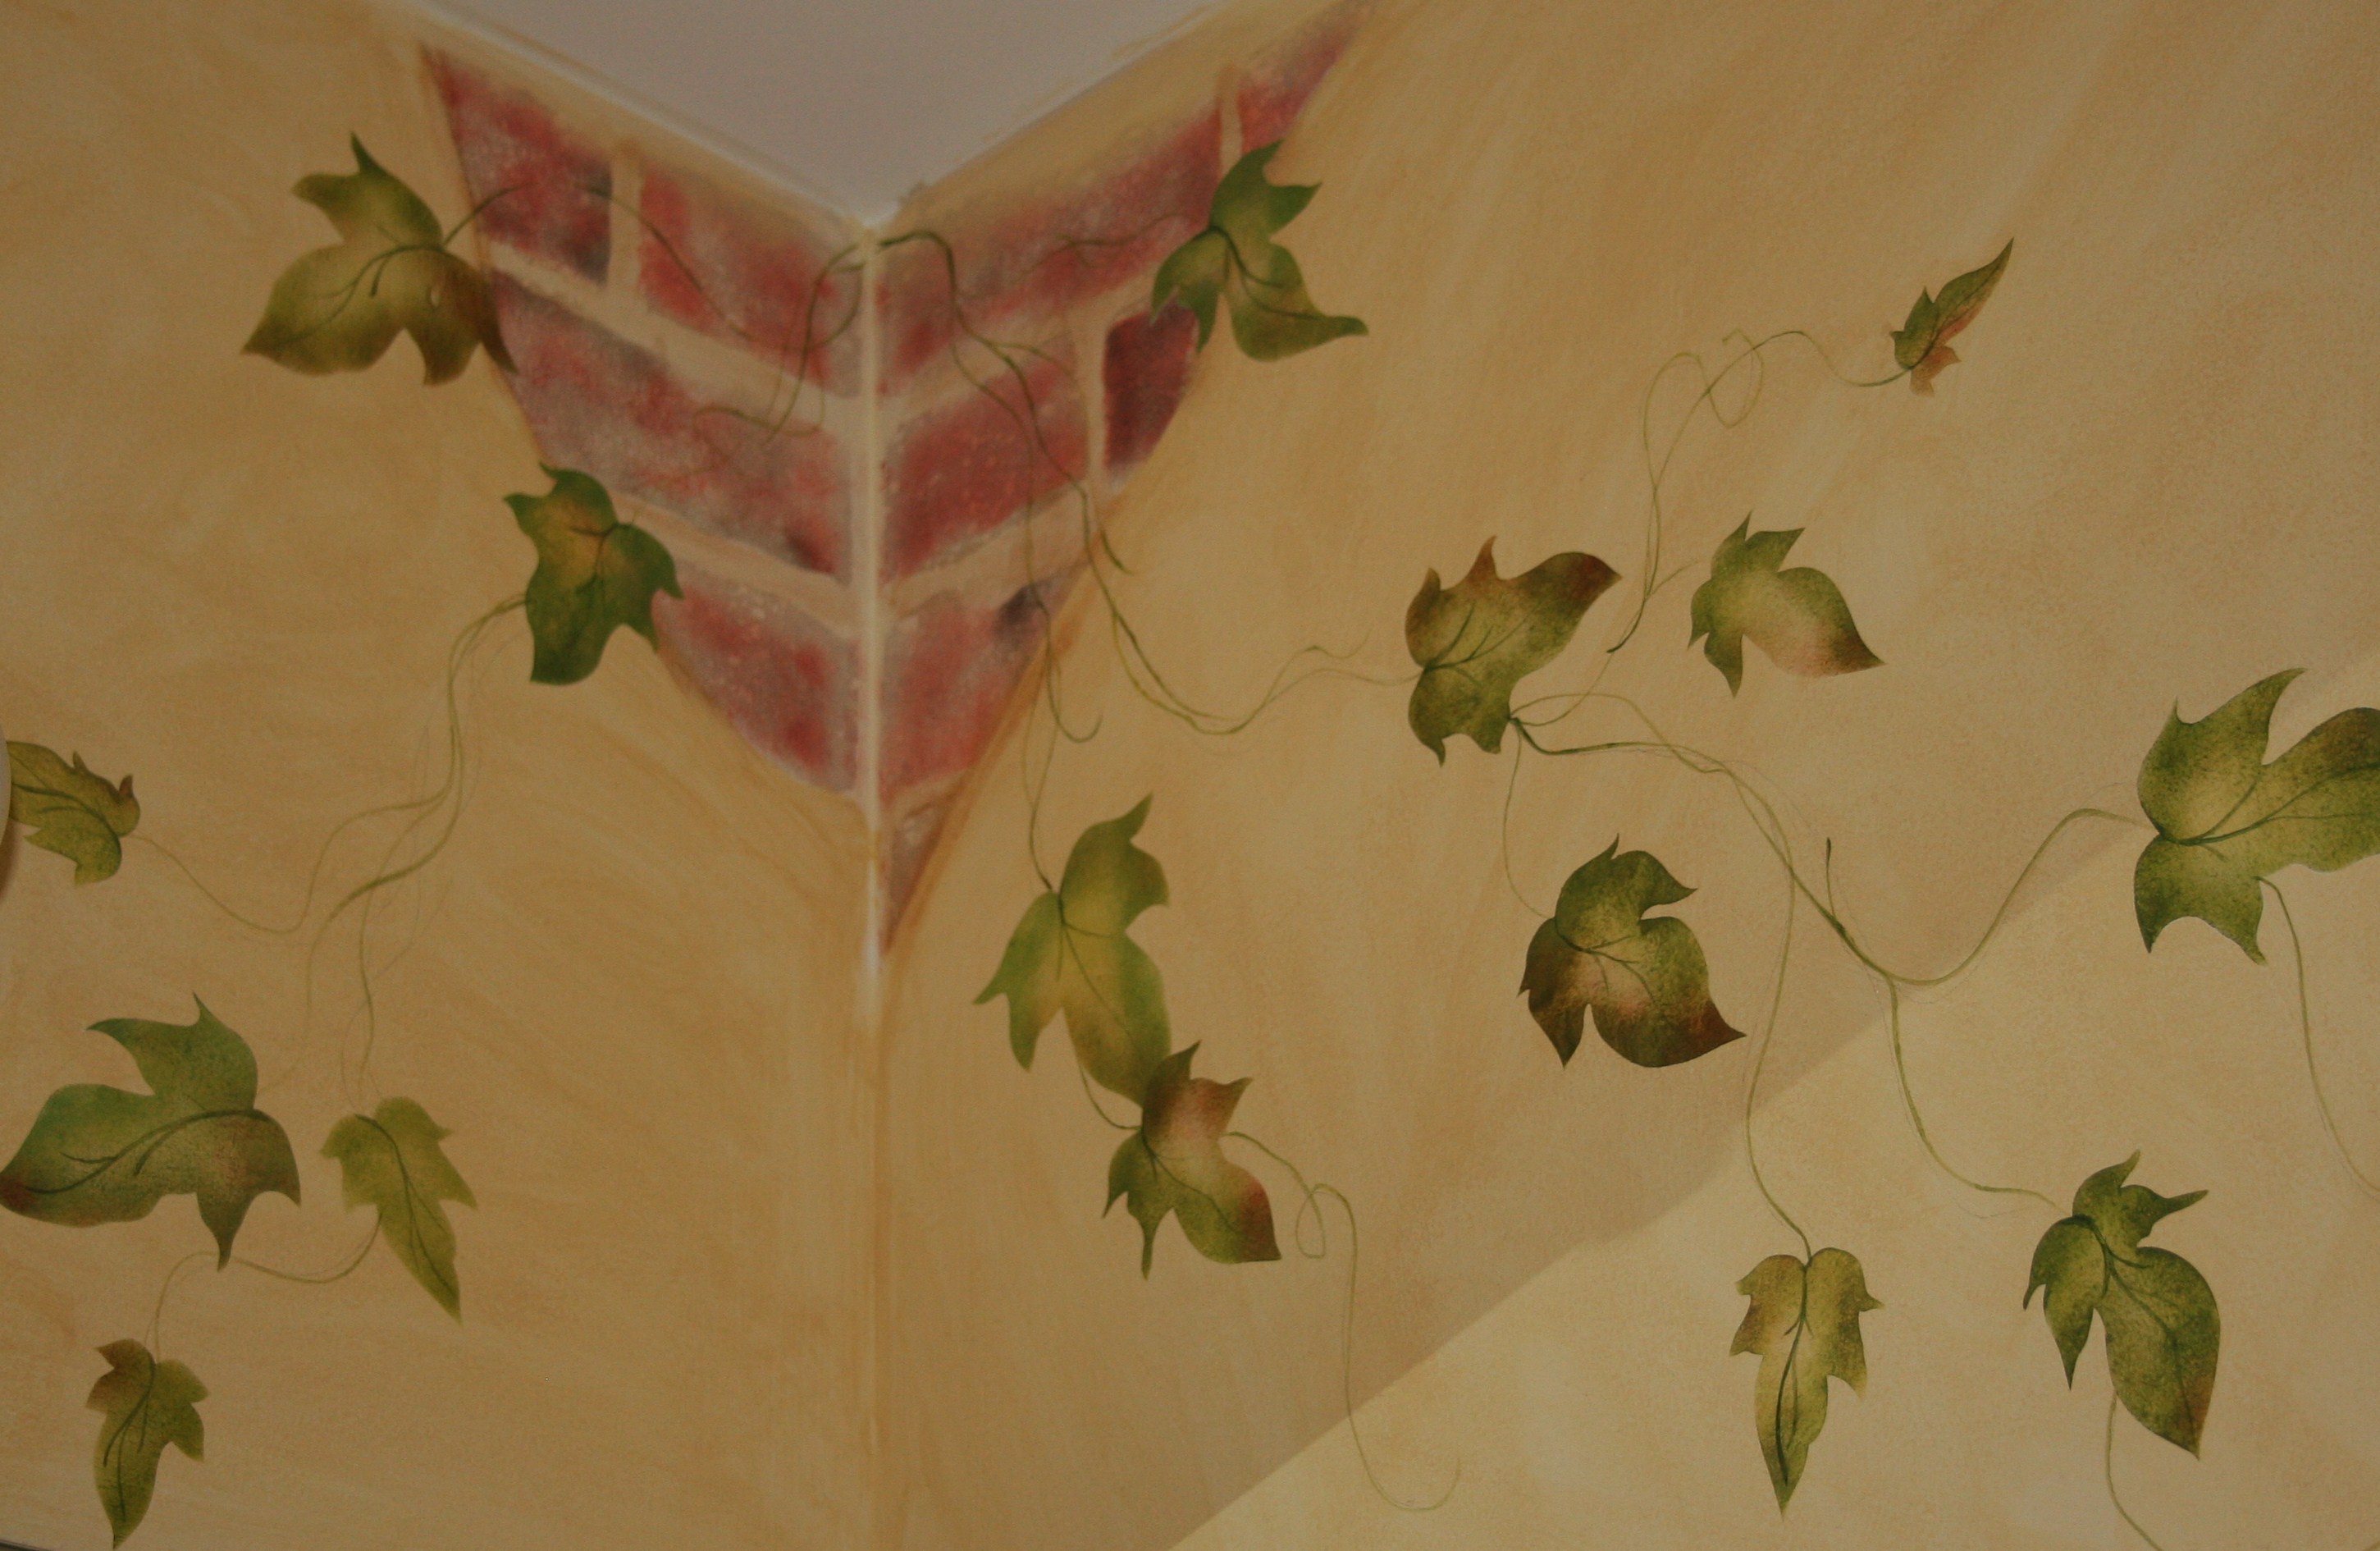
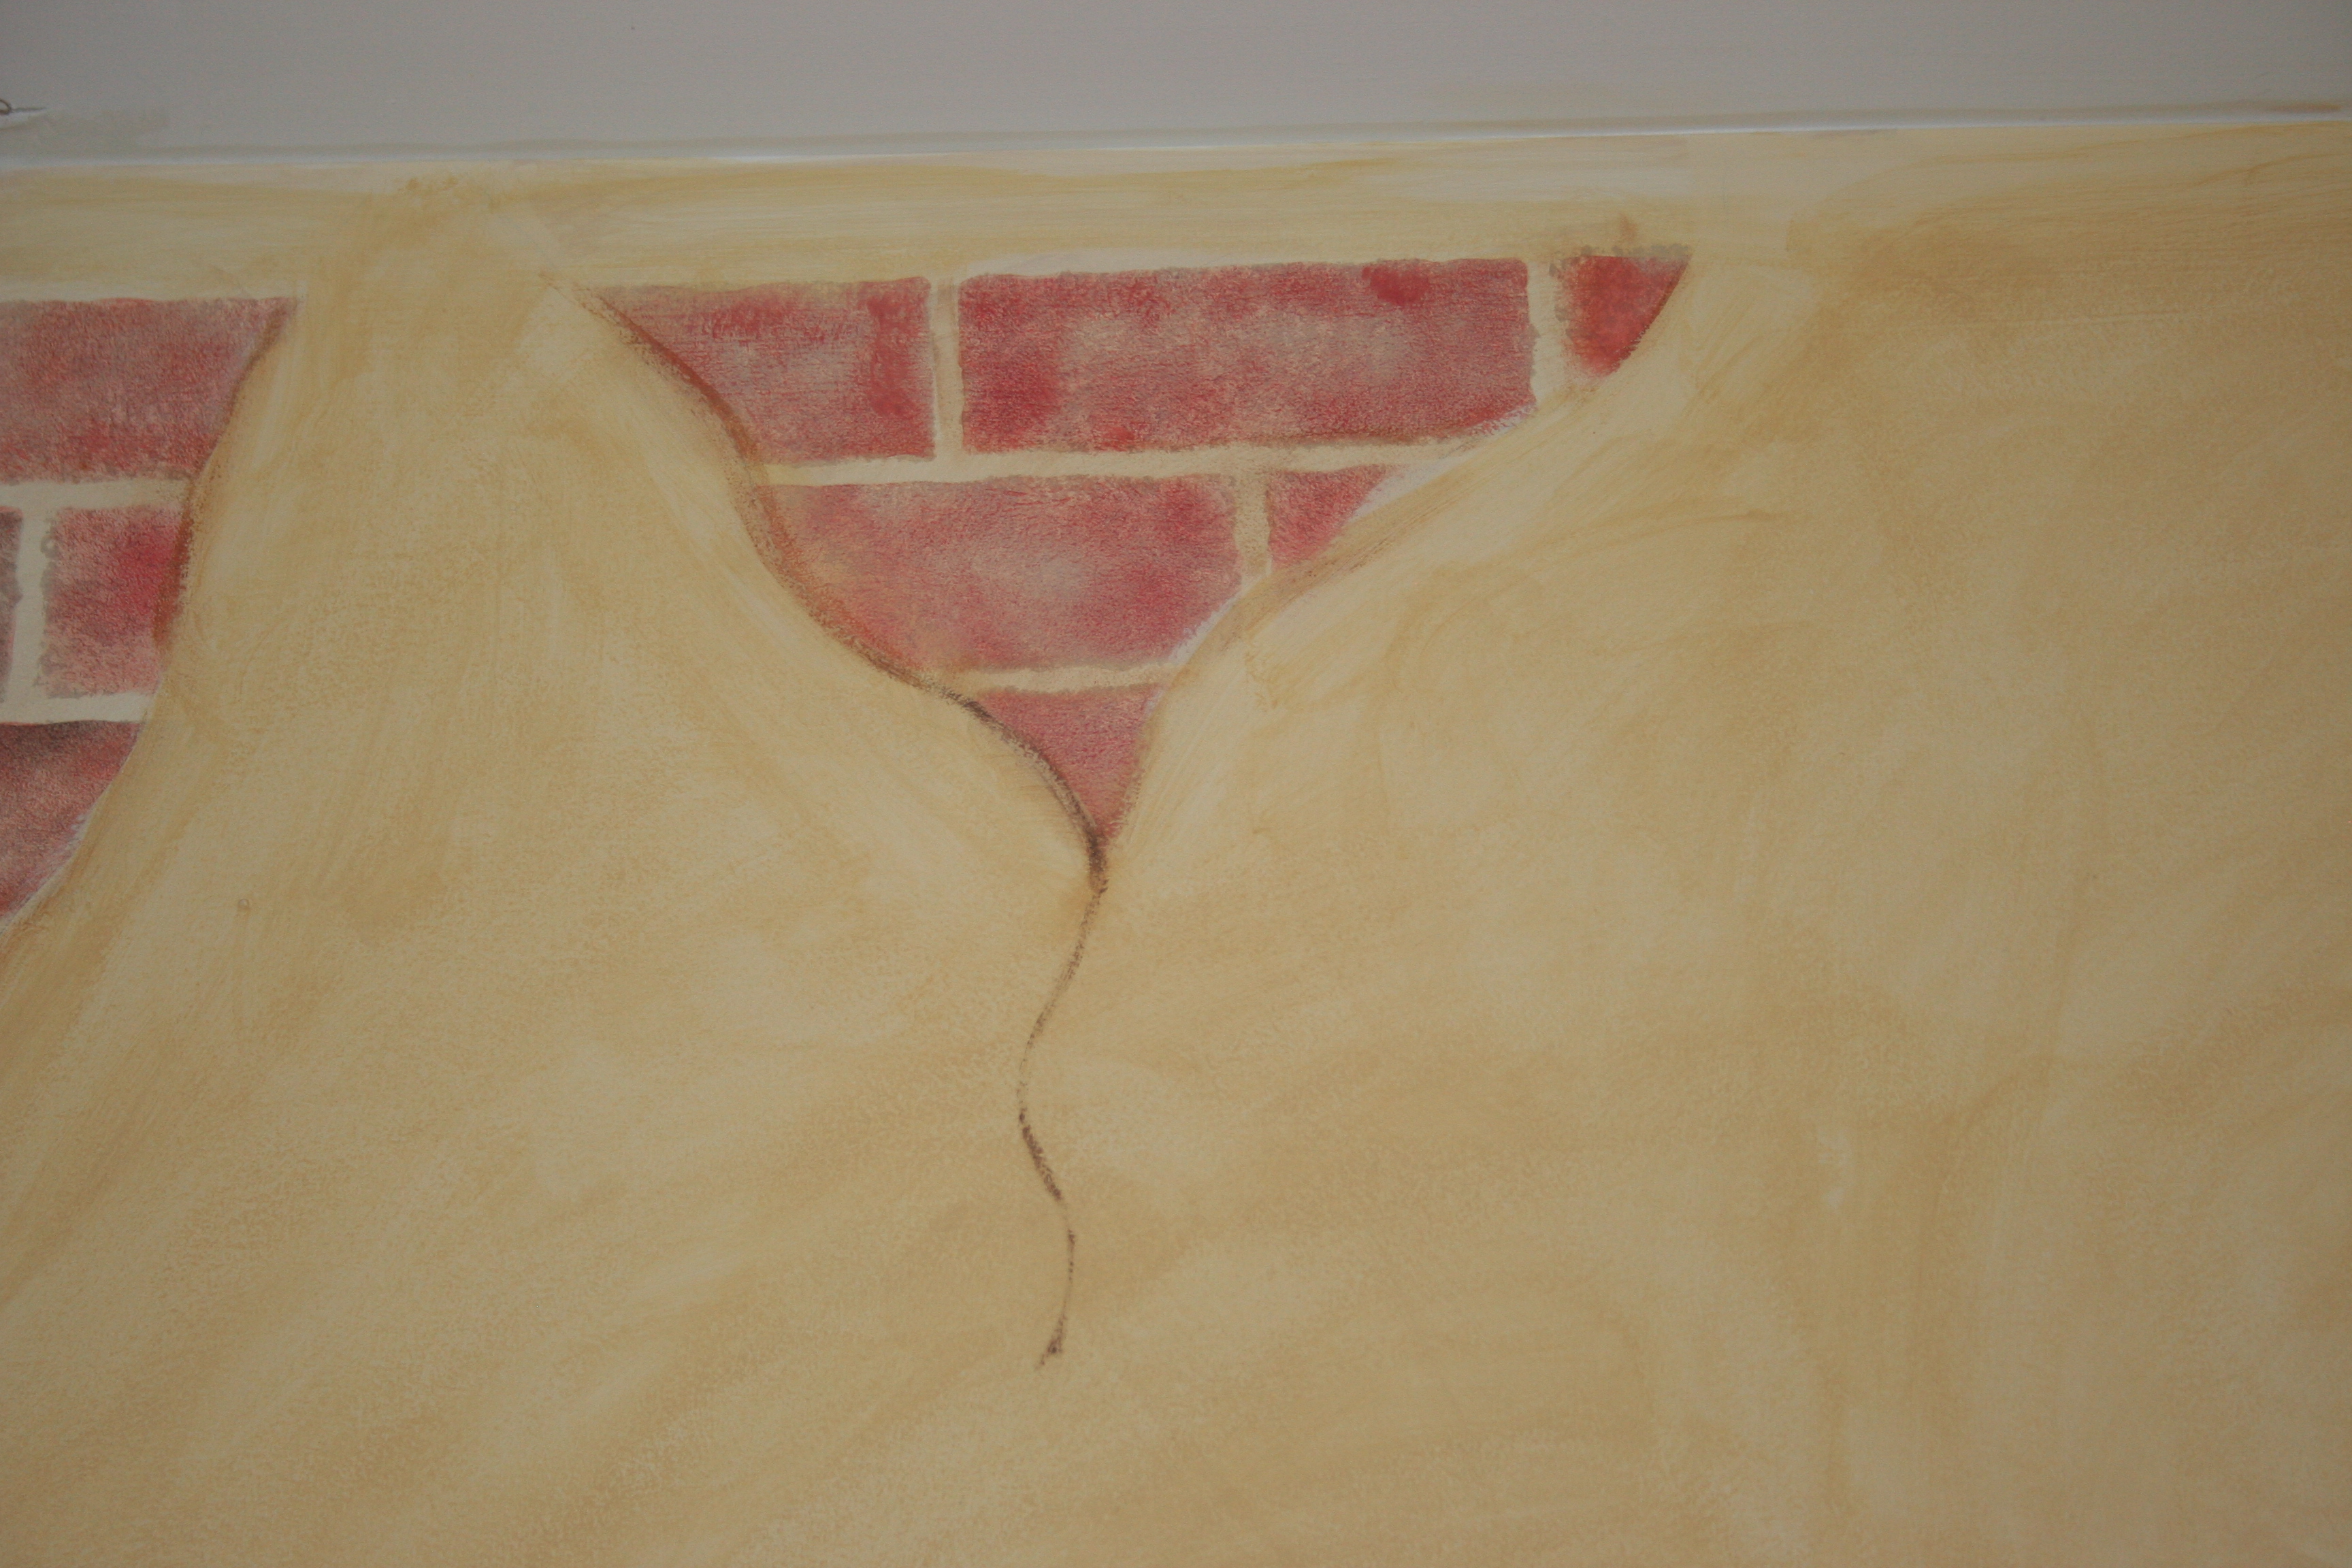
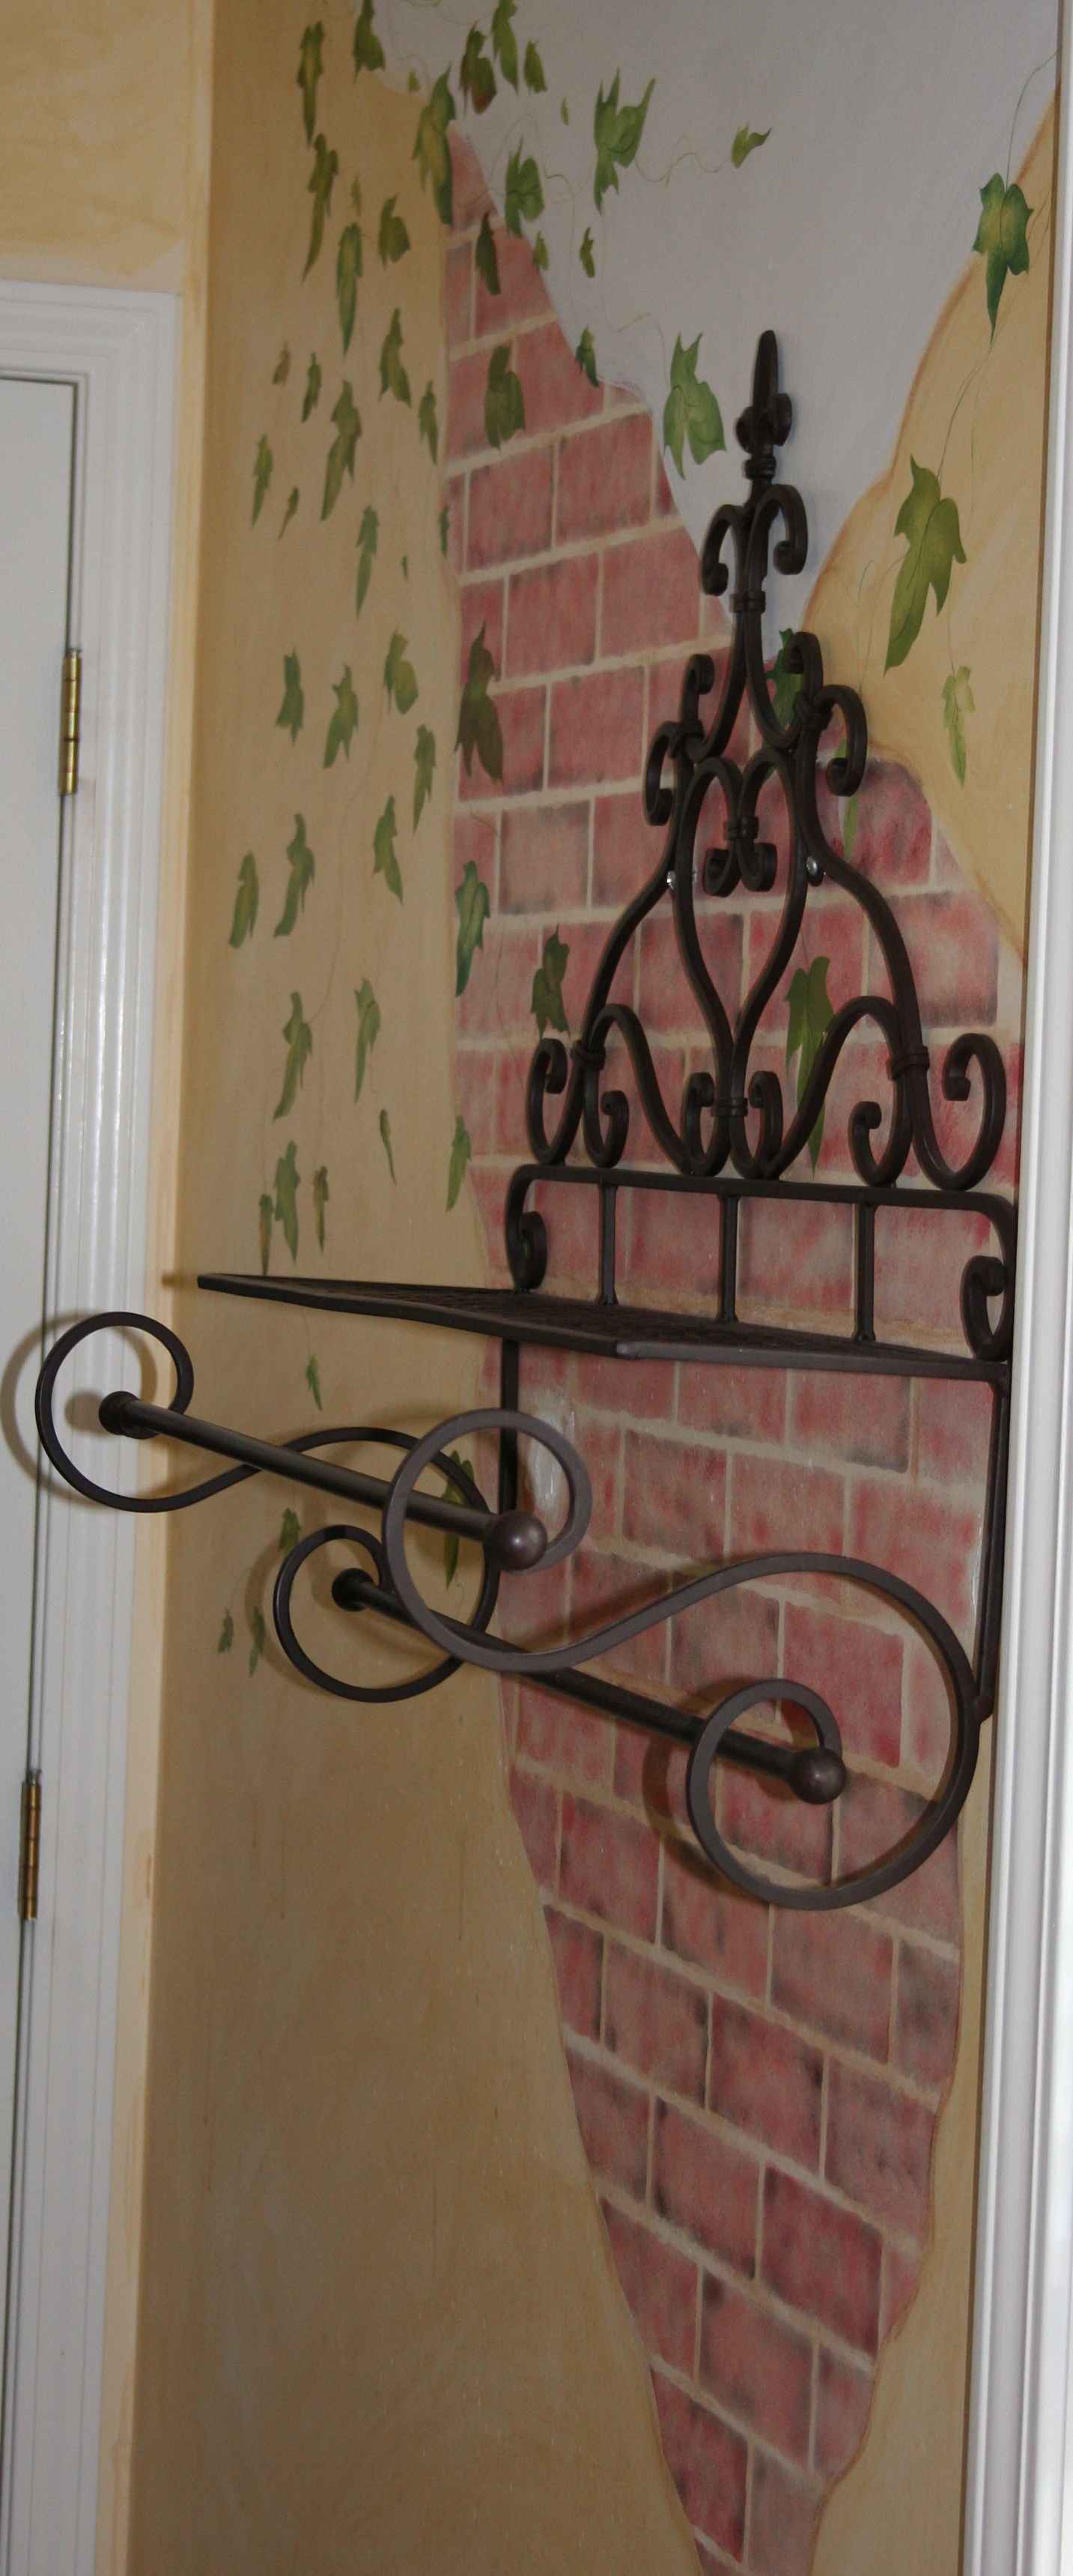
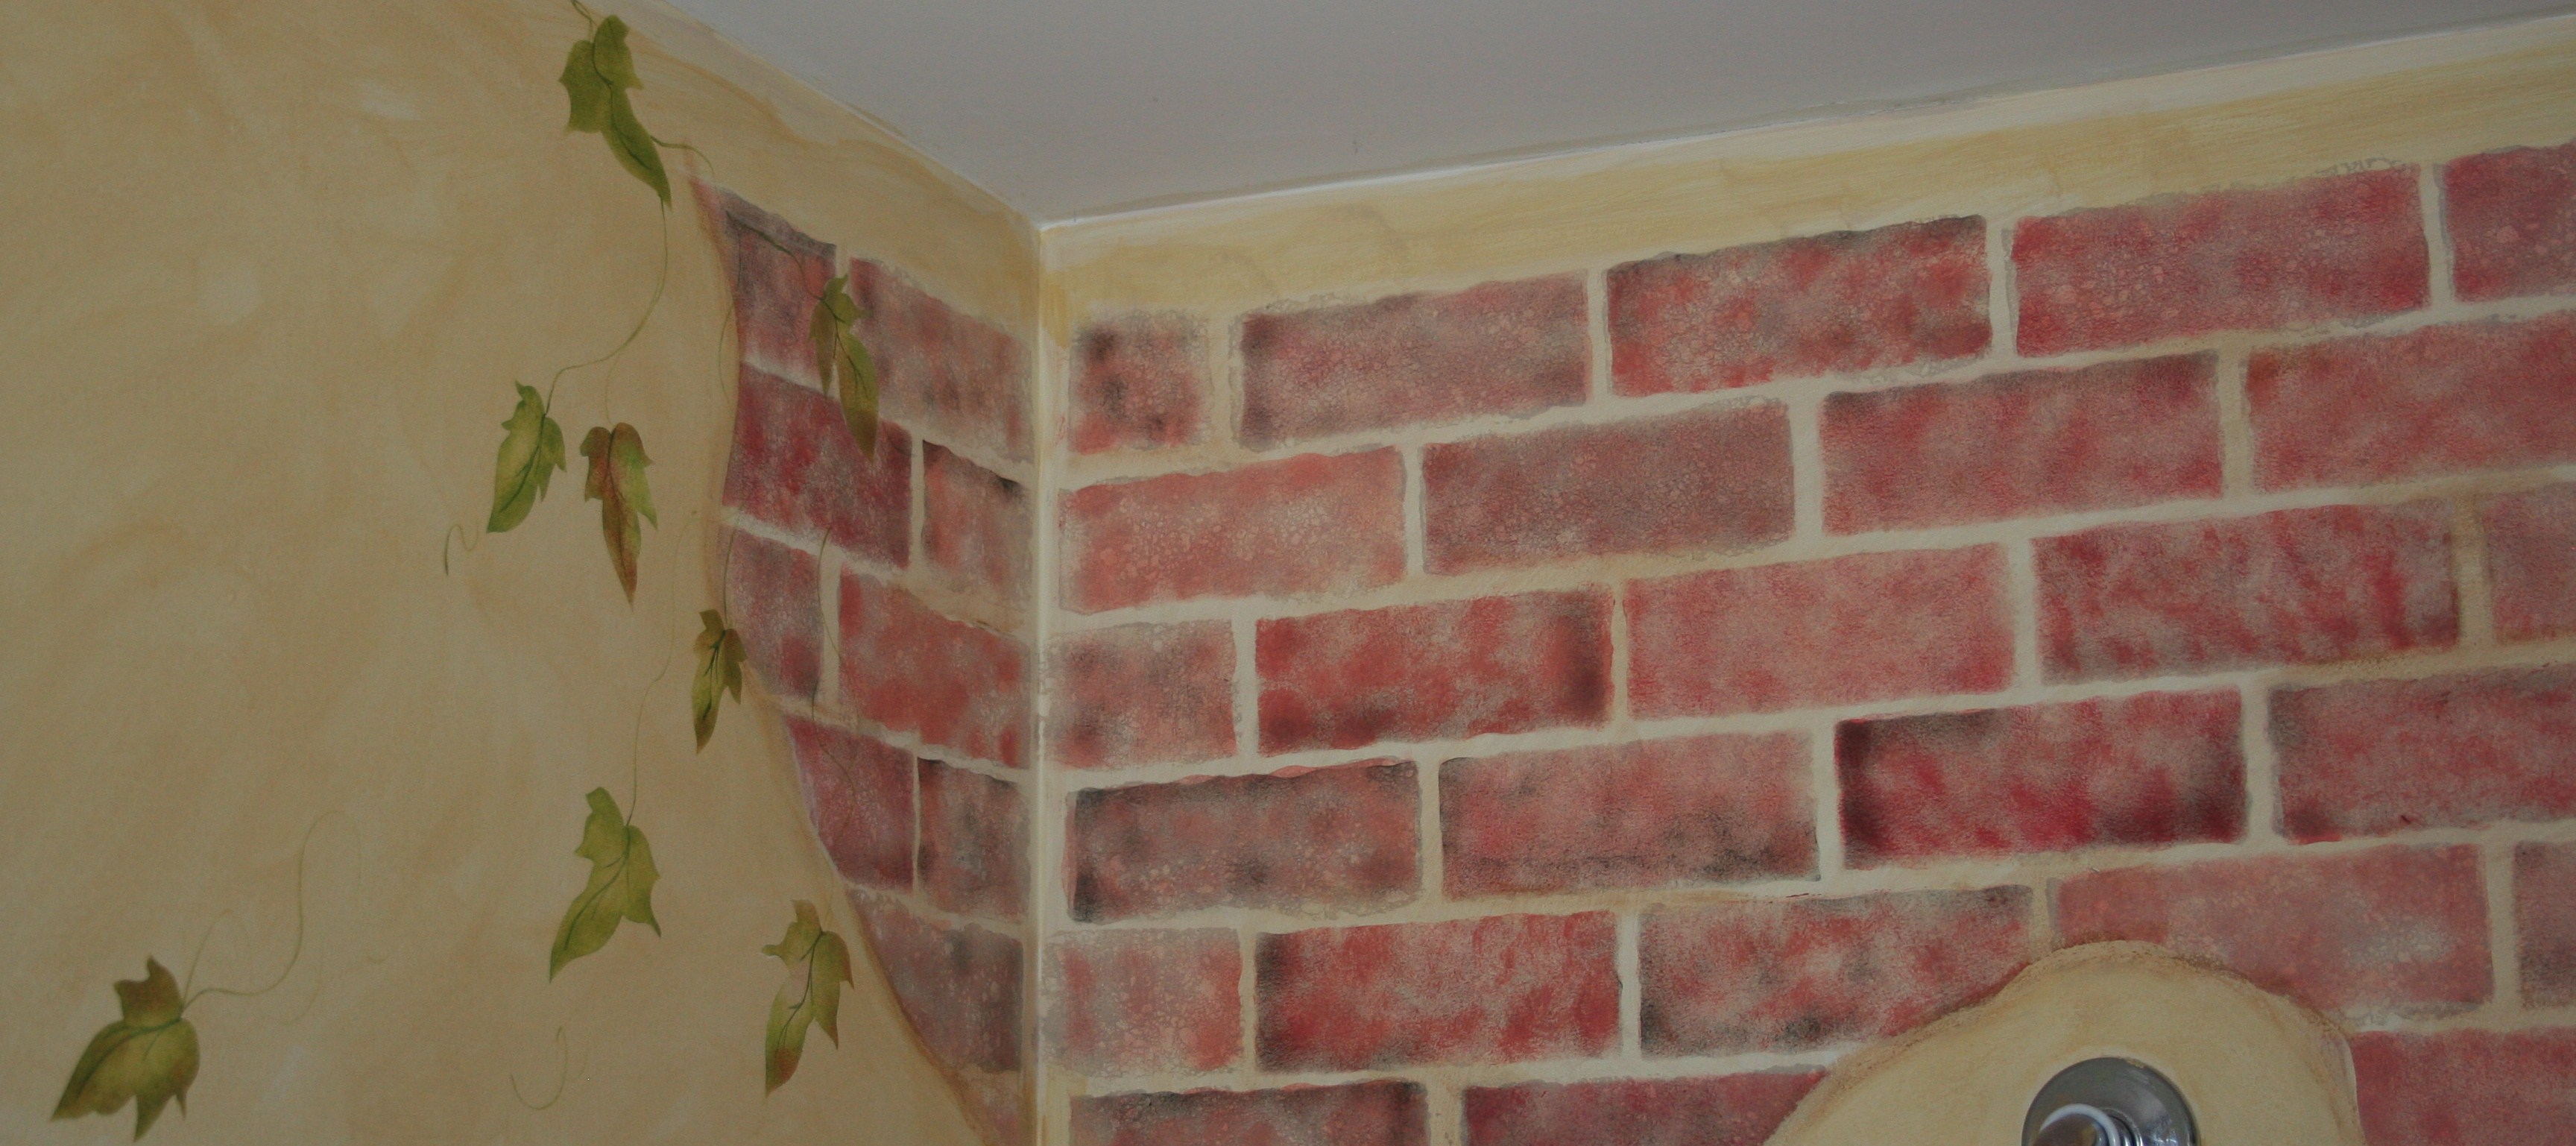
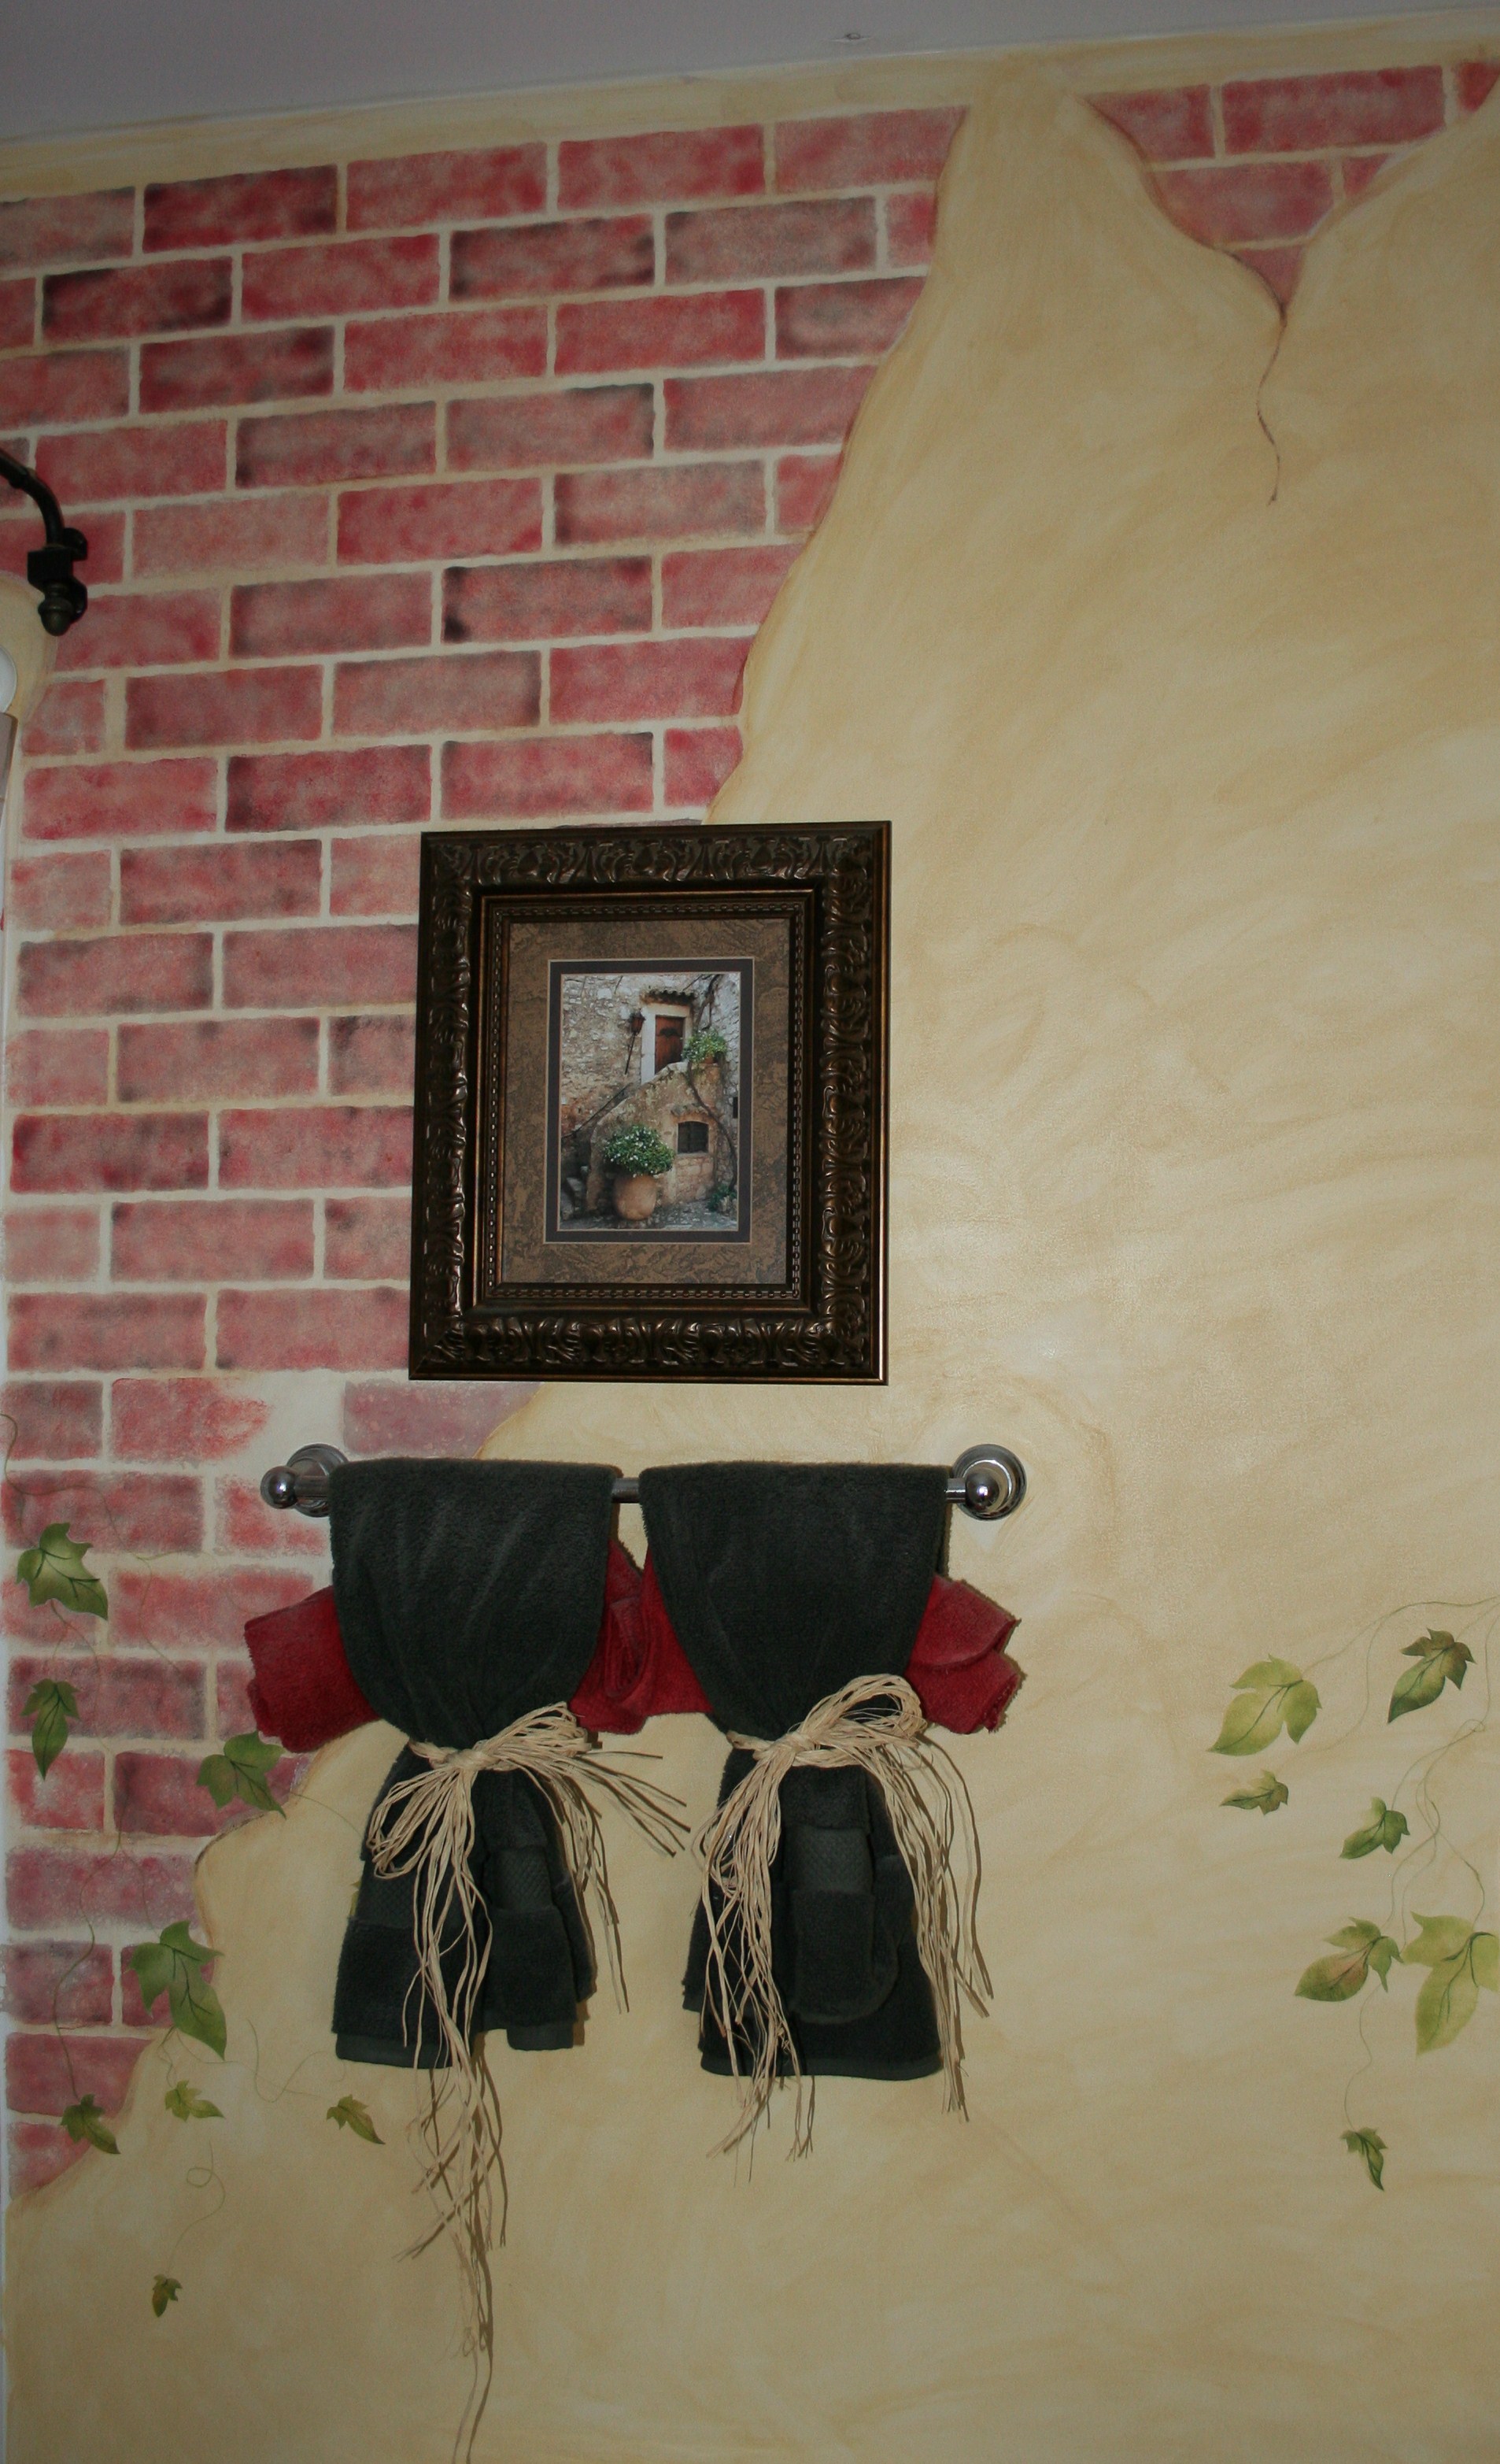
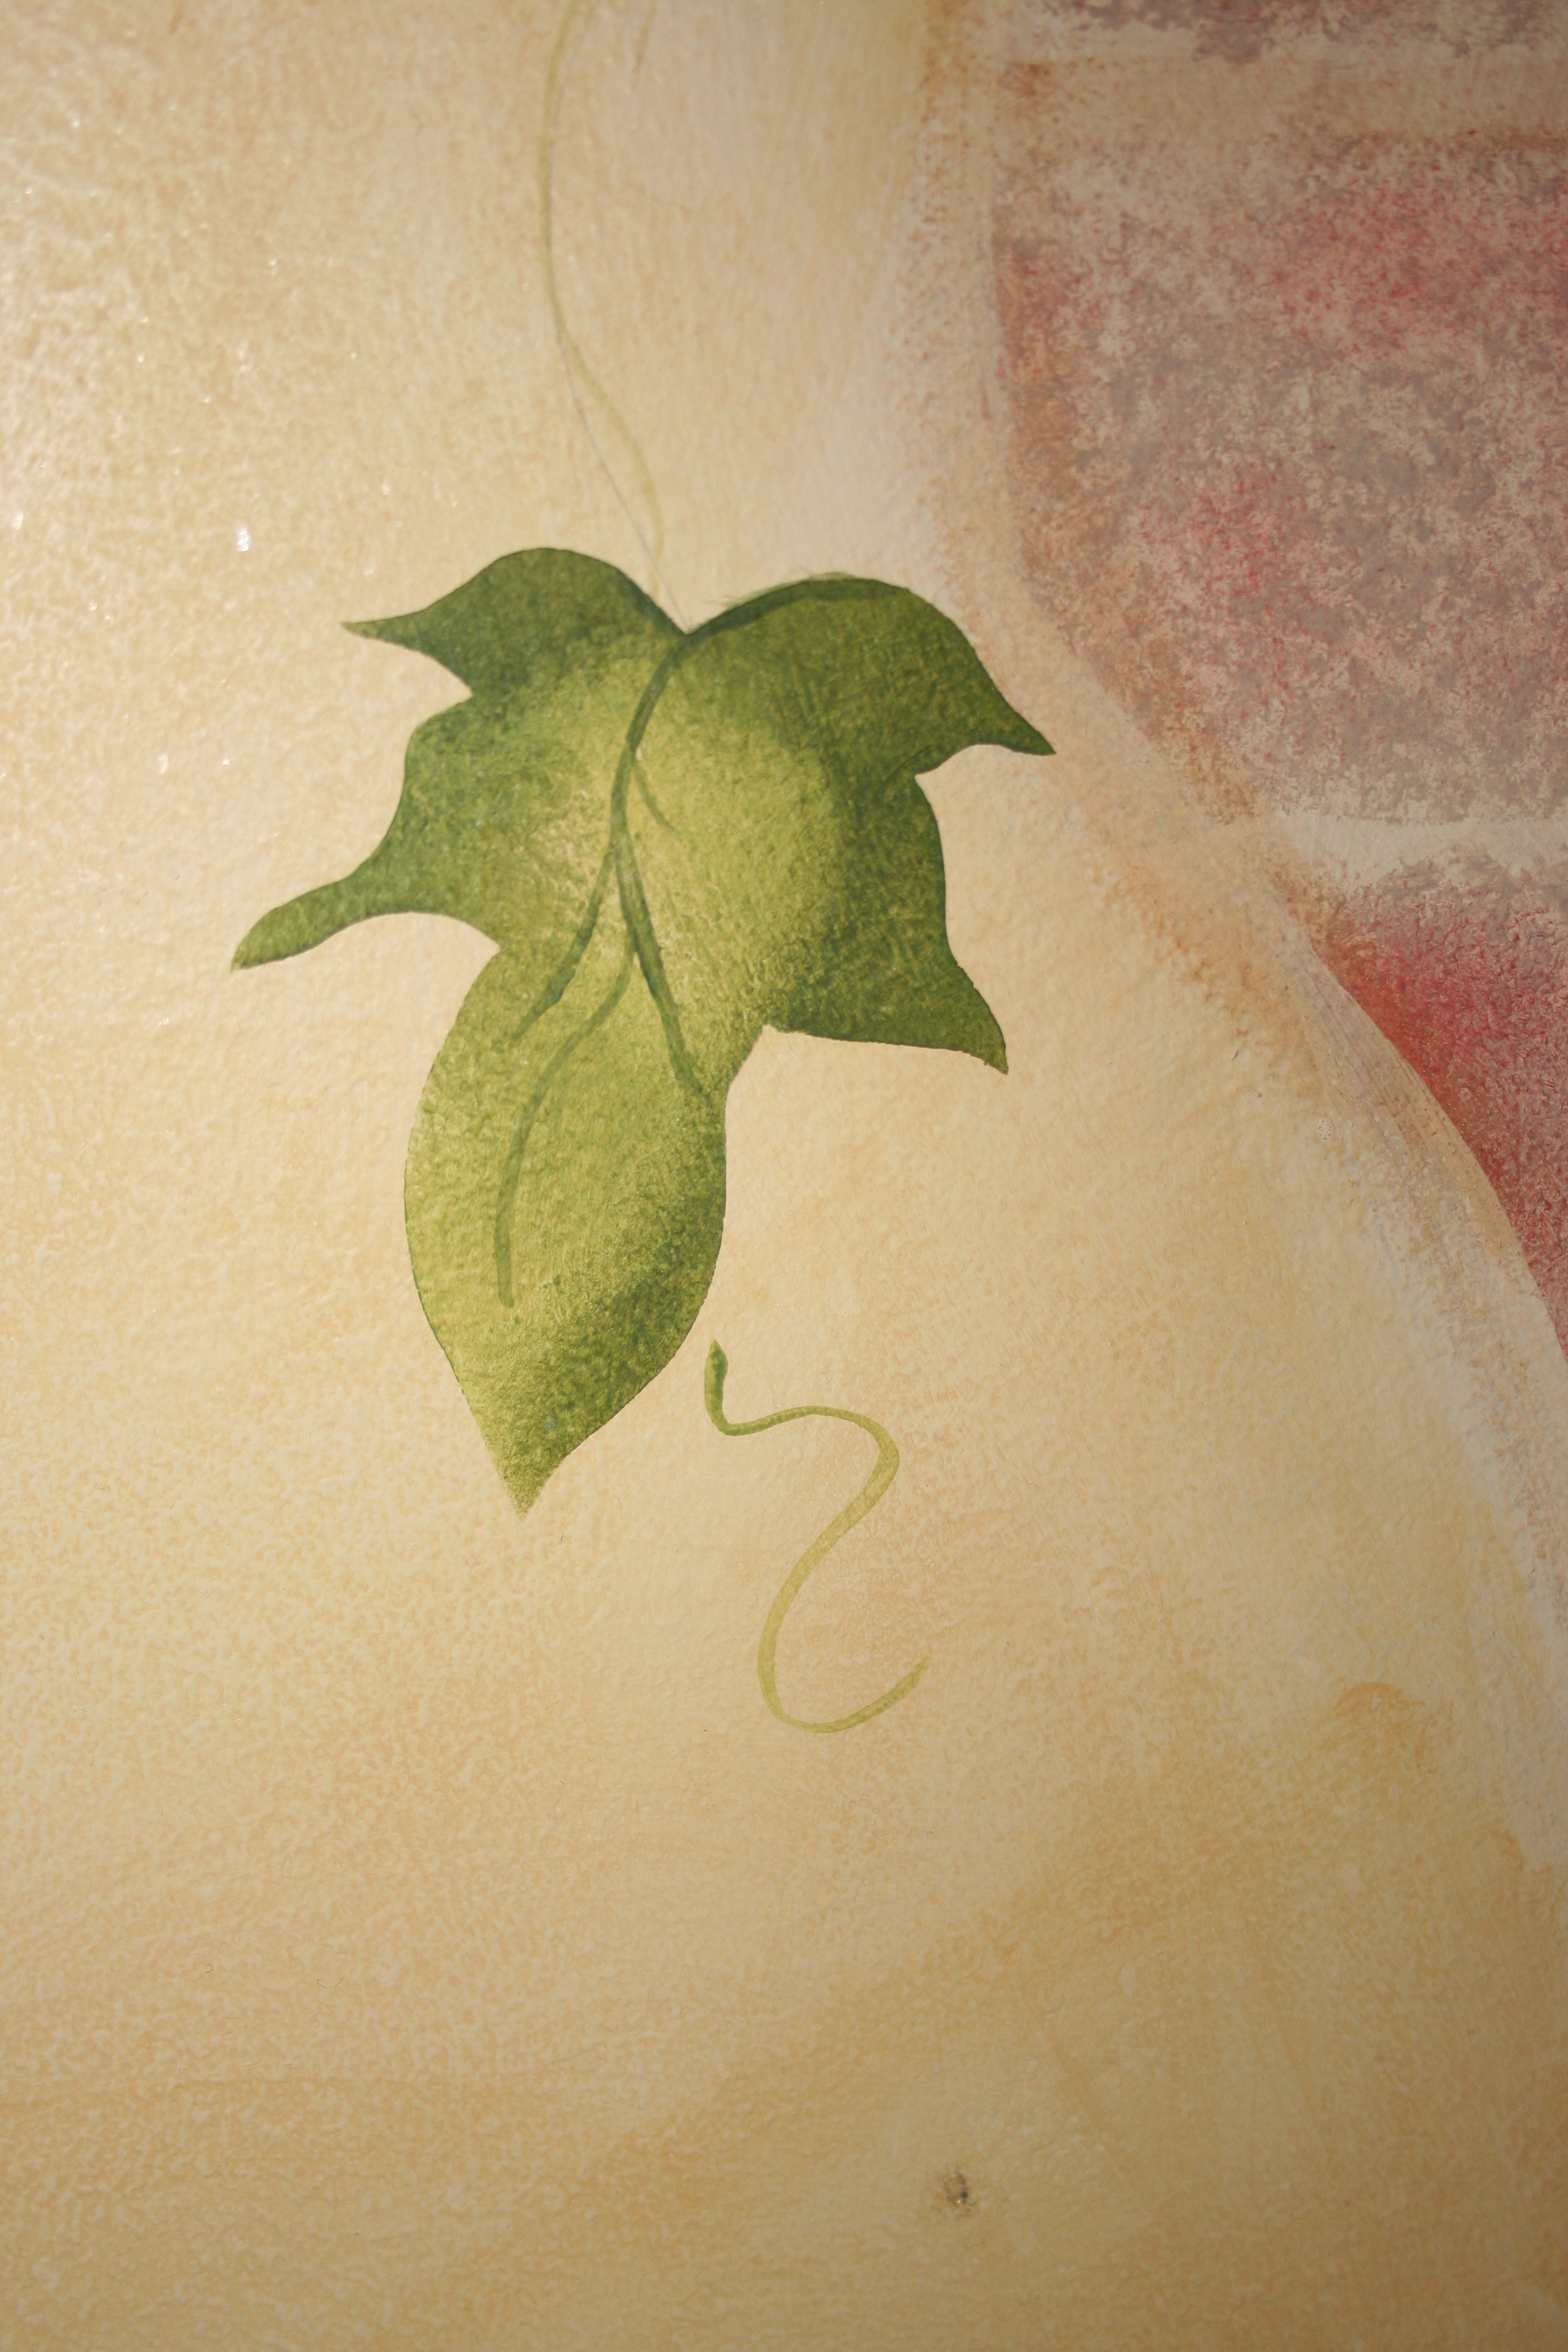
Here is a little teaser….. this is how it looks above the toilet and to the right of the shower/bathtub combo…..

If memory serves me correctly, and let’s admit twelve years ago feels like a lifetime, this took me 3 weeks to complete. A five-year old and a two-year old underfoot, and a husband who could only guarantee that he would be home on Sundays, allowed only minimal hours and days to work on this.
That was okay, PT was used to ducking around ladders and knew not to disrupt the paint brushes I would infamously store in the refrigerator.
I did have many thoughts of “what the fu@! crap have I gotten myself into”?
Why did I think I could accomplish this?
I had done very little faux finishes, but I had a lot of moxie….nothing ventured, nothing gained was my motto back then. Plus, I was only out my time and a can of paint if it truly stunk.
Tools Used:
Benjamin Moore satin paint
Benjamin Moore glaze
Various shades of 2 oz paint, Folk Art and DecoArt
Old t-shirts, cut up into strips
Pail of water- used to wring out the rags while “washing” the stucco onto the walls
Brick Stencil pattern
Leaf Stencil
Steps to complete:
1. Fill in every crack and crevice with putty before starting any painting project. Once sanded and smooth, wash and clean the walls and baseboard.
2. As I was not happy with the contractor grade paint used, I repainted the walls with 2 coats of Benjamin Moore paint, didn’t write down the colors used for this project (bad habit of doing that with recipes as well…..I will work on it for the future), but it was an off white.
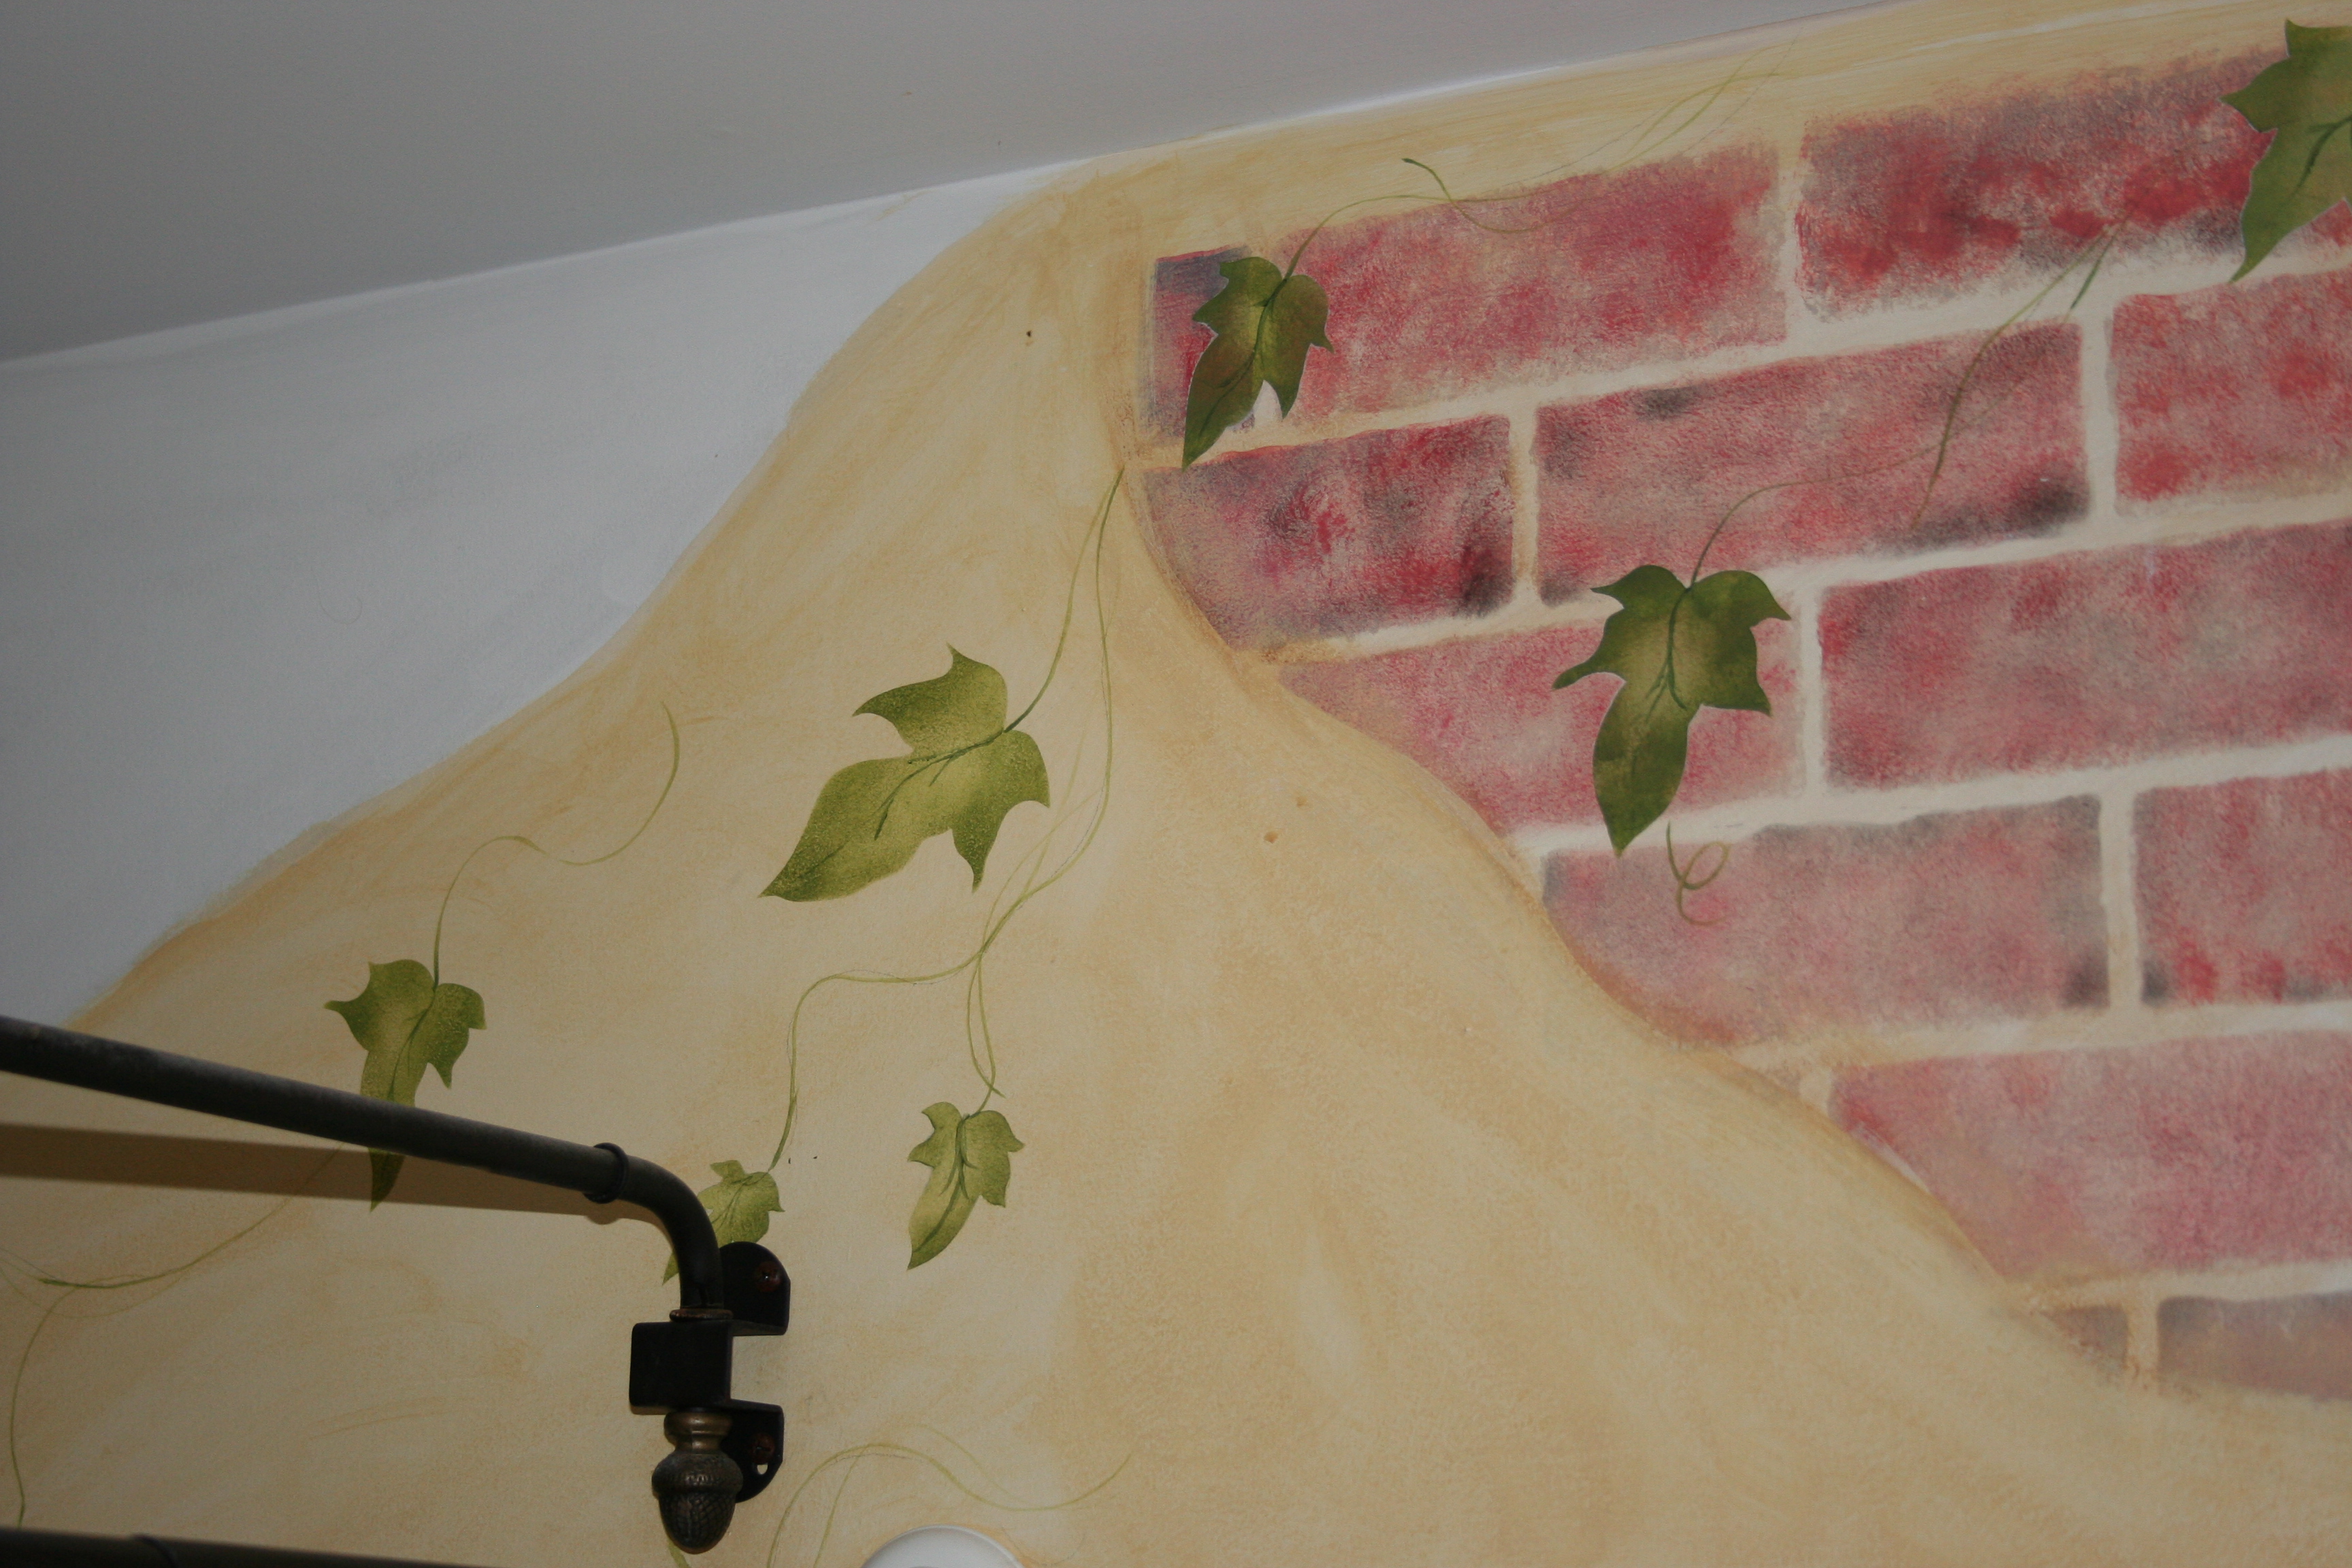
3. I followed this with 2 different shades of gray and blue glaze and literally washed the walls with the color and let dry. I wanted to give the illusion of the outside sky.
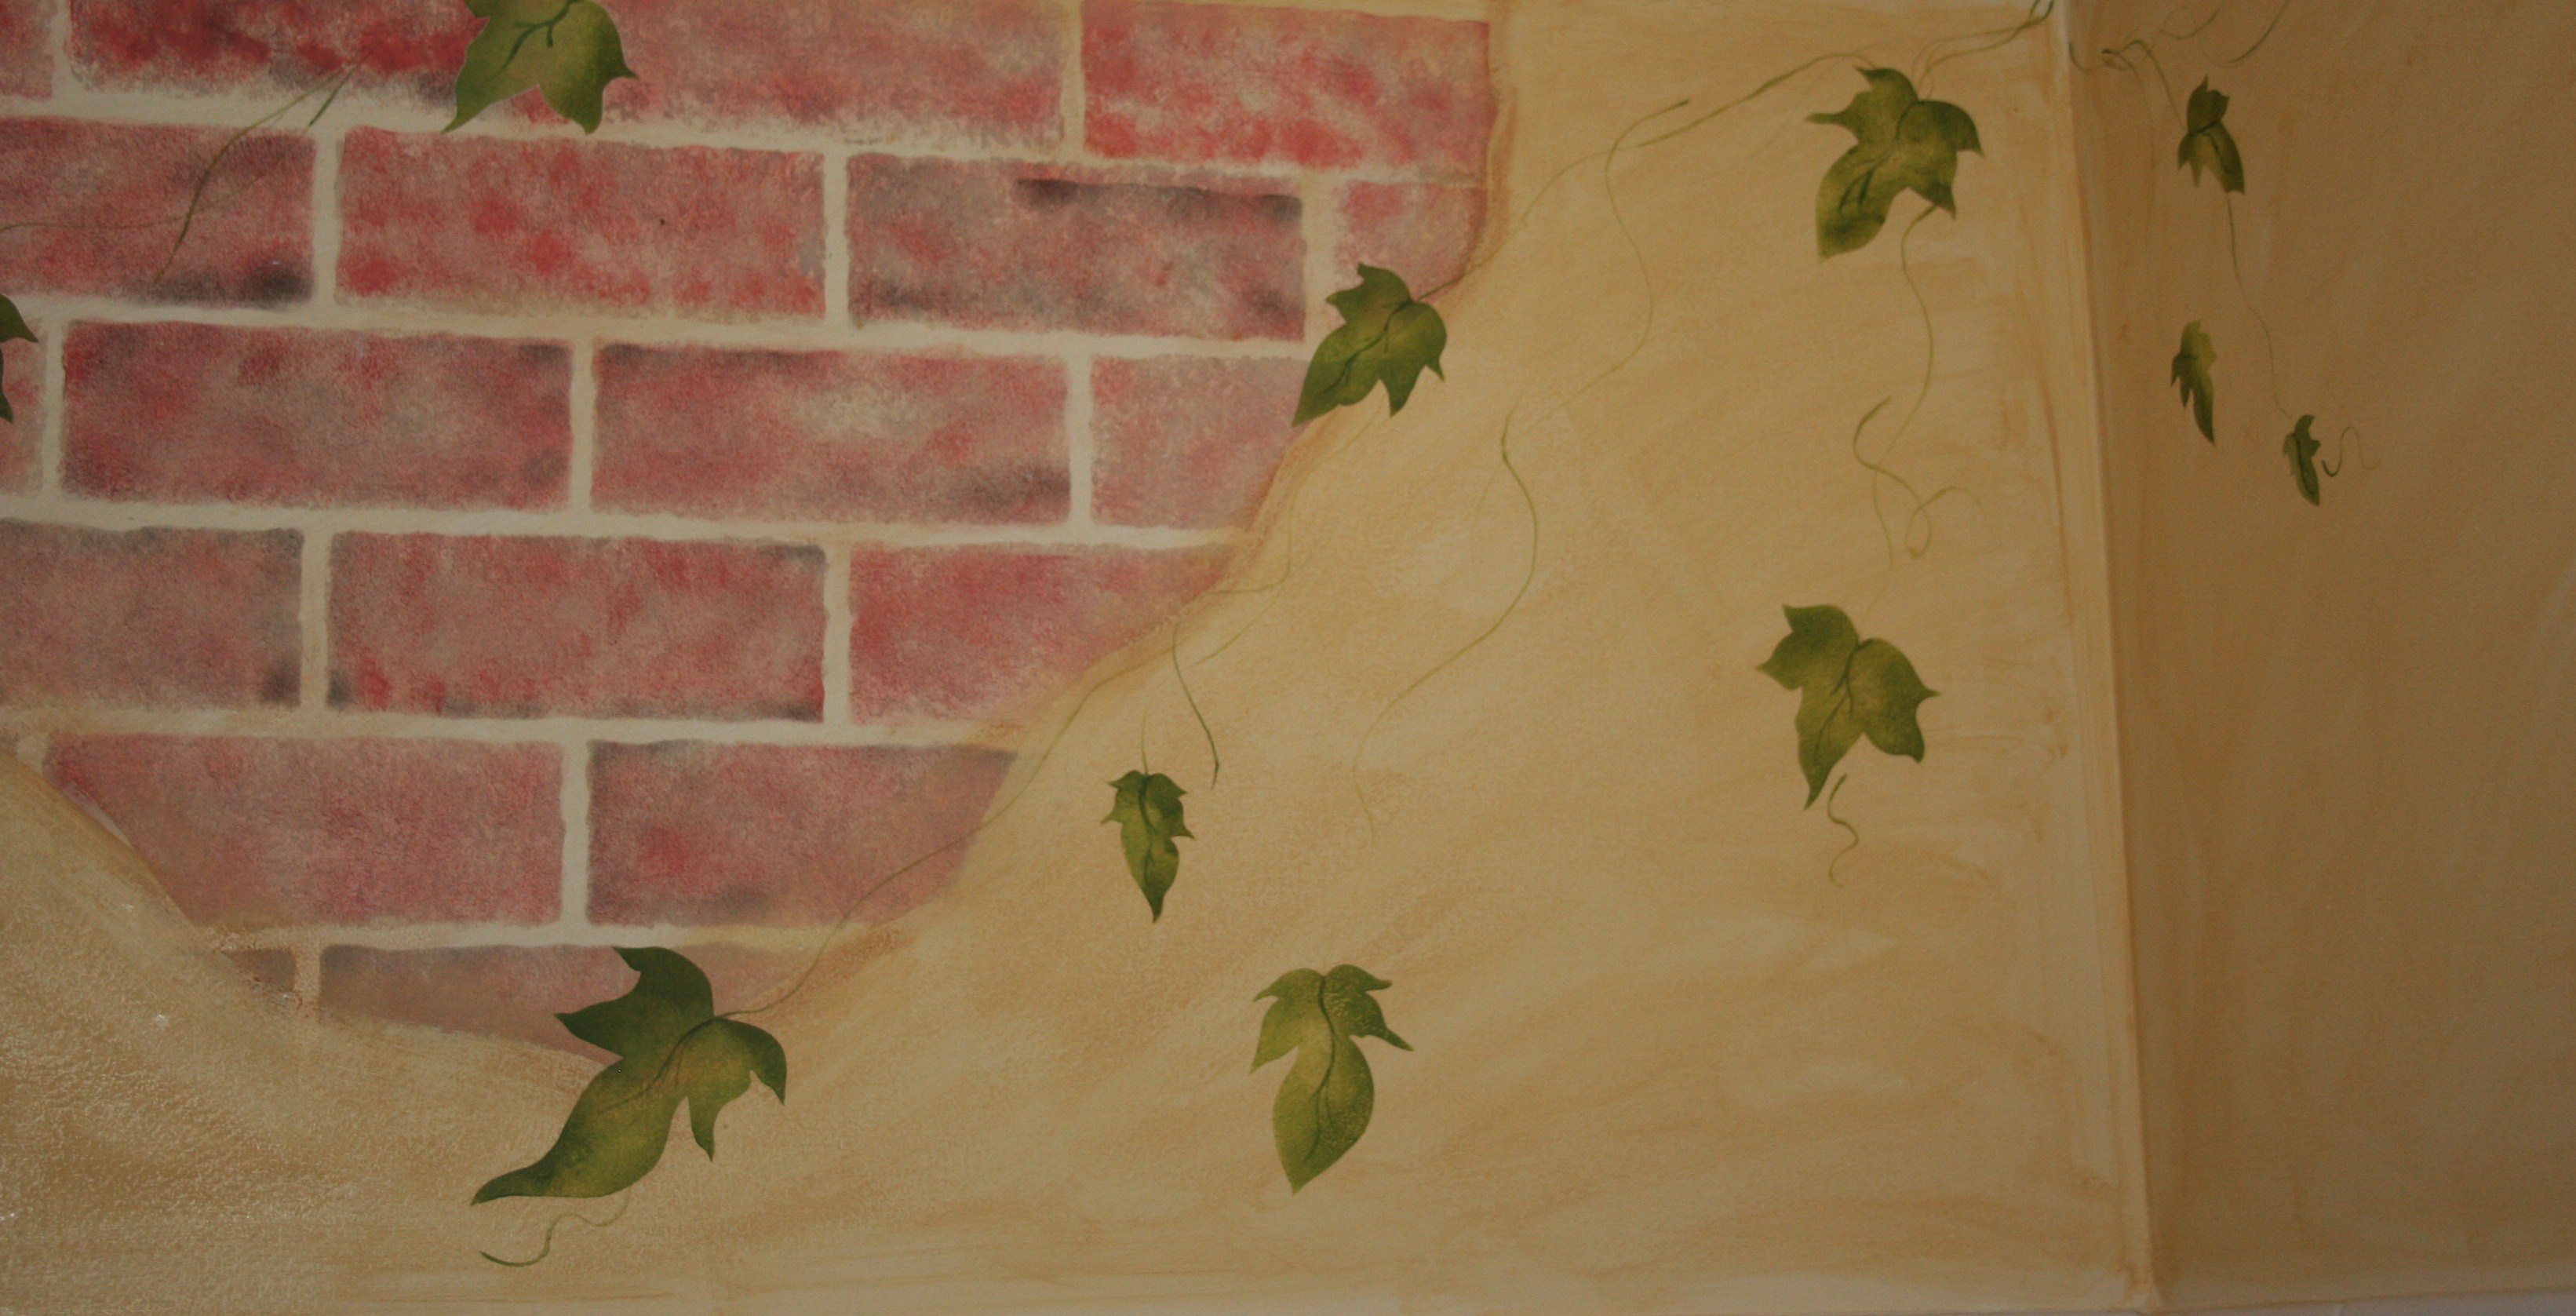
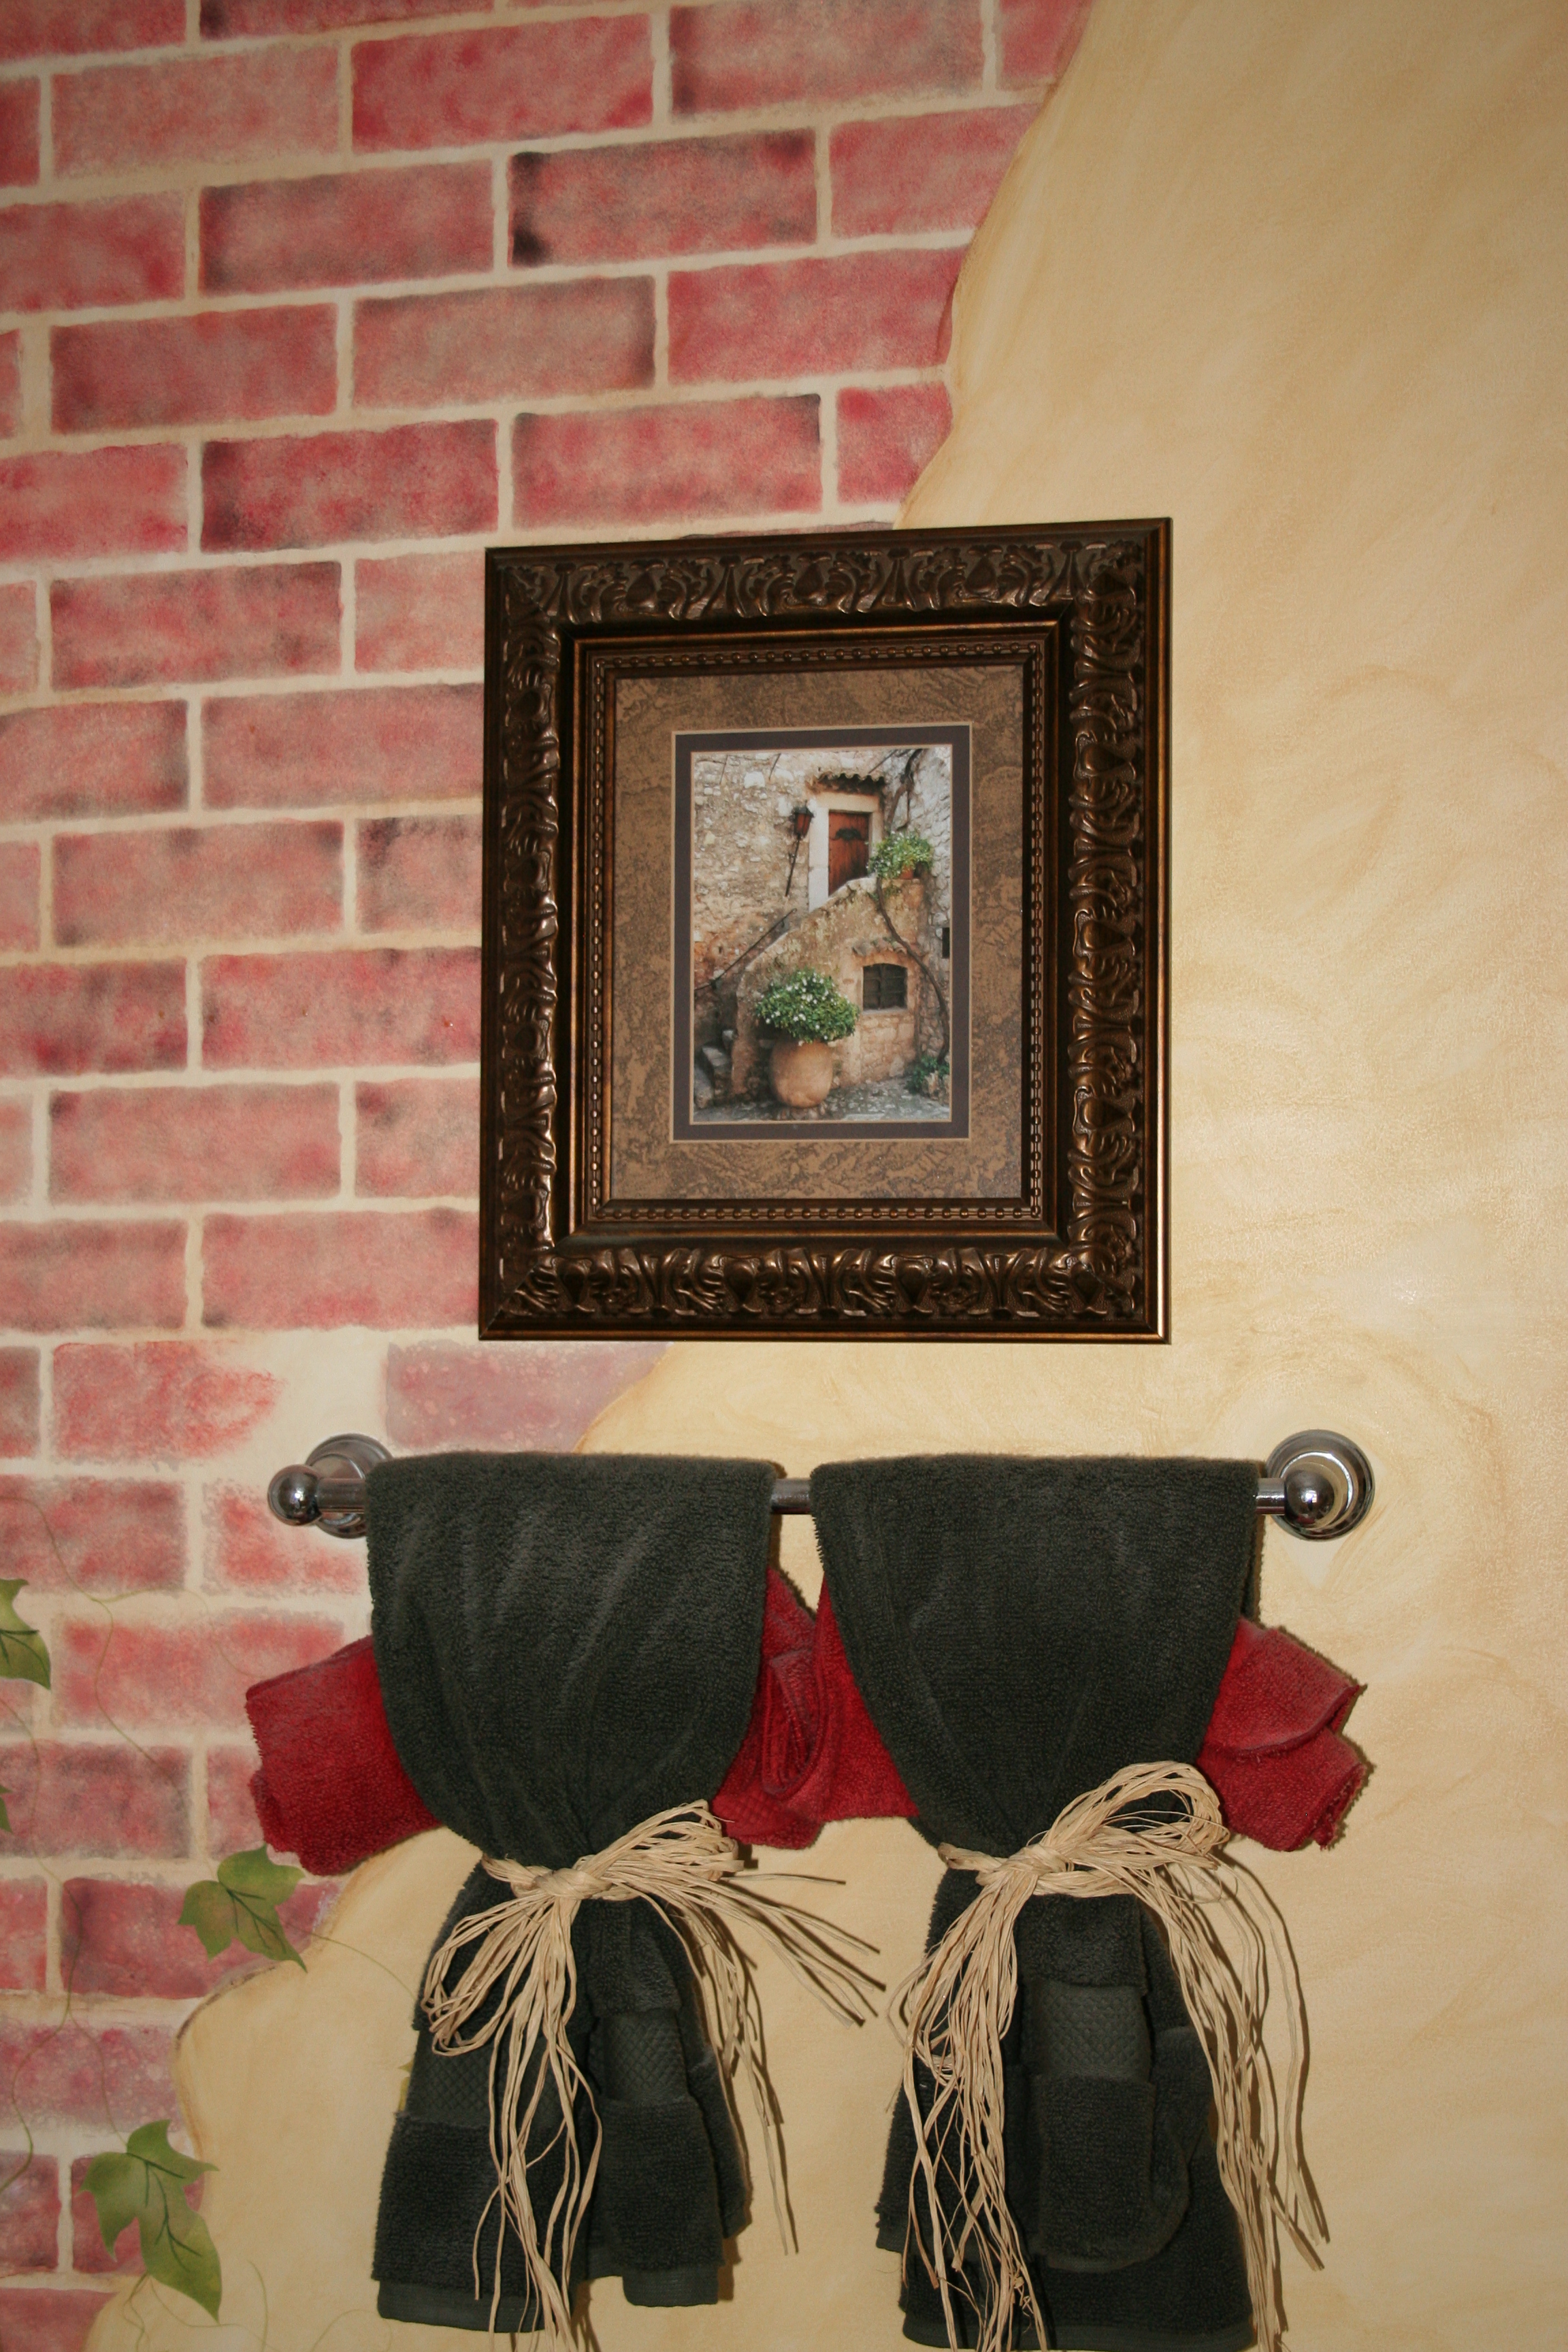
4. I had to mark off the wall and decide how I wanted the bricks to appear. I used 5 different colors of glaze on the brick work. This was very tedious and took up most of my time. The colors ranged from a salmon to burnished red. I literally used a pouncing motion with old rags, and a stencil brush in a swirling motion, trying to create as much depth as I could.
5. Once this was done, the fun began with shades of yellow and brown glaze. Literally washed the walls with the various shades of color. I was able to make very quick work out of this, as I didn’t have to be careful with the brick work. The idea was to have it look like stucco and exposed brick so any mishap of going over the painted brick was okay, actually helped create the desired look.
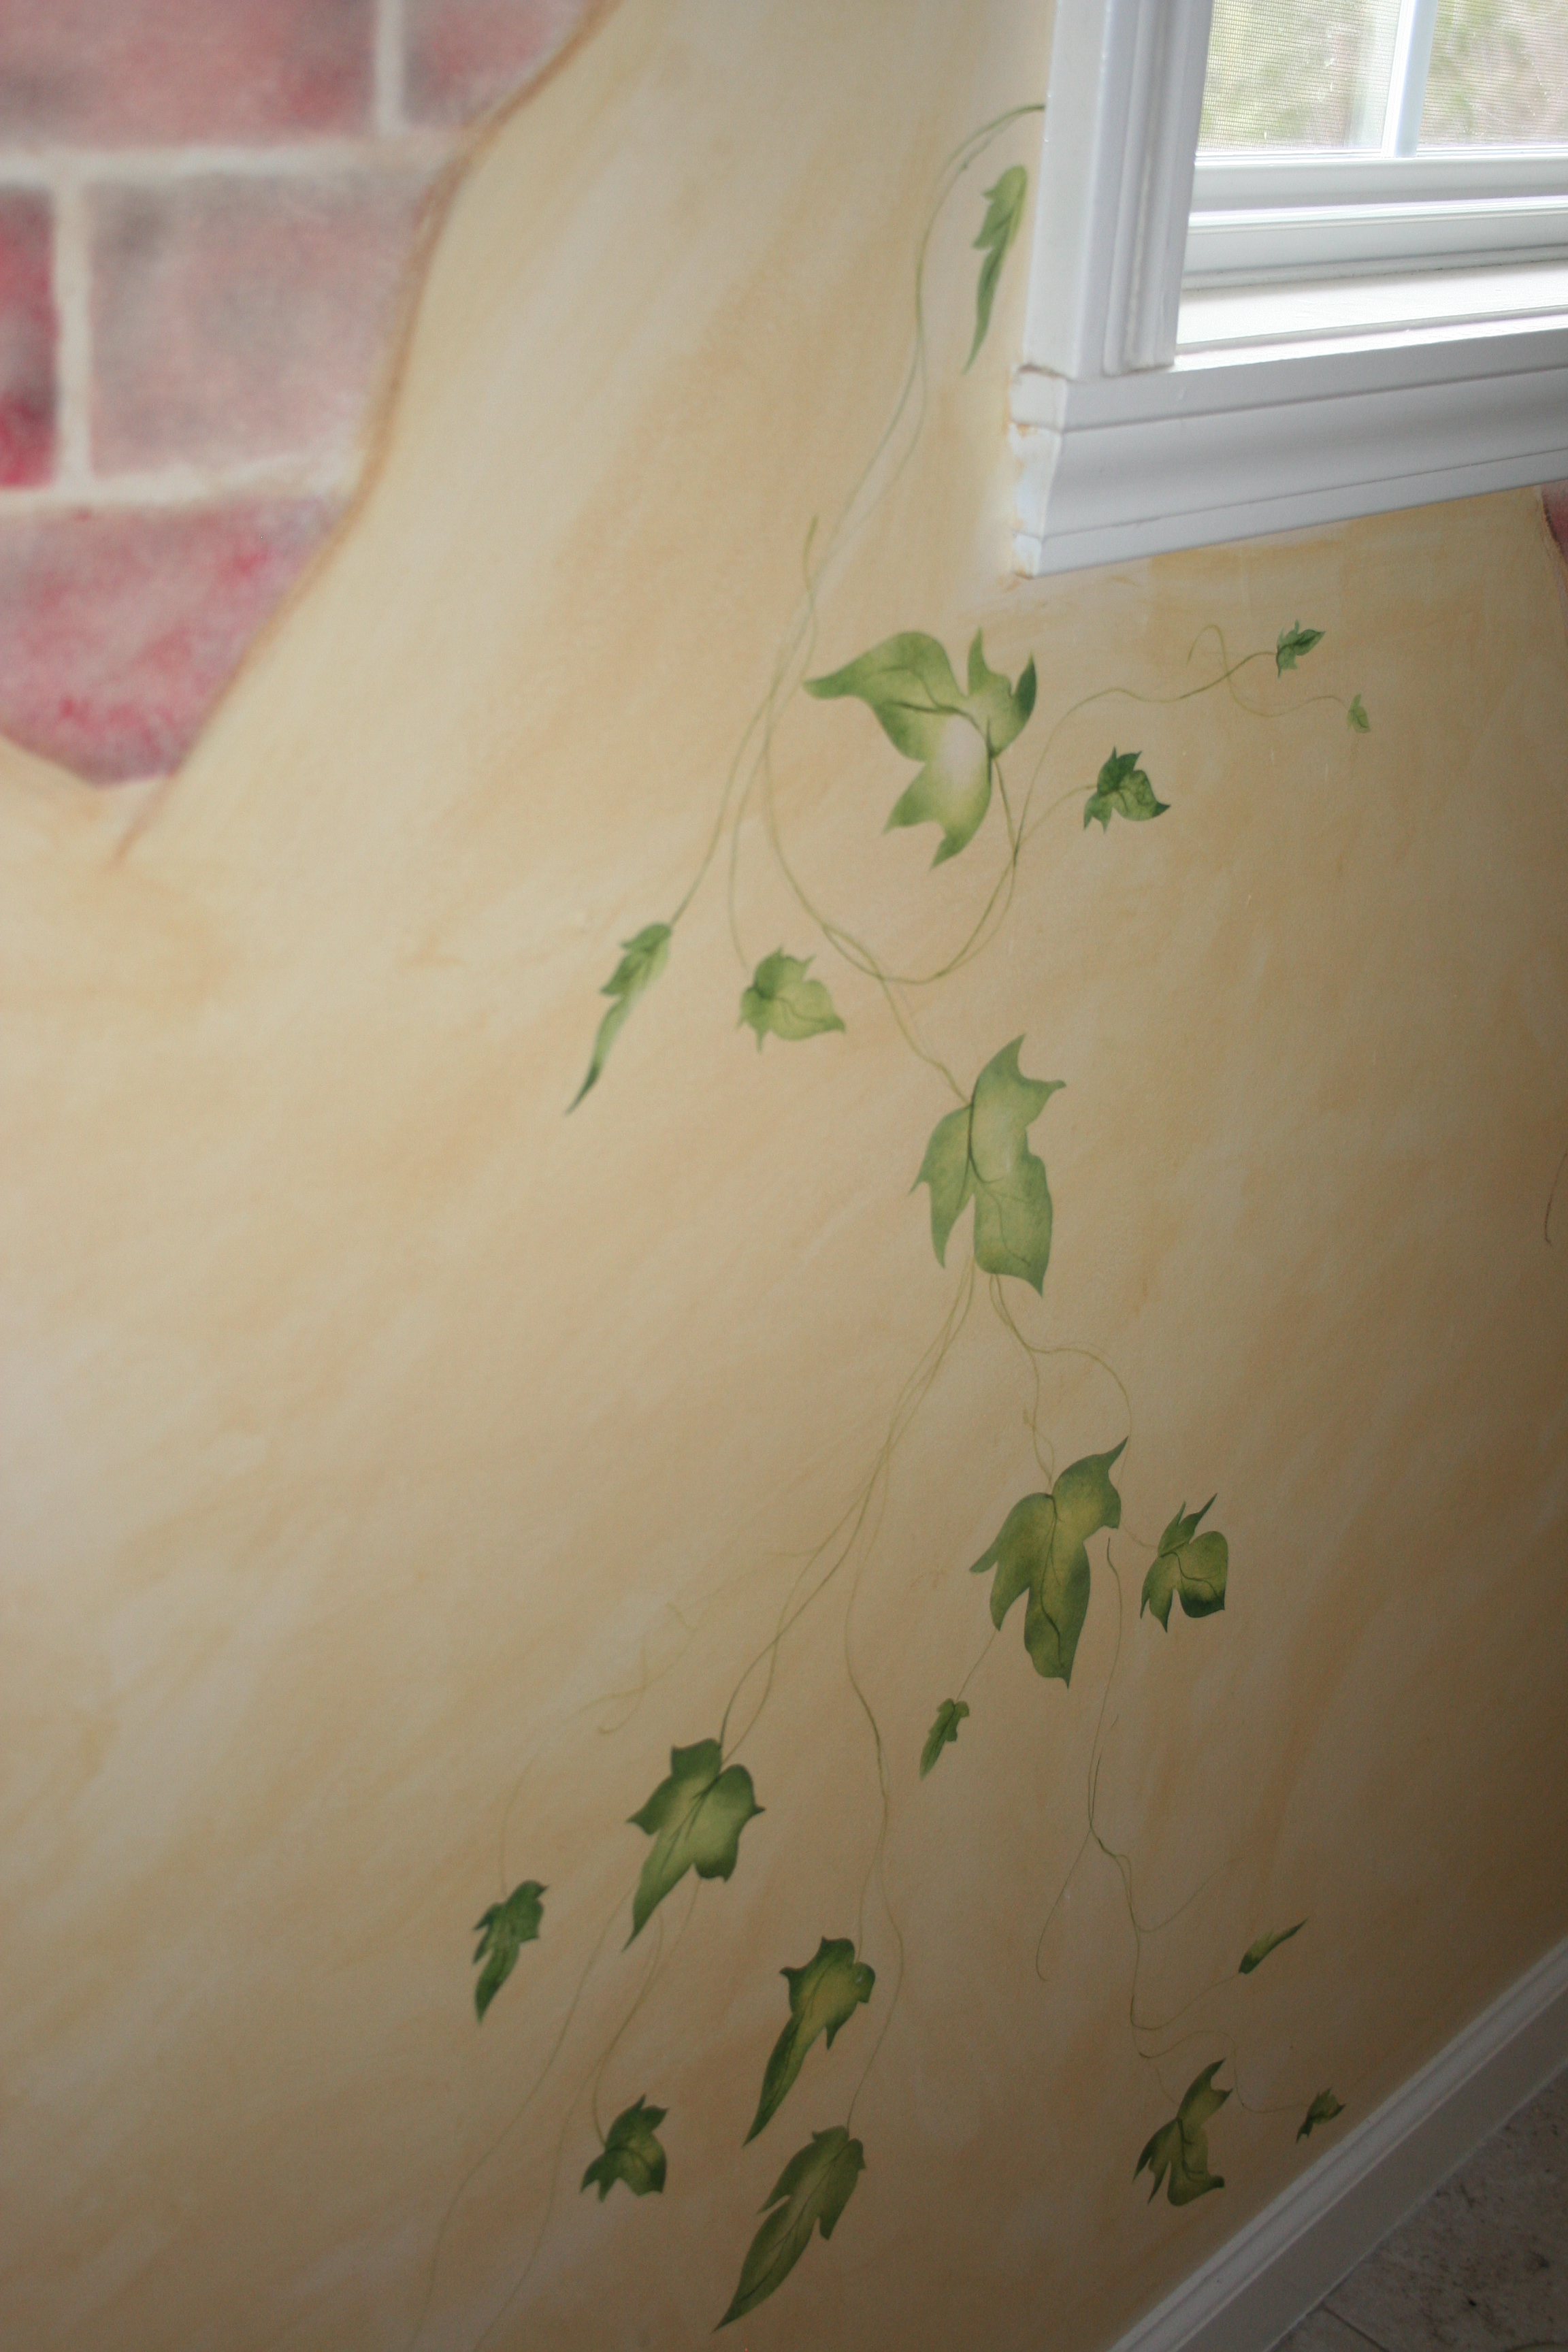
6. Next to last step was to do the leaves. This was easily done with stencils and 3-4 shades of green. Random and trailing leaves was my goal.
7. The last step was to create the vine work. This had to be done with a small brush, preferably one that you could write with. I took the different greens and literally swirled it around the leaves, connecting some and leaving others bare.
TA-DA
Why am I showing this twelve years after the fact?
Well I had the itch a few years ago to redo our bedroom. Needed a project to complete during chemo, and after painting the walls at 2 different occasions (never pick your wall color first and then try to find bedding to match…NOT a good idea), unfortunately the colors in the bathroom don’t actually flow with the rest of our room. Something has held me back though, that little nagging voice that says SAVE ME…. and I have listened…at least for the time being!
The twitch has started though…
I wonder how I could arrange to be at my local Lowes or Home Depot, and run smack into Matt Muenster from Bath Crashers and have the bathroom of my dreams created??
I have countless pictures of European tile, faucets and lighting tucked away ready to show him!
HMMM….until that fantasy, and let’s admit I am truly in fantasy land, I guess I will keep the painted stucco and brick walls.
Until Matt walks into my life, I am lucky enough to admit that the walls still bring a smile to my face every time I see them!!